After creating a new MMS message or when editing an existing message, the Design pane is displayed with a toolbar at the top, design window below and tabs on the left to navigate from design mode to the properties and preview panes. This article will navigate your through Design mode interface.
Top Toolbar
Locking and unlocking the toolbar
If the content is locked by another user, the full toolbar is not available and needs to be unlocked to access all the options and edit the content. Click the link Unlock to edit to unlock the content and edit it. Once the toolbar is unlocked you have access to the different features.

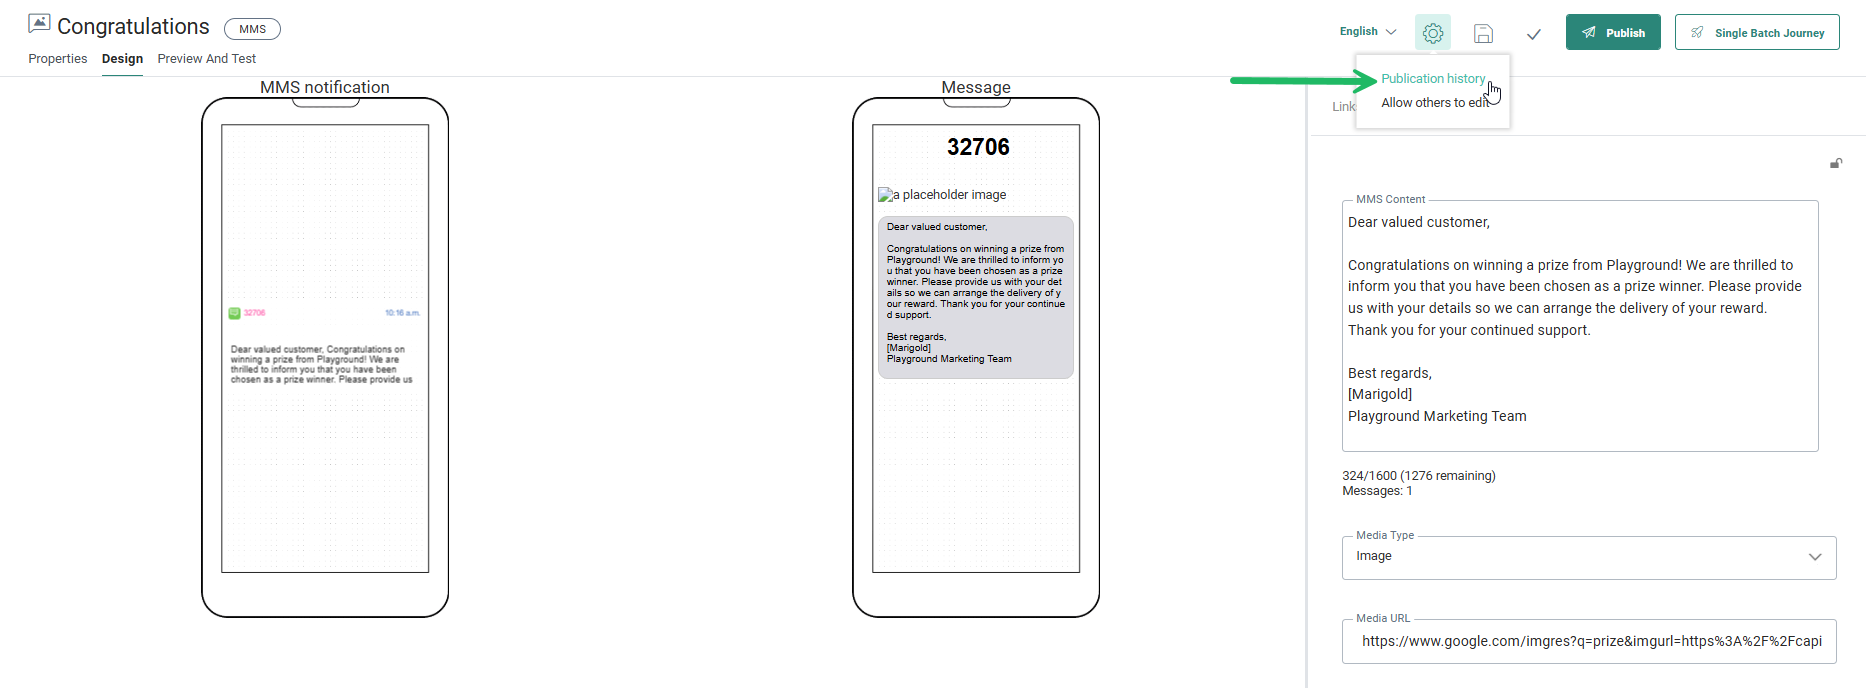
If the content is locked by you, because you are currently editing the content, you can unlock it for other users by selecting the option Allow others to edit from the Actions drop-down:
Not
Action buttons for Save, Validate and Publish
The Save, Validate, Publish buttons are only available in Edit mode.
-
The MMS message can be saved at any time during the design.
-
Validation checks the MMS for missing information.
-
Publish makes the MMS message available for use in Selligent journeys.
The Publication history option in the actions drop-down provides a historical overview of when the MMS was published, including the user who performed the publish action. You can filter the list by providing a start and end date.
Note: When Approval Management is active, the Publish button is replaced with a Request approval button. When an approval request is sent and the content is approved, it is automatically published.
Note: When read-only is active for MMS, the actions buttons will not be displayed and a message is displayed that the content is in read-only mode.
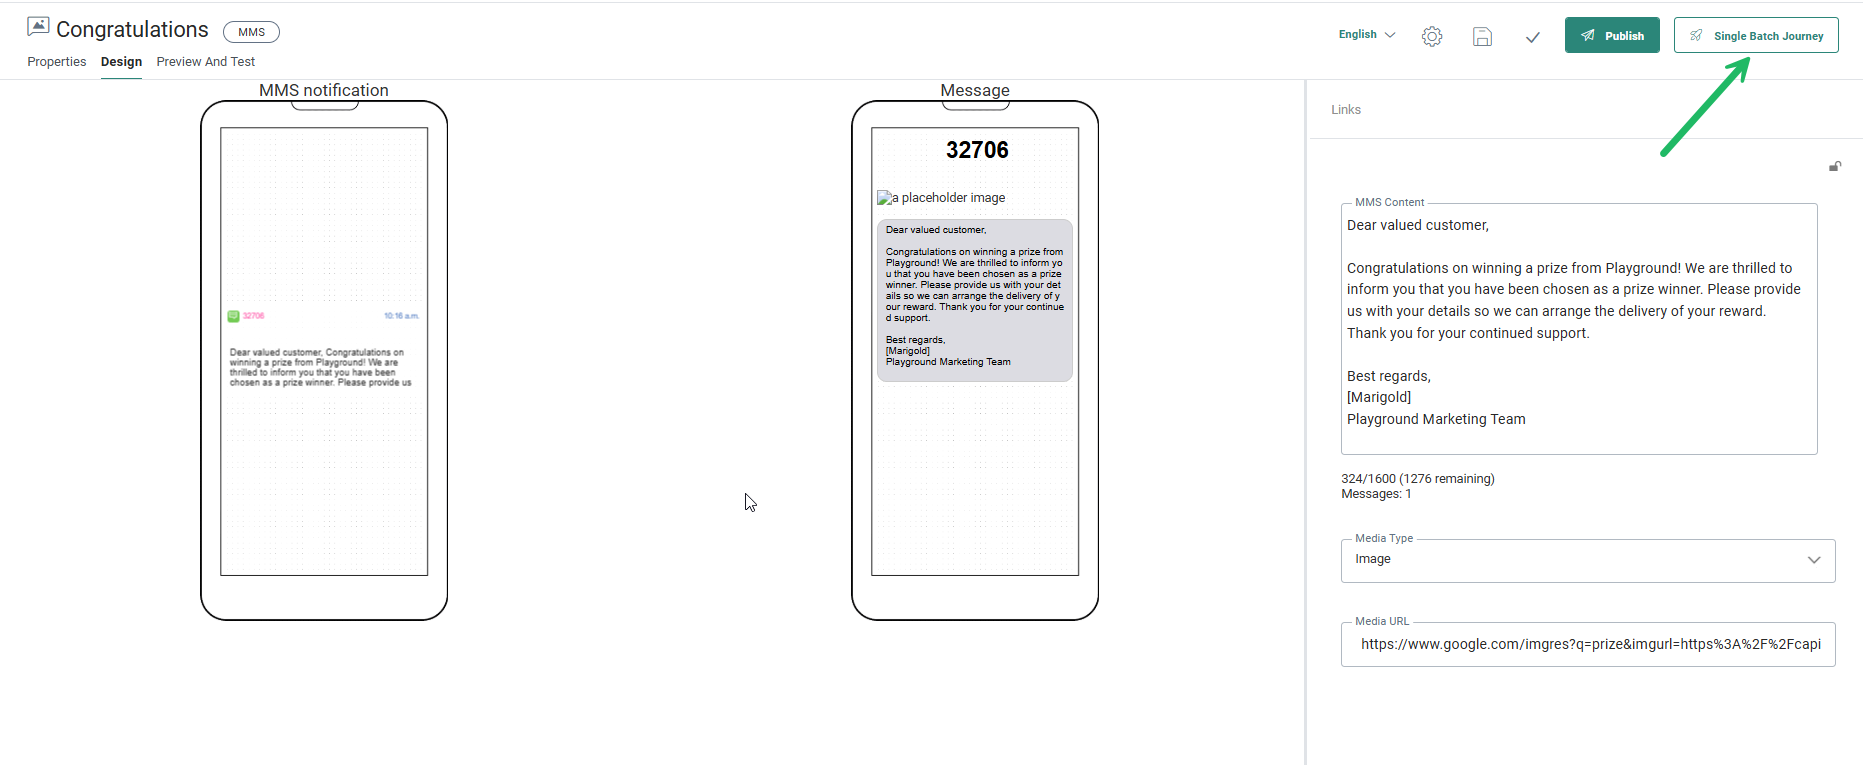
Create a Single Batch Journey from the MMS message
When the MMS content has been saved, validated and published and is ready for use, an additional button is available from the toolbar to create a Single Batch Journey from this content. This will take you to the Single Batch Journey with this MMS content selected as an asset.
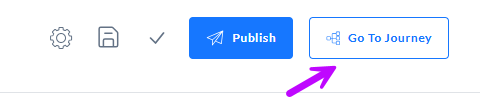
If an MMS message is being edited from within a journey, an additional To journey button is available to return to the Journey design canvas.
-
To edit an MMS message from within a Custom Journey, right-click the MMS message and select Edit selected MMS.
-
To edit an MMS message from within a Batch Journey, click the Edit this content link next to the asset field.
Configure other languages
When you have selected multiple languages during the creation of your message, an additional Language field is shown in the toolbar:

Note that the Language field is only available when more than one language has been selected in the MMS properties.
The Language drop-down contains the list of languages set for this message and lets you switch from one language to another to design the content in that language.
Navigation tabs
The navigation tabs to the left of the canvas let you navigate away from the Design pane to the properties of the message or the test pane.
- Properties — Click to open the MMS properties panel. The Design panel is hidden and the properties are displayed in overlay. These properties define general settings of the message such as the audience and languages.
- Design — In Design mode you can add content and personalization fields.
- Preview and Test — Test mode allows to send a test MMS message and preview the final message for a specific test contact..
Related topics
- Introduction to MMS messages
- Create an MMS message
- Design the content of the MMS message
- View and edit MMS message properties
- Navigating the MMS Design paneInterface
- Publish an MMS message to make it available for use