
Multimedia Messaging Service (MMS) content lets you send multimedia files, such as images, audio, phone contacts, and video files. MMS message size limits depend on the provider, because MMS messages do not have one standard maximum size.
Note: The MMS access permission must be set to create MMS messages.
1. To create MMS content, go to Content , select New in the toolbar and then select MMS in the wizard .
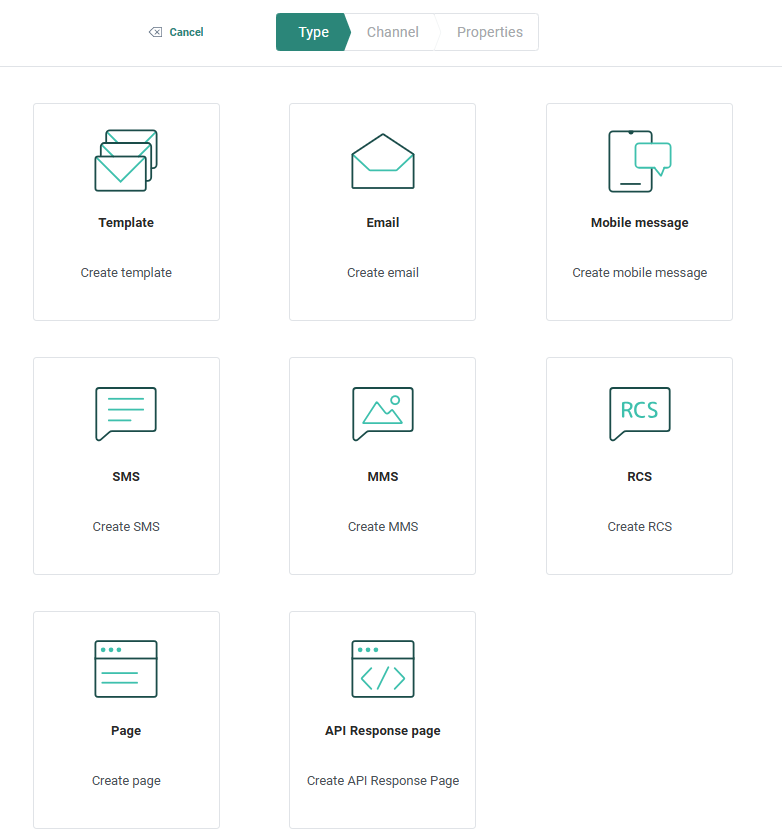
The properties dialog opens:
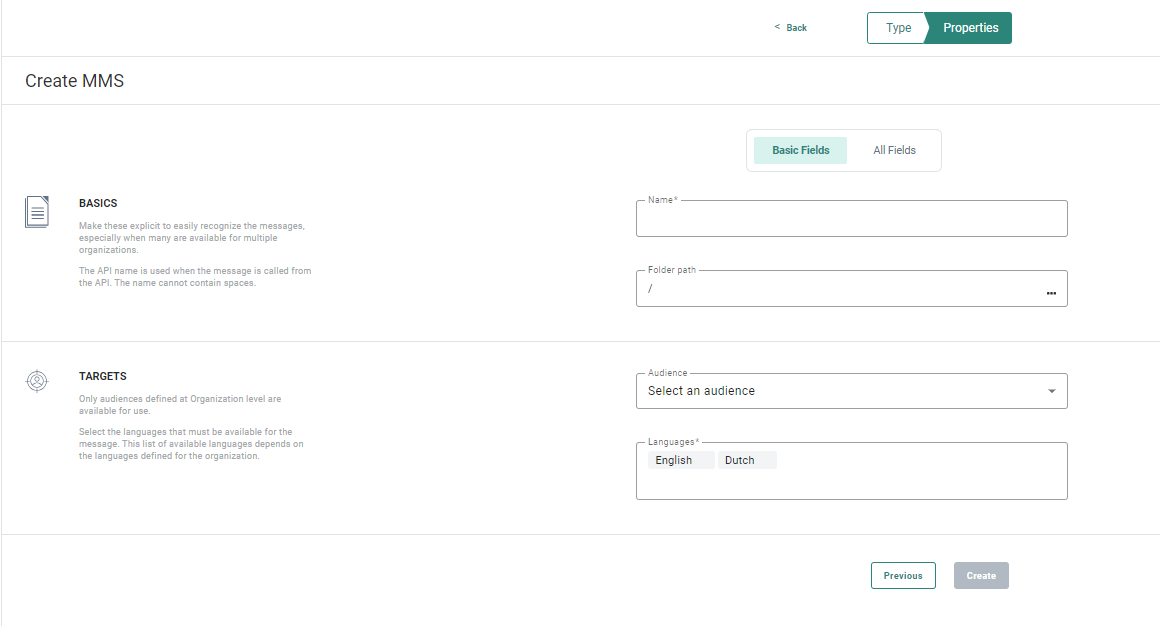
2. The properties are grouped by information type. By default, only the Basic fields tab is displayed. Select the All fields tab to display all other fields. On-screen help appears on the left side of the properties dialog to help you complete the form with accurate and comprehensive information.
Basic fields tab
Basics
- Folder Path — The folder where the asset is created. By default, the asset is created in the folder that is selected on the Start page when you create the asset. To change the path, select the folder field and select a different folder in the dialog.
- Name and Description — Entera name and description that you can easily recognize when you use the MMS content in a Journey.
- API-Name — The name used when the content is called in the application programming interface (API).
- Asset label — The labels assigned to this asset. Select one or more labels from the drop-down list. These labels are configured in Admin configuration. Users with the required access permissions can also create labels by entering a label value in the field.
Targets
- Audience — Select an Audience list from the drop-down menu. You can use all fields from the audience data source to personalize the MMS message.
- Languages — Select the one or more language versions to create the MMS message in. The list of available languages are defined in the Properties of the Business unit where the MMS message is created. The Language field is pre-filled with the default languages defined at Business unit level.
All fields tab
Basics
- API-Name — The name used when the content is called in the API.
- Asset label — The labels assigned to this asset. Select one or more labels from the drop-down list. These labels are configured in Admin configuration. Users with the required access permissions can also create labels by entering a label value in the field.
- Description — Enter a clear description of what the MMS content is used for.
Data selection
- Event data: Select one of the following options:
- No event data — The message behaves as a standard message.
- transactional data — Select this option to make the message available for Transactional Journeys. When you select this option, the message is marked as a transactional message, transactional data can be defined and used, and the message is available only for use in a Transactional Journey.
- Custom event — If Custom Events are defined for the selected audience, you can use the data in the Custom Event to personalize the message used in a Custom Journey triggered by the Custom Events. Messages that use Custom Events data can be used only in event-driven journeys.
Note: Custom Events data used to personalize the message is not visible in the message preview.
Channel endpoint
- MMS Channel Endpoint — Select the MMS endpoint to use for this MMS message. If multiple MMS endpoints are defined for an Business unit, select an endpoint from the drop-down list. The selected endpoint defines which operator sends the MMS message..
Example: Companies that operate in multiple countries with different operators may need different MMS providers and endpoints to send MMS messages. Multiple endpoints let you send MMS messages using different providers.
3. Select Create MMS . The MMS content design canvas appears where you can define the message to be sent.