
Profile Syncs
A Profile enrichment is a mechanism where data collected in other Zeta native applications is synchronized and stored in Selligent where it can be used for personalization, segmentation and targeting.
The Profile Syncs start page is an overview of all configured profile syncs.
From the start page, you can do the following:
- Edit
- Enable/Disable
- Delete
- View the data in the list targeted by the profile sync
Note: This feature needs to be activated and configured for your environment. Read more about all the requirements and configurations in this user guide for profile enrichment and Loyalty.
1. To create a new Profile enrichment, click New and select Profile Enrichment from the drop-down.

2. The setup wizard is shown where you can enter the general properties for the data sync:
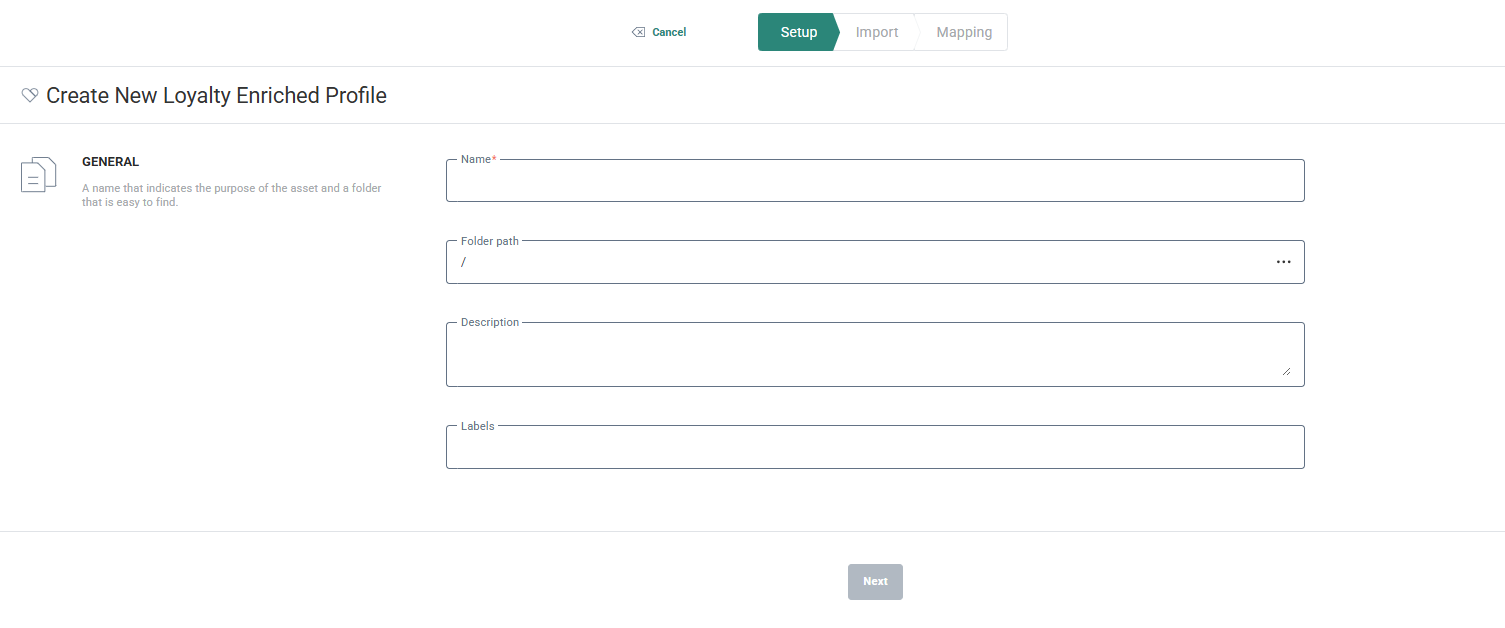
- Name — Give a name to this datasync. Make it explicit so it's easier to find it and consult the history later on.
- Folder path — Set the folder where this data sync needs to be stored.
- Description — Provide a description clarifying what the data sync does and what it is used for
- Labels — The label(s) assigned to this data sync. Select one or more labels from the drop-down. (These labels are configured in the Admin configuration.) Users with the proper Access permissions can also create new labels here by typing the new label value in the field.
3. When done, click Next. You can fill out the source and destination:
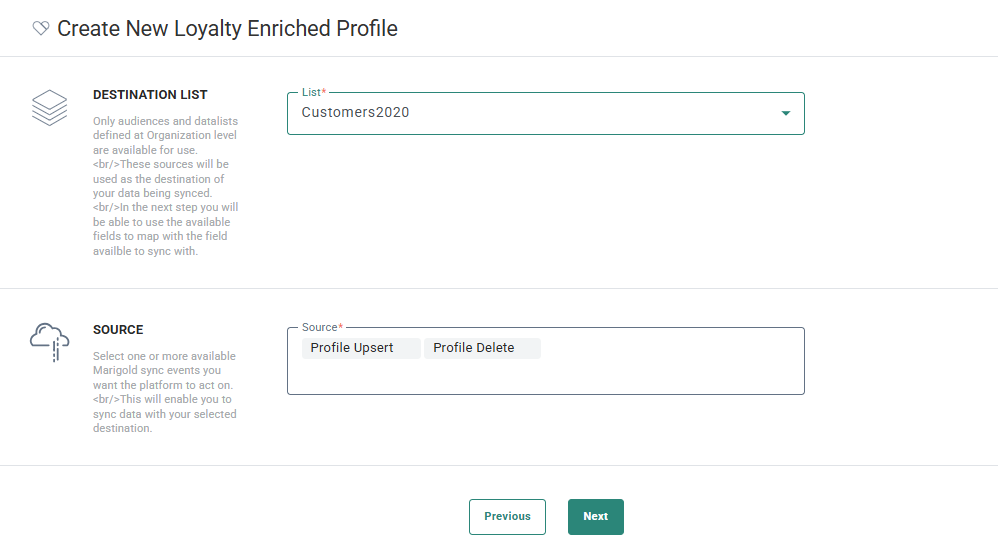
Destination List — Select the Audience List or extended profile where you would like to store the profile information coming from Loyalty.
Source — Select the source for the profile information and what needs to happen with the data.
You can choose between Profile Upsert and Profile Delete..
Profile Upsert updates existing profiles and inserts new ones when they don't yet exists.
Profile Delete deletes a profile in Selligent if the profile has been deleted in Loyalty. Note that this will not delete the original contact record but only the extended Loyalty profile information
4. Click Next to go to the Field matching and define which source data should go in which field in the destination list.
. This requires a connection defining what events are being read based on the Business unit they have been created for.
This step is done by platform architects and is a one time setup.
To benefit from this feature, contact your Zeta representative to activate this feature and have the necessary actions taken.
Create the necessary Audience or profile extension in Selligent
To be able to store the loyalty data in Selligent, you need to have an Audience List or extended profile with all the required fields to store the Loyalty data in.
This step can be executed by all users with access to the Lists chapter.
For more information on Audience Lists and profile extensions have a look at the following topics:
Set up the data synchronization between Selligent and the event stream
This is a one-time set up that can be done by any user with access to the Data Exchange chapter and knowledge of the database model.
This data sync ensures that all new or updated profile information is automatically synced and available in Selligent.
1. Setting up the continuous data stream is done through the Data Exchange chapter. Click New and select Profile enrichment from the drop-down.
Note: If this option is greyed out, the feature is not activated for your environment. Contact your Zeta representative.
2. The setup wizard is shown where you can enter the general properties for the data sync:
- Name — Give a name to this datasync. Make it explicit so it's easier to find it and consult the history later on.
- Folder path — Set the folder where this data sync needs to be stored.
- Description — Provide a description clarifying what the data sync does and what it is used for
- Labels — The label(s) assigned to this data sync. Select one or more labels from the drop-down. (These labels are configured in the Admin configuration.) Users with the proper Access permissions can also create new labels here by typing the new label value in the field.
3. When done, click Next. You can fill out the source and destination:
Destination List — Select the Audience List or extended profile where you would like to store the profile information coming from Loyalty.
Source — Select the source for the profile information and what needs to happen with the data.
You can choose between Profile Upsert and Profile Delete.
-
Profile Upsert updates existing profiles and inserts new ones when they don't yet exists.
-
Profile Delete deletes a profile in Selligent if the profile has been deleted in Loyalty. Note that this will not delete the original contact record but only the extended Loyalty profile information.
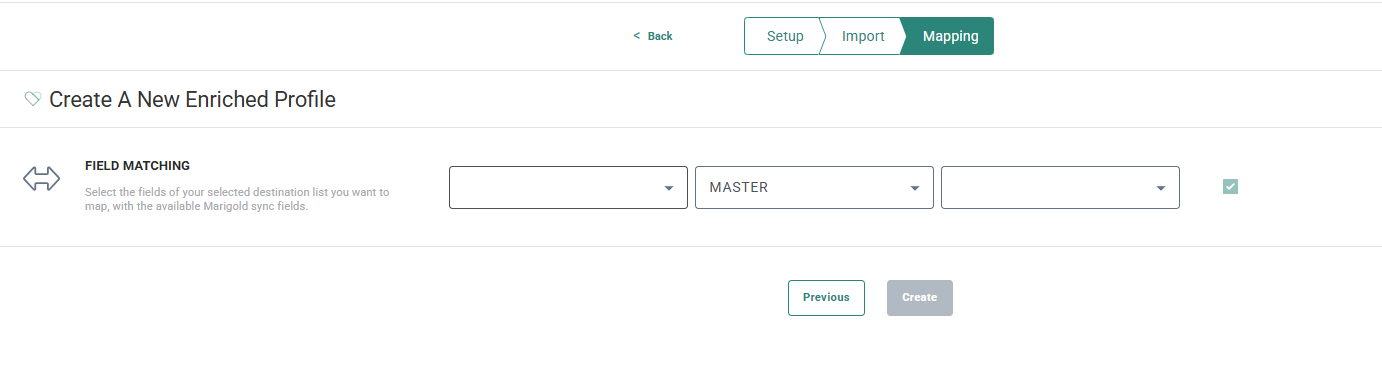
4. Click Next to access the Field matching tab and define which source data should go in which target field in the destination list.
Note: You must at least map the unique identifier profileAltId in Loyalty and set it as key field.
4.1. Select first the Loyalty profileAltId field from the first drop-down.
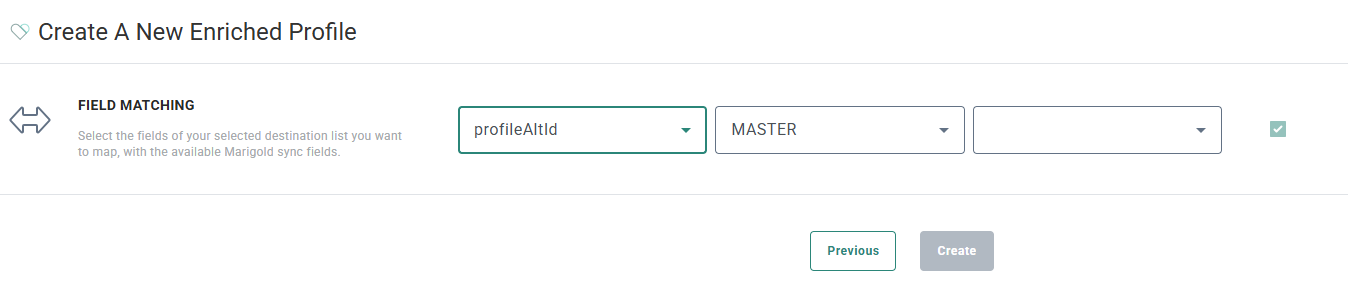
4.2. Next, select the Selligent Audience List or extended profile. This is the list where the imported data will be stored.
4.3. Next, select the field in the selected list where the data is stored.
Repeat the same steps for all the data fields that needs to be imported. Note that when selecting fields from the Loyalty profile, choose fields from the profile attributes.
5. When done, Click Create. A Loyalty profile enrichment is created and available from the overview page.
Note: The profile enrichment will show up in the usage of the selected Selligent list.
View the history of the data synchronization
1. To access the history log for a profile enrichment sync, go to the Data Exchange overview page and click the Edit icon for the record of your choice.TBD when available
2. Next, click the History tab:
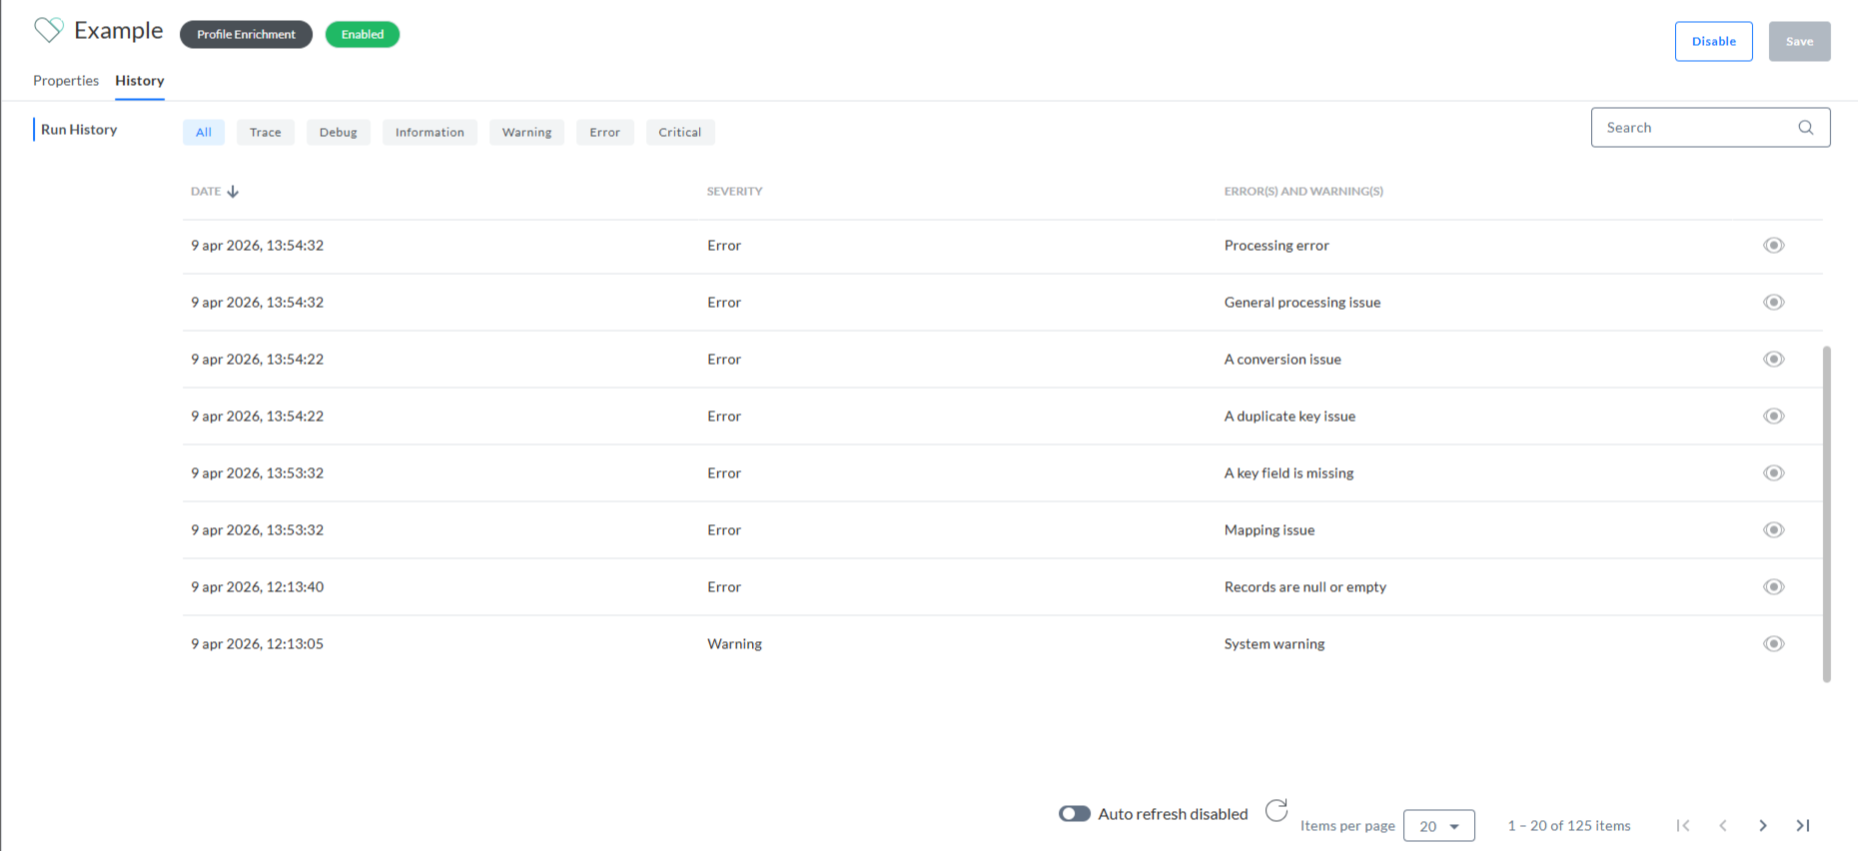
3. All past syncs will be listed here with a message and date of execution.
Messages can be filtered based on the type of message:
- Trace
- Debug
- Information
- Warning
- Error
- Critical
Examples of messages:
- Processing error — A generic error shown when no more specific error message applies.
- General processing issue — Generic processing message when no other processing error applies
- A conversion issue — Before importing, the system checks whether the incoming data can be inserted (for example, invalid length or data type). If it can’t, this error is returned.
- A duplicate key issue — When more than one profile corresponds to the lookup key.
- A key field is missing — The key field used for mapping doesn’t exist in the incoming data.
- Mapping issue — Generic message when there is a mapping issues that does not correspond to any of the specific mapping issues
- Records are null or empty — There is no data available to update or insert
- System warning — Generic system warning
