How to: Add your Placement Manager Tag to Google Tag Manager
This feature is available to Admins only.
Google Tag Manager (GTM) is a tag management system that allows teams to add and manage website code, such as analytics tags, marketing pixels and third-party scripts.
You can use GTM to add a Grow placement manager tag to your website and manage the Experiences that it loads. This is particularly useful when your web team already uses GTM to control website tags.
This allows you to manage website tags through GTM rather than directly in the site code.
Note: This article covers publishing Experiences through GTM. To send Grow analytics events to a GTM container, use the Google Tag Manager integration in Account integrations instead.
How to add a Placement Manager tag to Google Tag Manager
Before you get started, you will need to ensure you have:
-
Created a Placement Manager
-
Installed GTM on the target website
-
Access to the GTM container on the website
To add an Placement Manager tag to GTM, follow these steps:
-
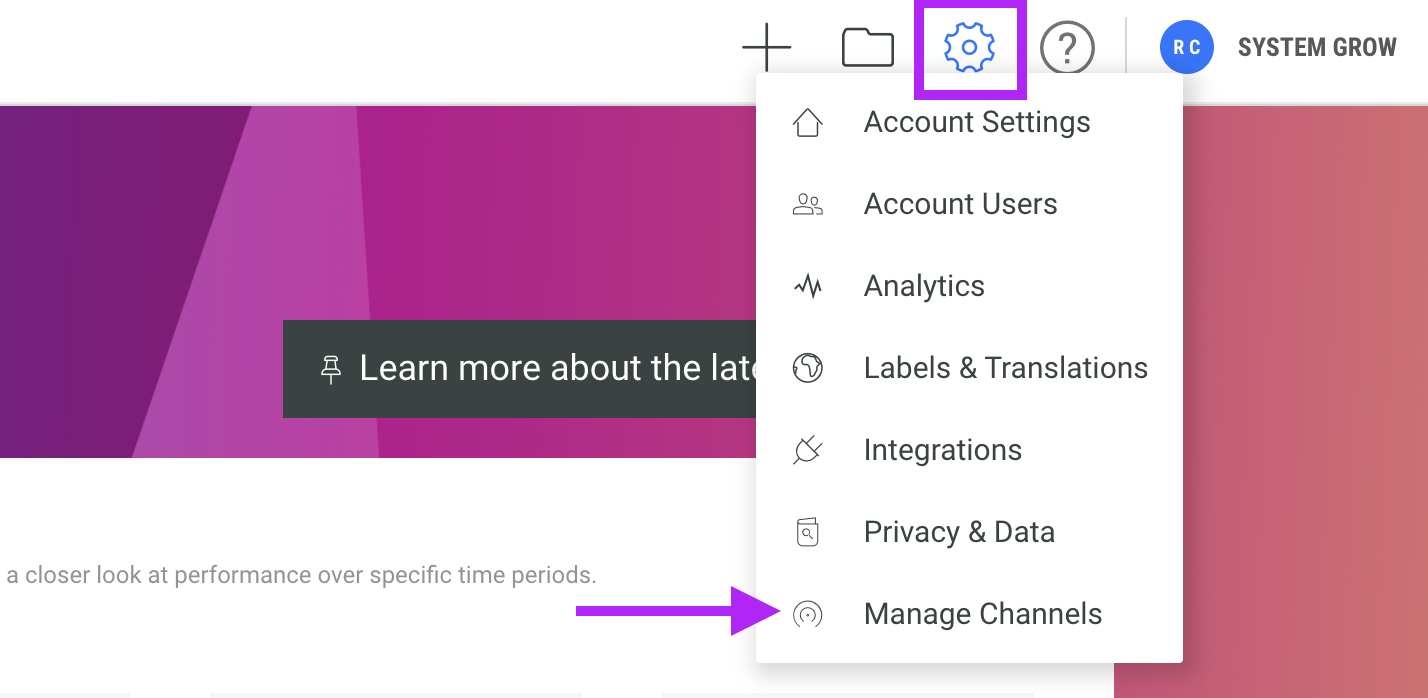
Hover over the cog icon in the top right corner and click Manage Channels from the menu that appears.
-
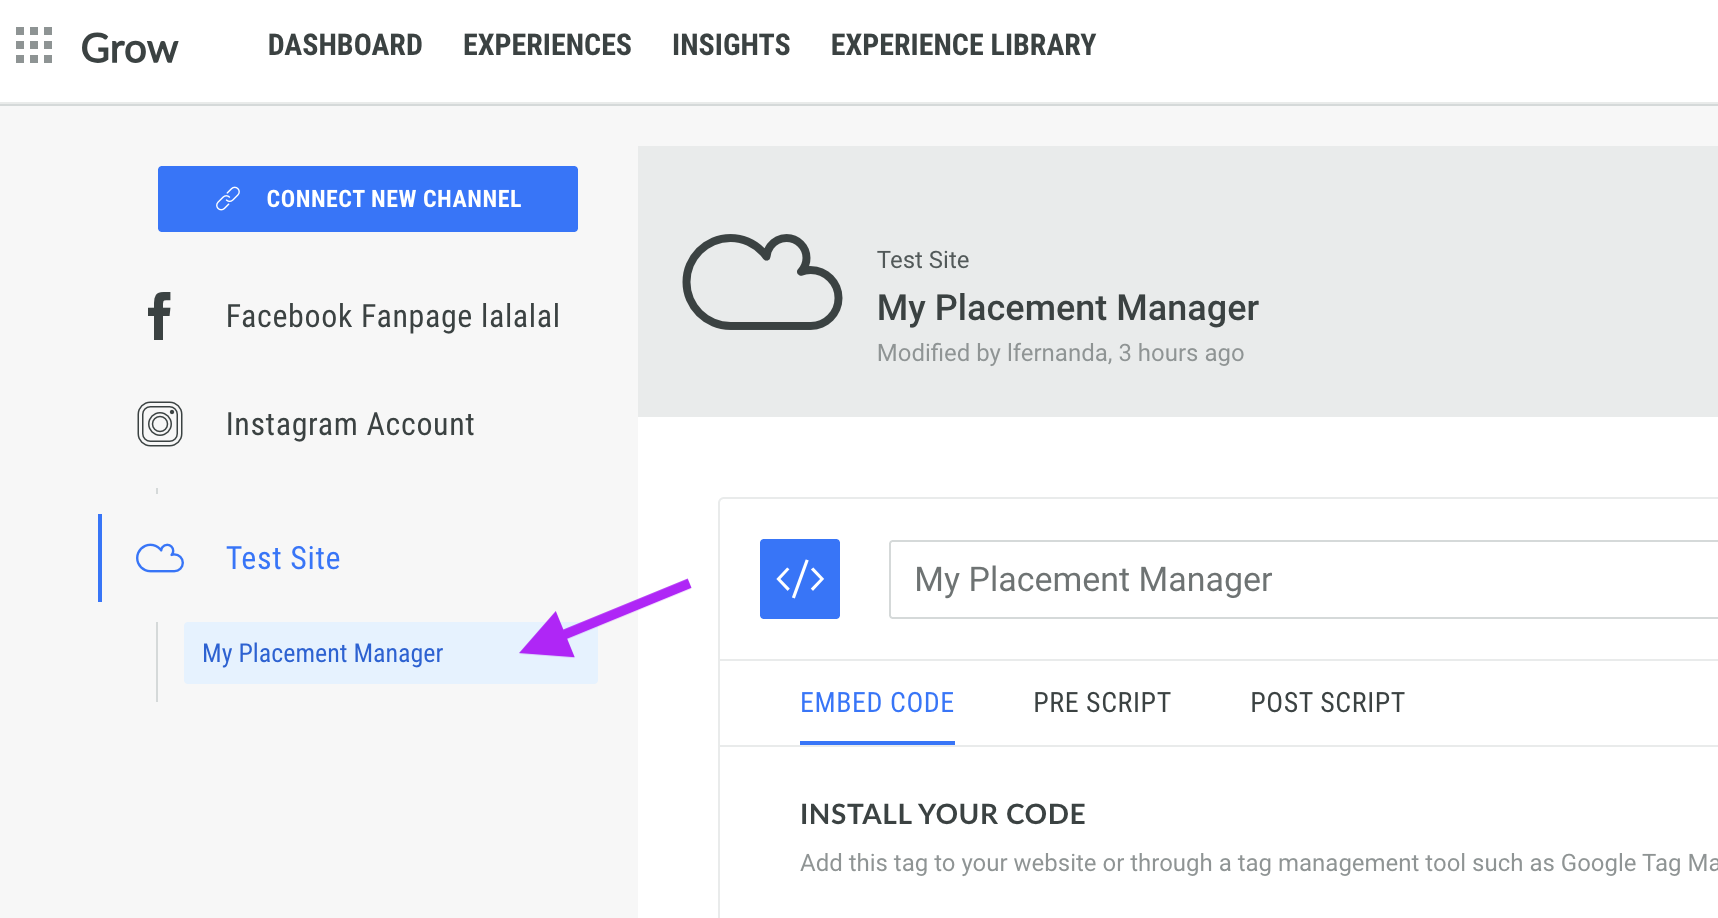
Select the Placement Manager from those available on the left hand side.
-
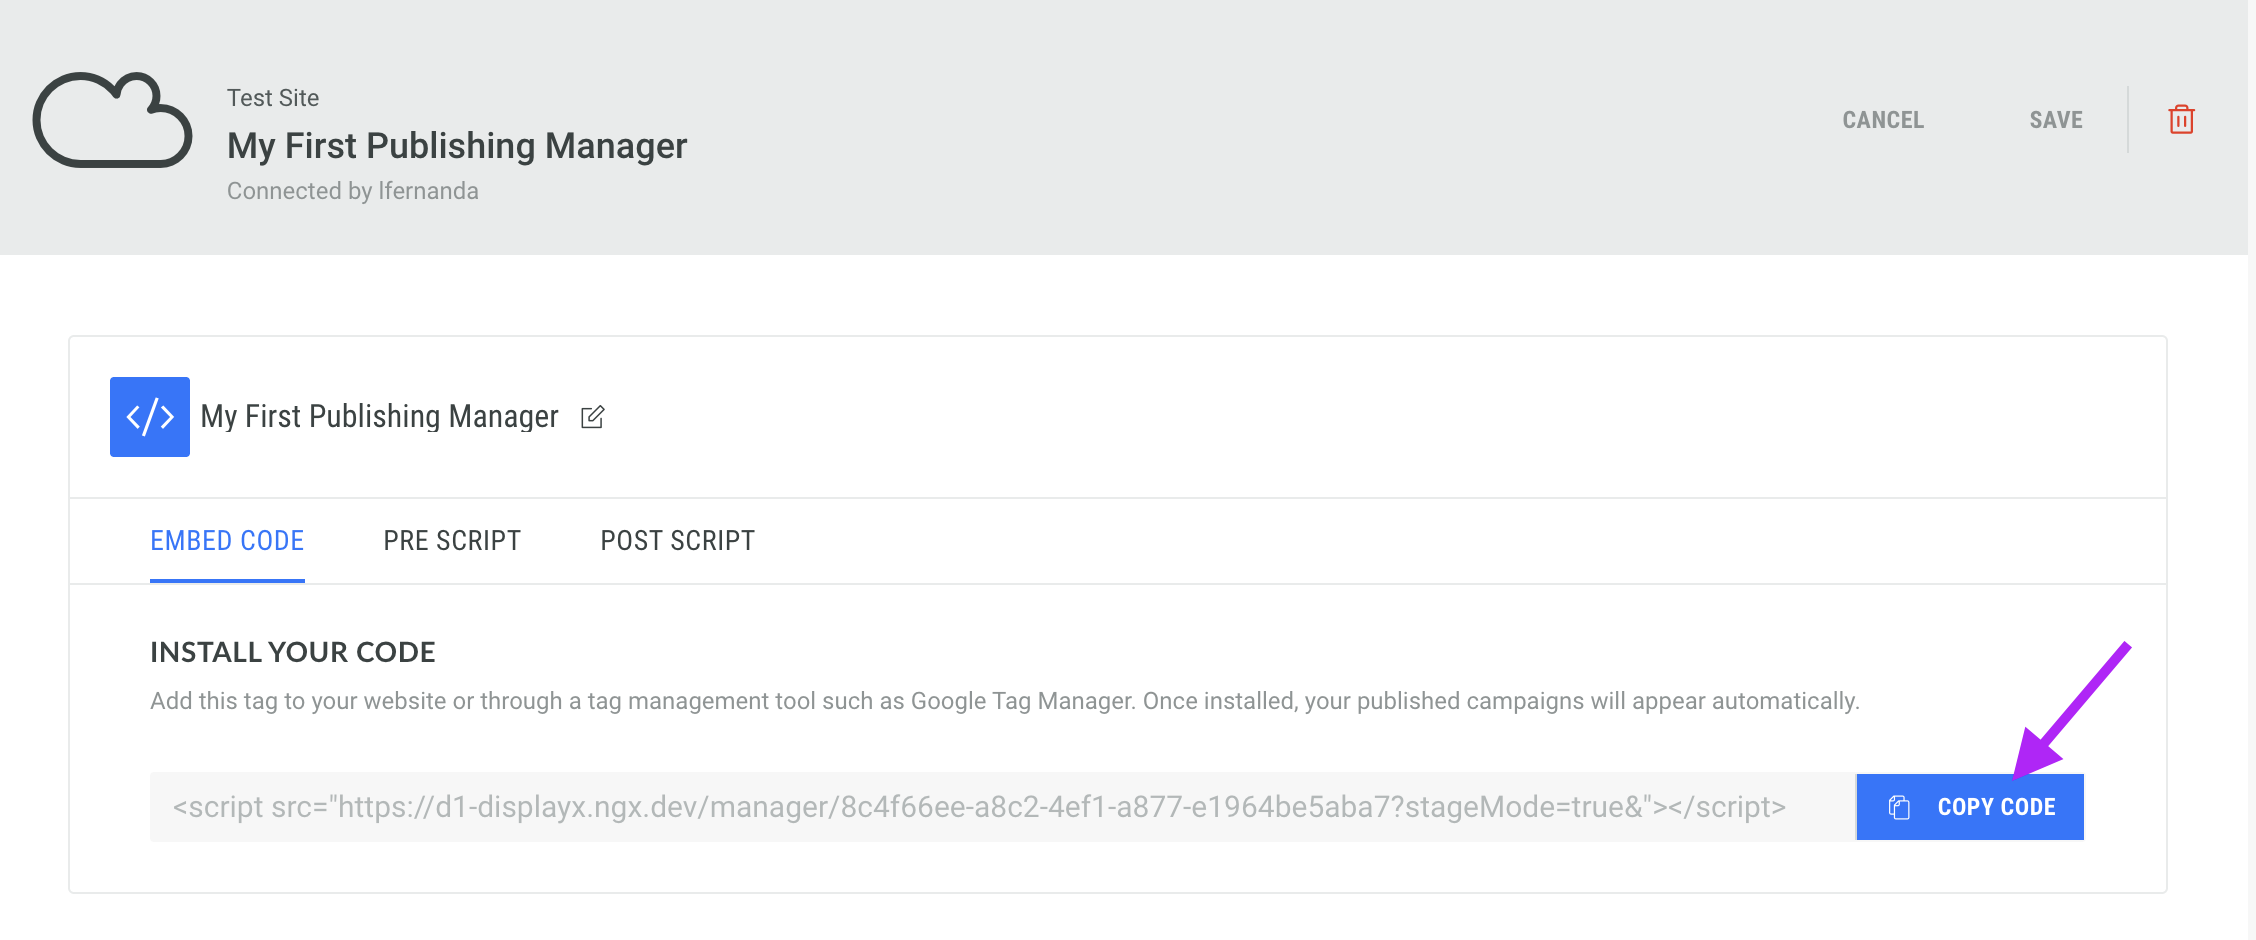
Under the Embed Code tab, click Copy Code to copy the <script> tag to your clipboard.
-
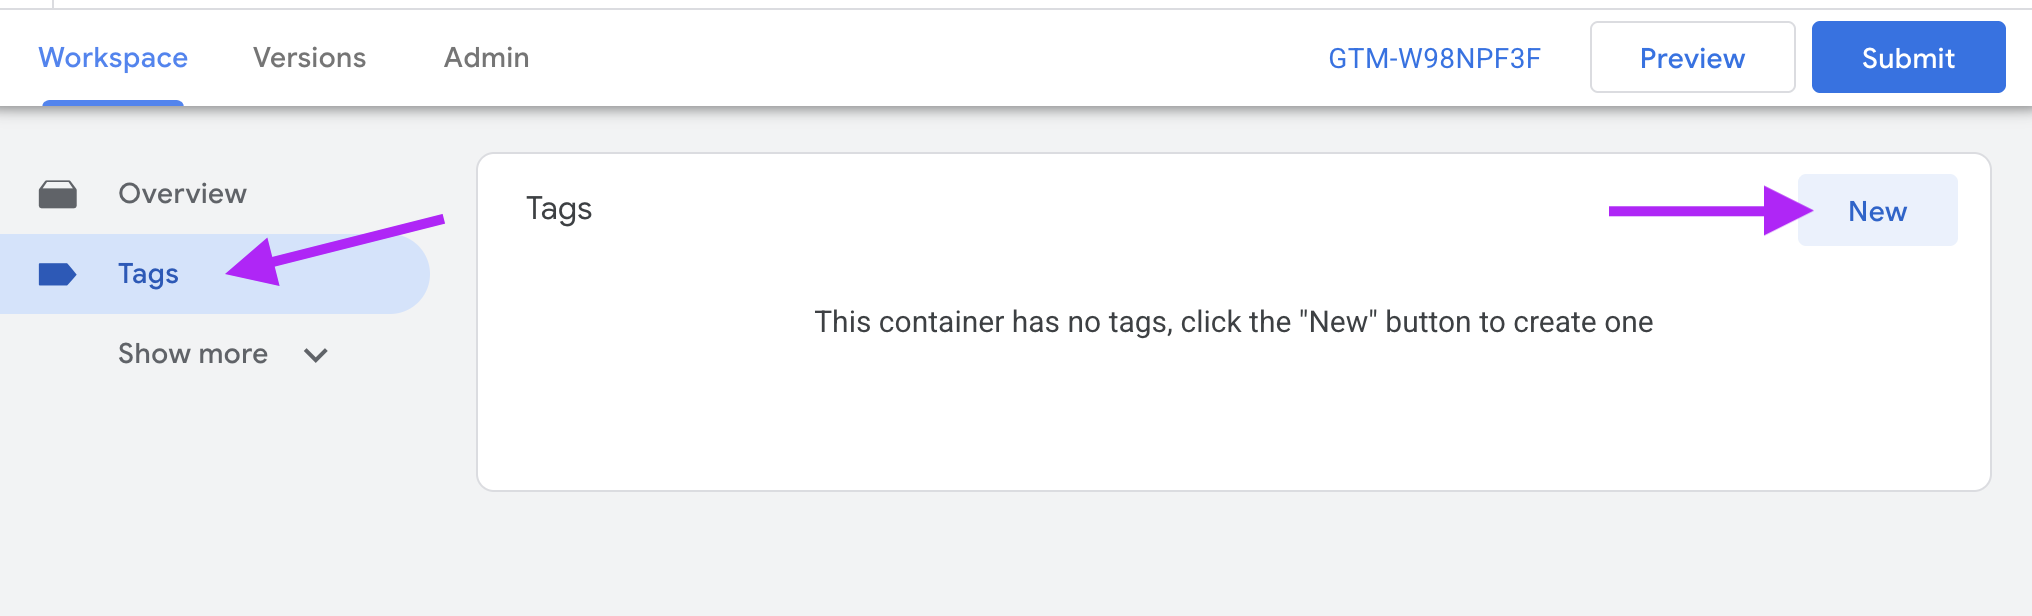
In GTM, open the container for your website. Click Tags and then click New to begin creating a new tag.
-
Rename the tag so that you can easily identify it in the future
Note: We recommend naming it tag after the associated Placement Manager within Grow.
-
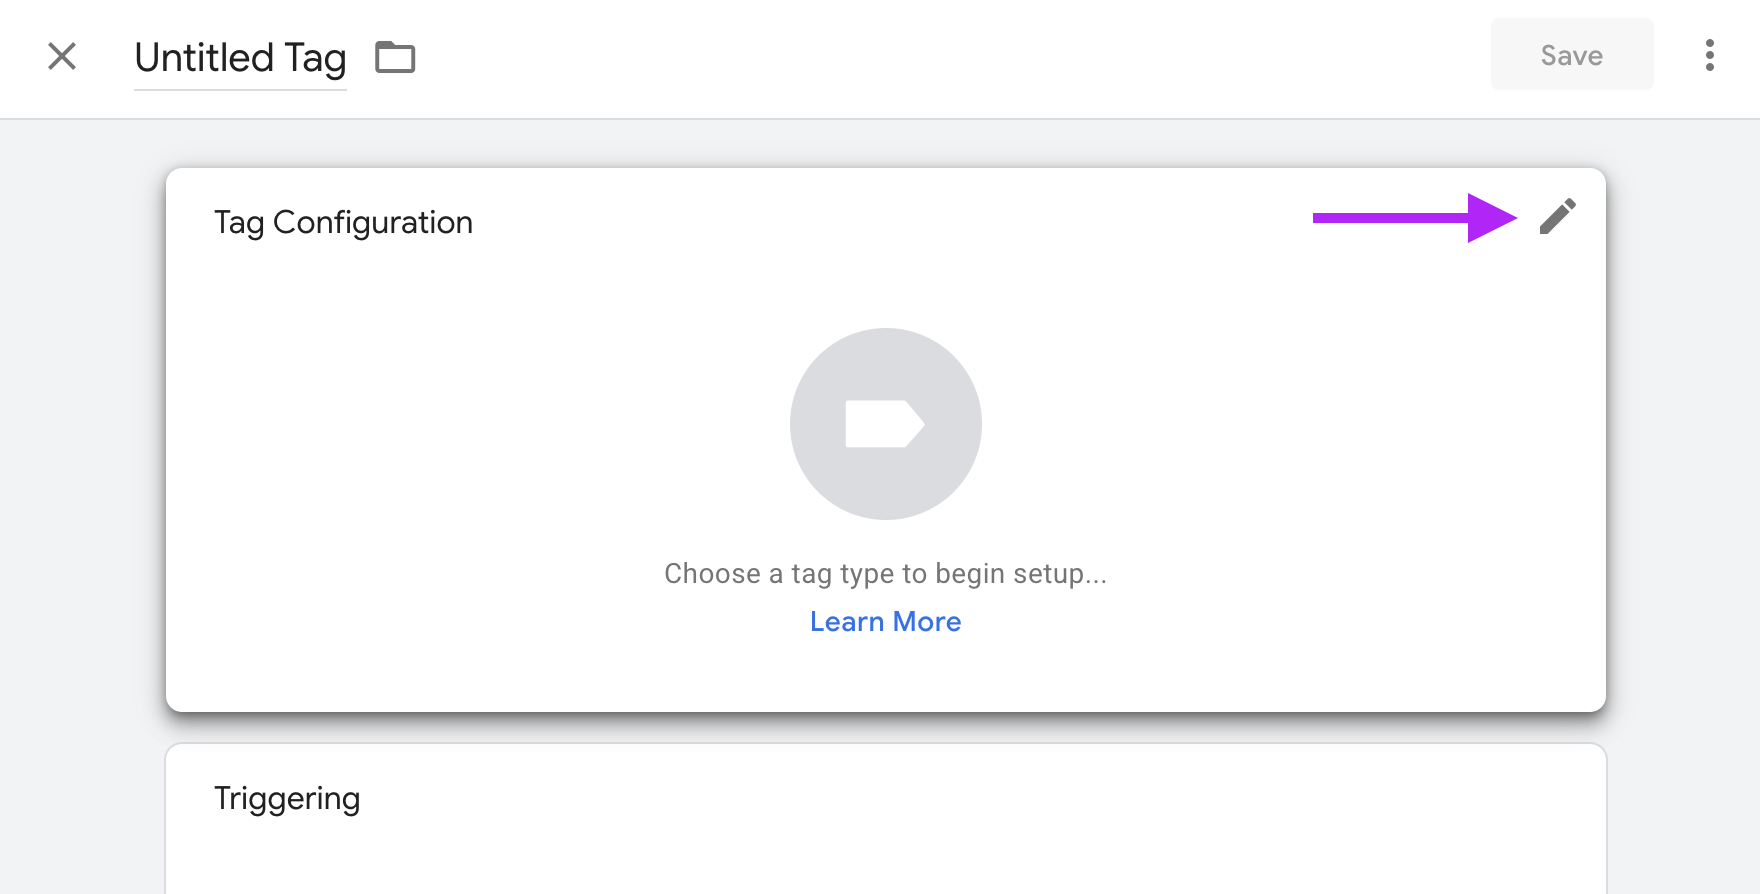
Click the edit icon for Tag Configuration.
-
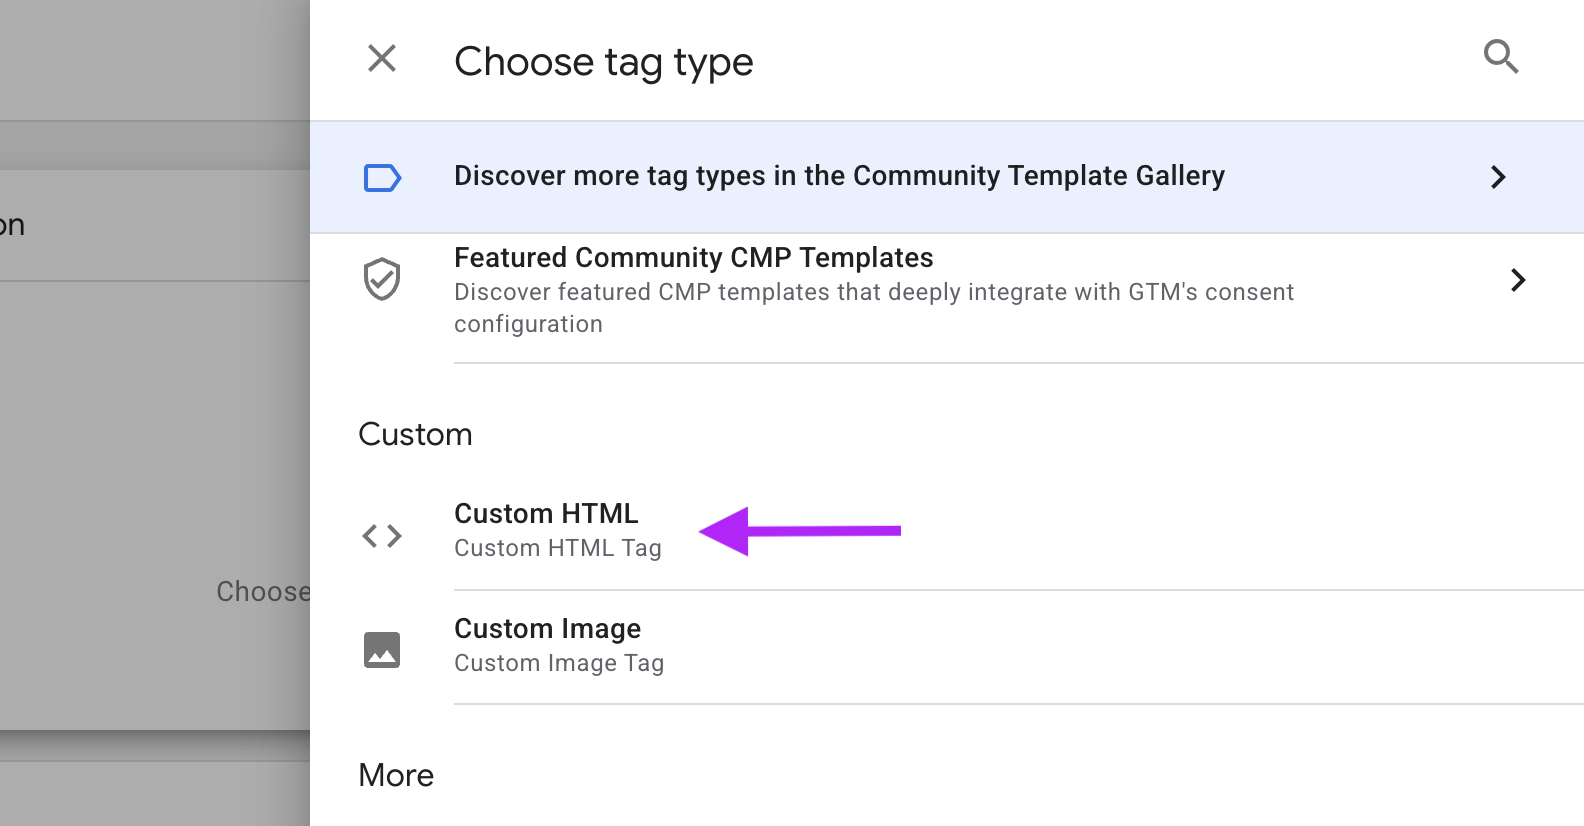
Scroll down and select Custom HTML
-
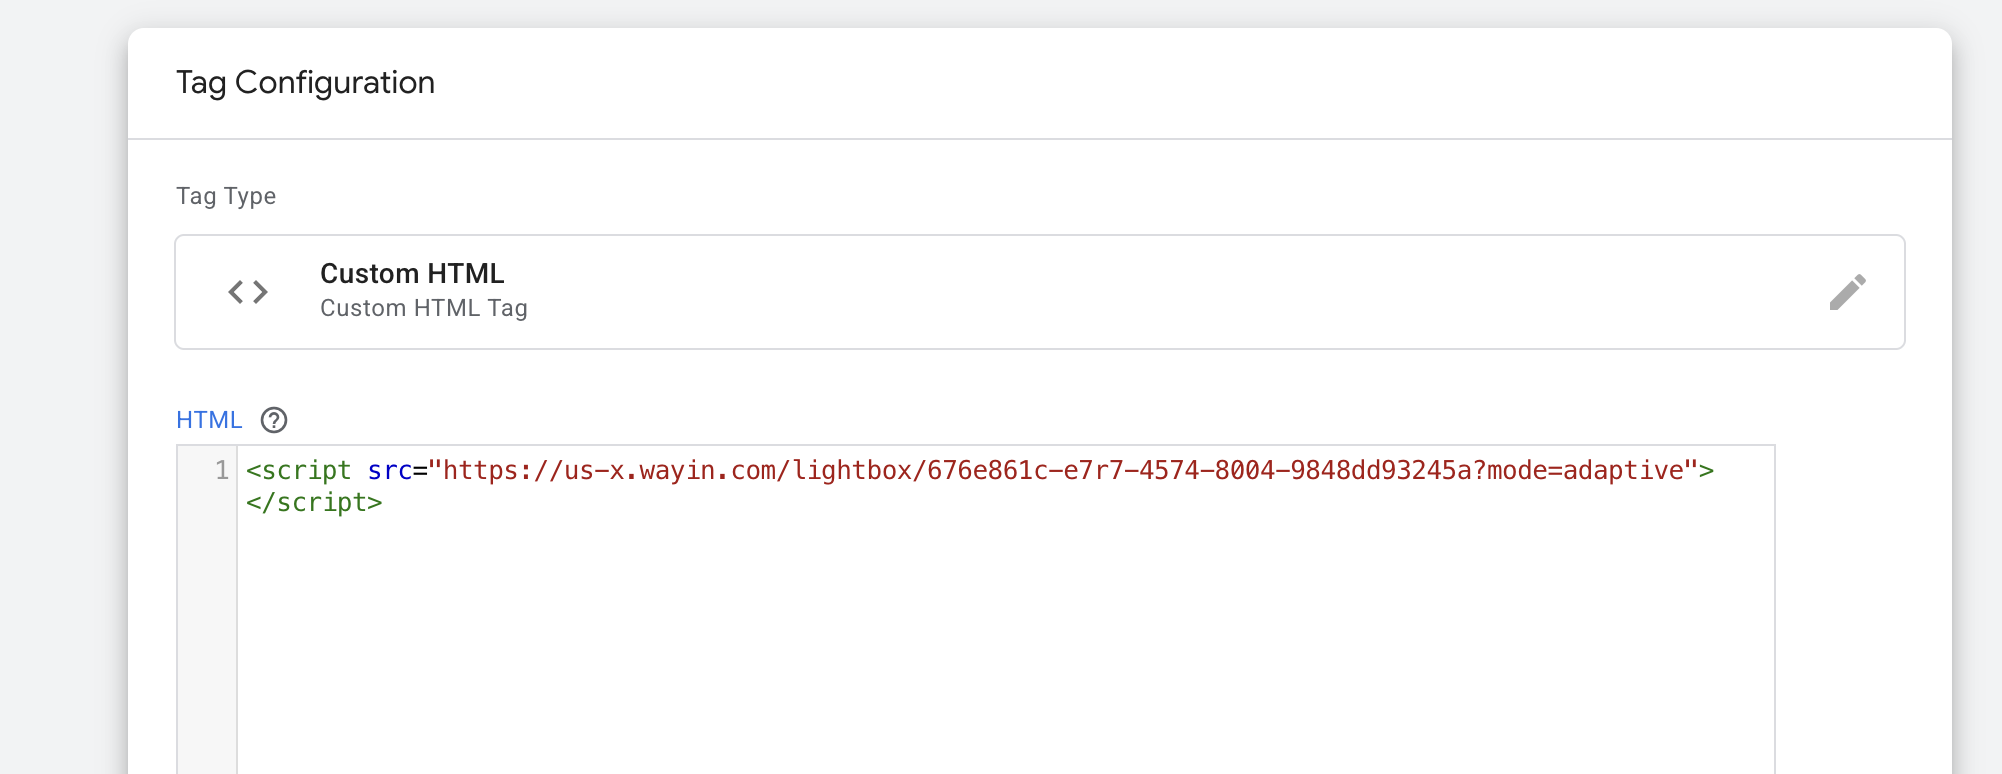
Paste the Grow placement manager tag into the HTML text field
-
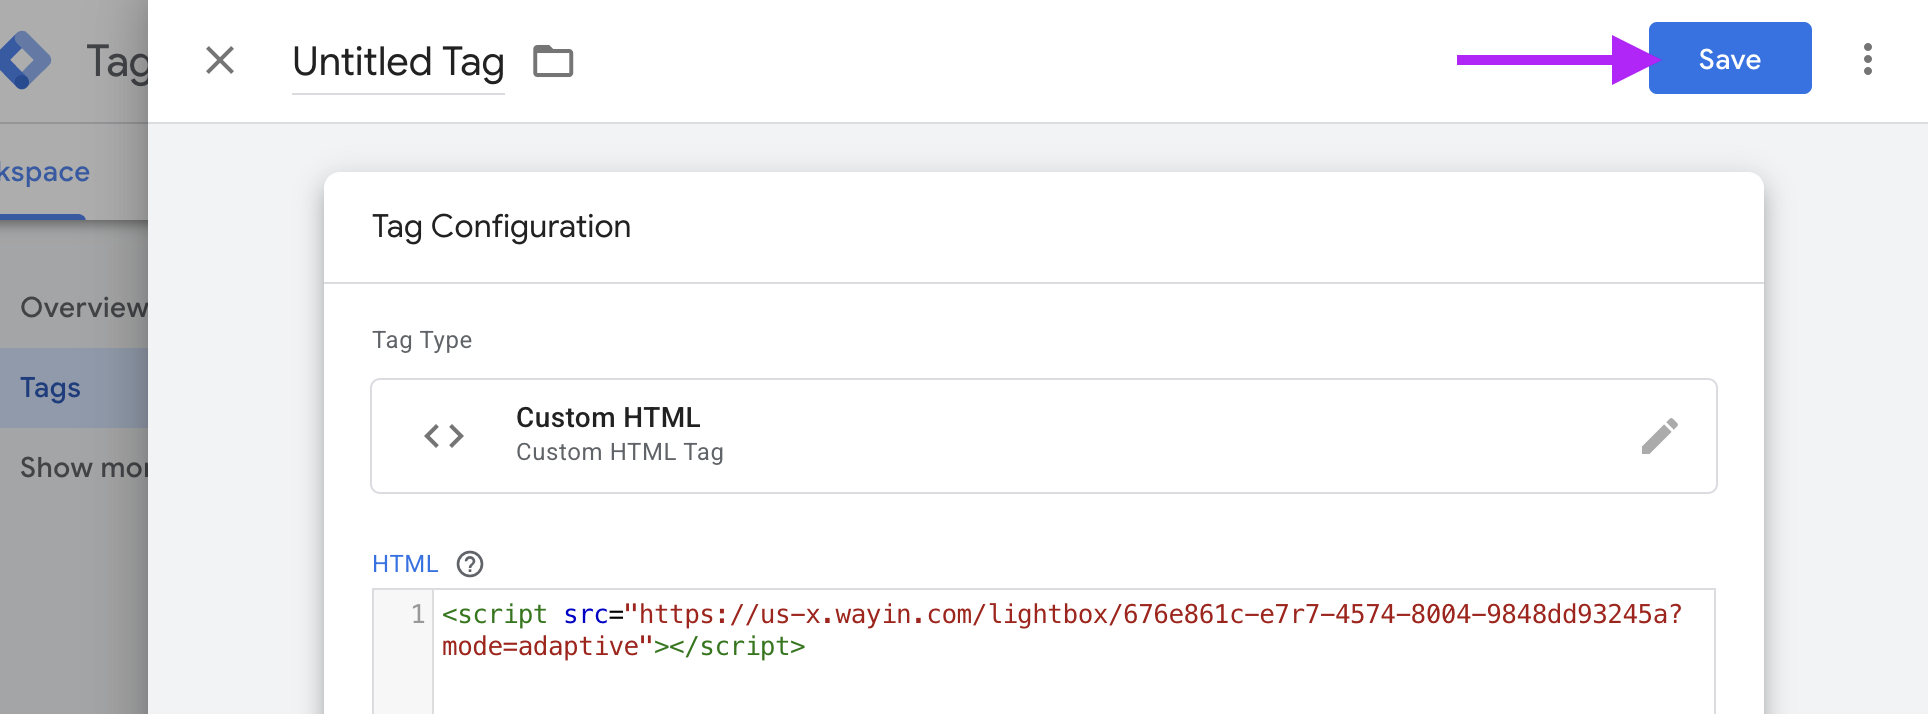
Click Save.
-
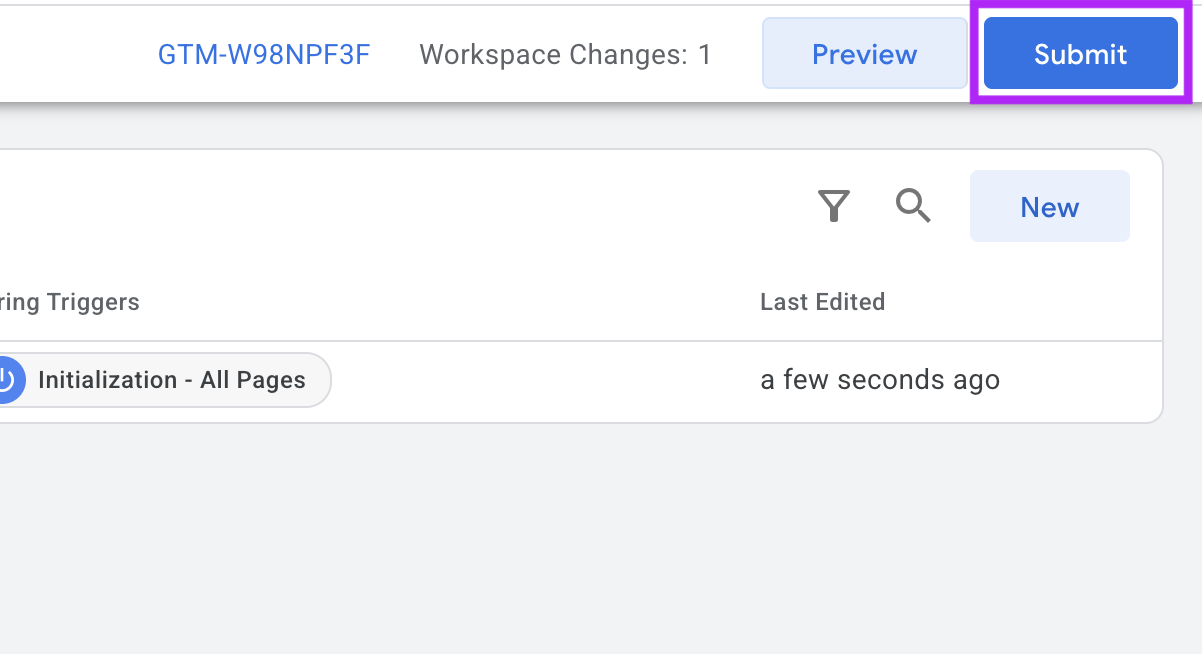
When testing is complete, select Submit in GTM, enter a version name and description, and publish the container.
How to test your Placement Manager
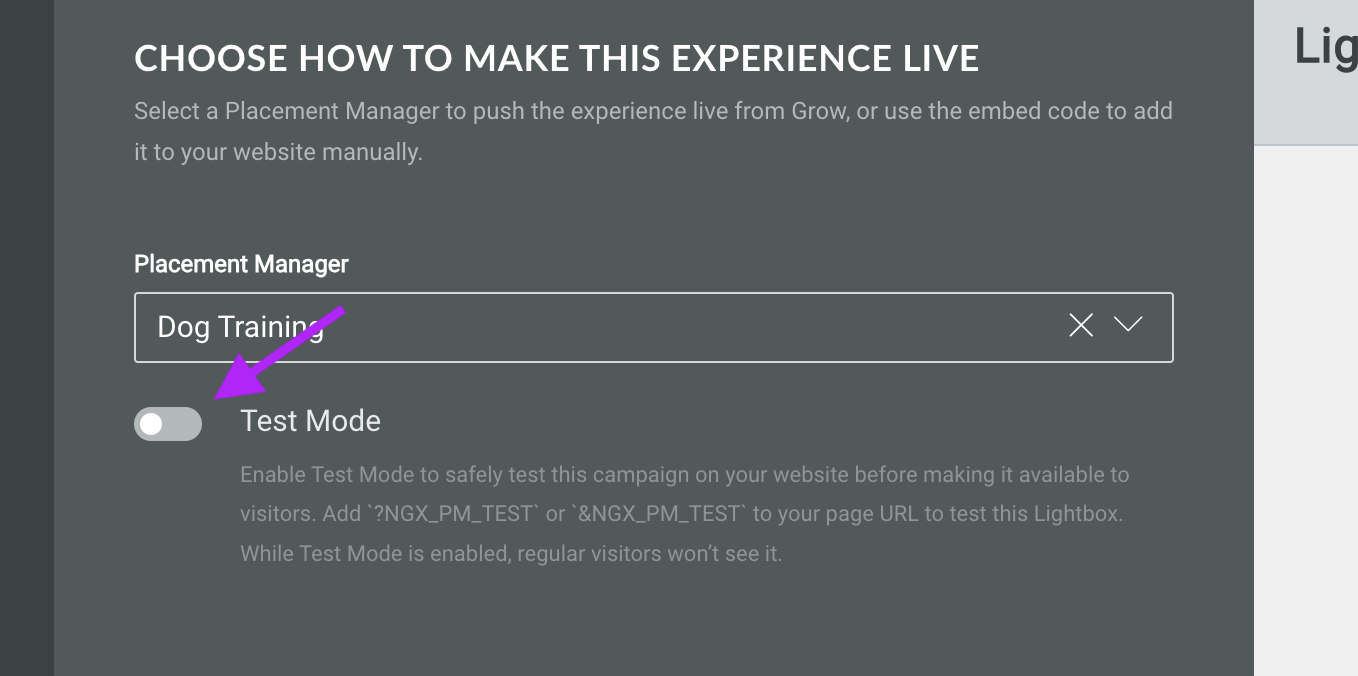
You can test your Placement Manager by using the Test Mode within your Grow account. Enabling Test Mode allows you to test your Experience before making it available to visitors.
-
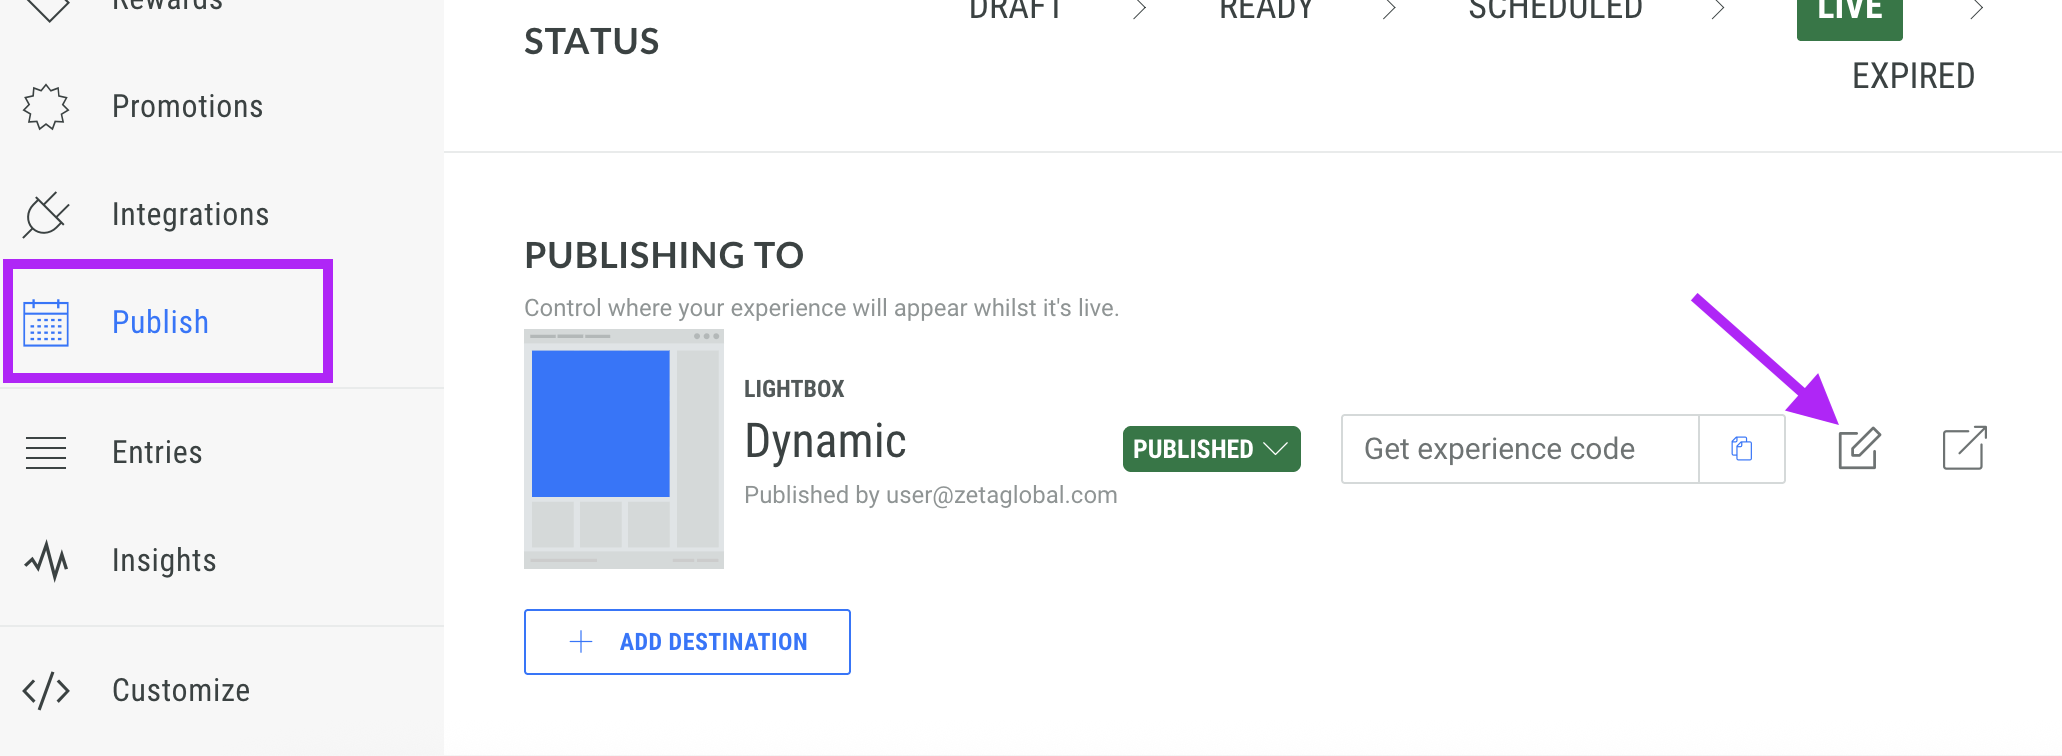
Go to your Experience within Grow and click on the Publish tab. Click the Edit icon next to the publishing destination you have just configured.
-
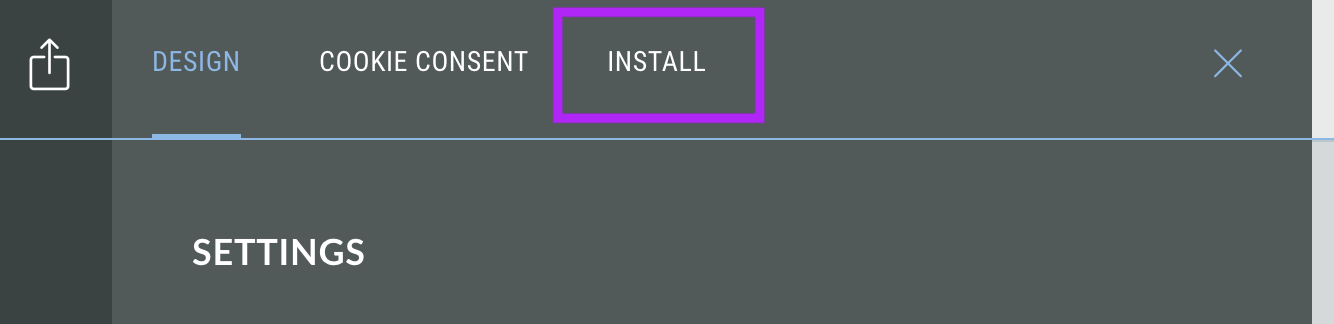
The settings page for the Experience will open. Click on the Install tab.
-
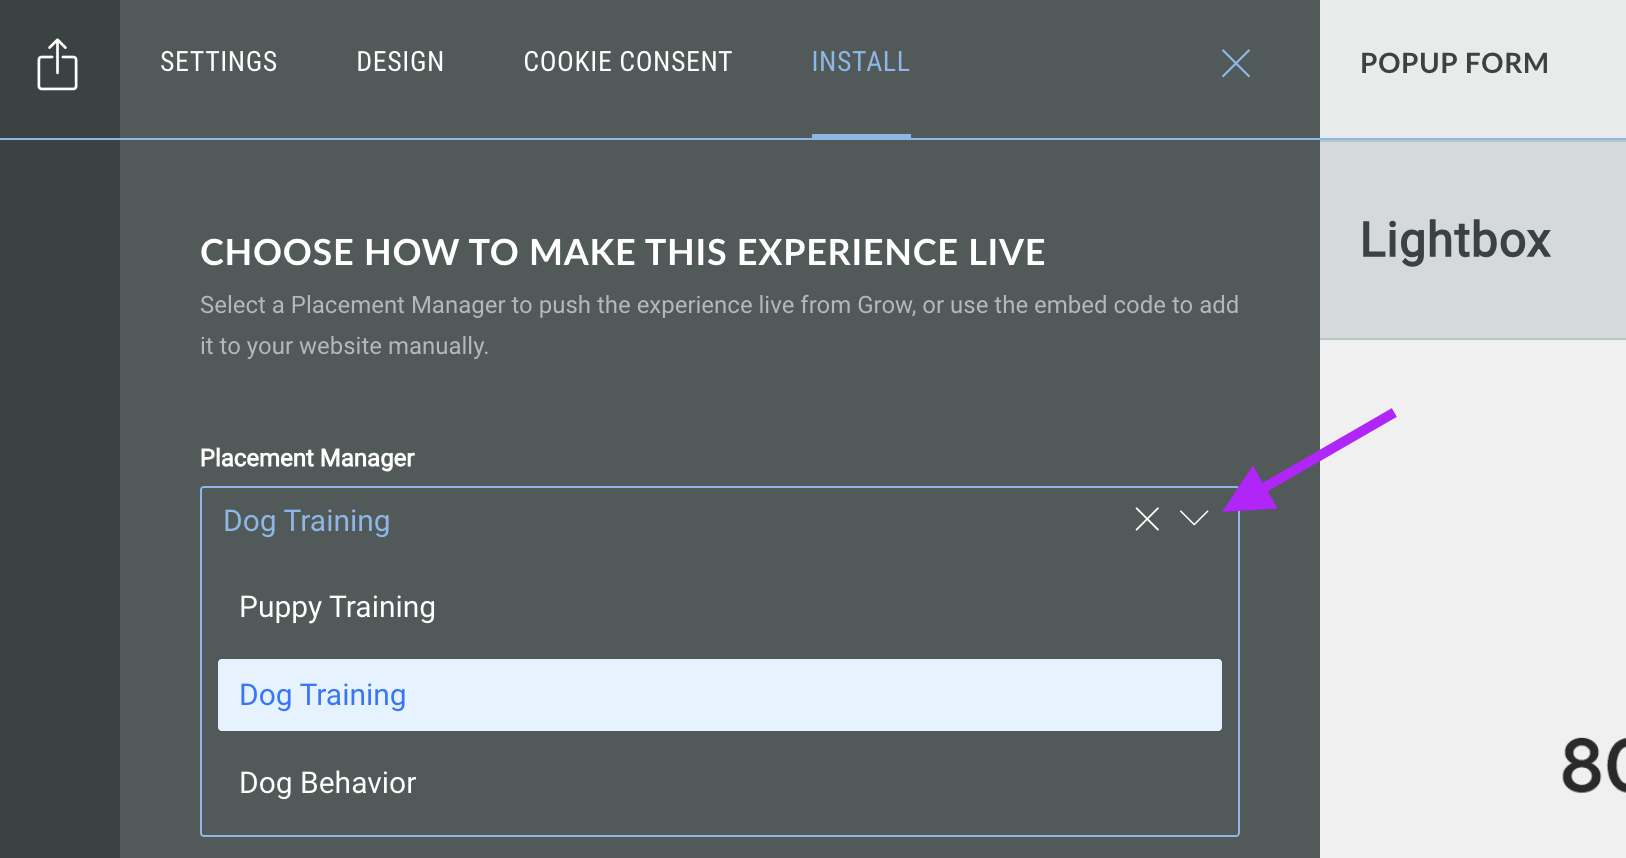
Make sure the Lightbox is associated with the correct Placement Manager.
-
Toggle Test Mode on.
-
Add `?NGX_PM_TEST` or `&NGX_PM_TEST` to the end of your website URL.
For example:
https://www.yoursite.com/?NGX_PM_TESTVisit the test URL and your Experience will appear when its display rules are met. While Test Mode is enabled, regular visitors won’t see it.