How to: Use the Placement Manager
This feature is available to Admins only.
The Grow Placement Manager allows you to group together Experiences that you want to load on your website. Grow then provides an embed code that you can add directly to your website code, or add to your Google Tag Manager account.
For more information on using the Google Tag Manager with Grow, see our additional guide.
Create a Placement Manager
You will need to create a Placement Manager before you begin adding Experiences to it:
-
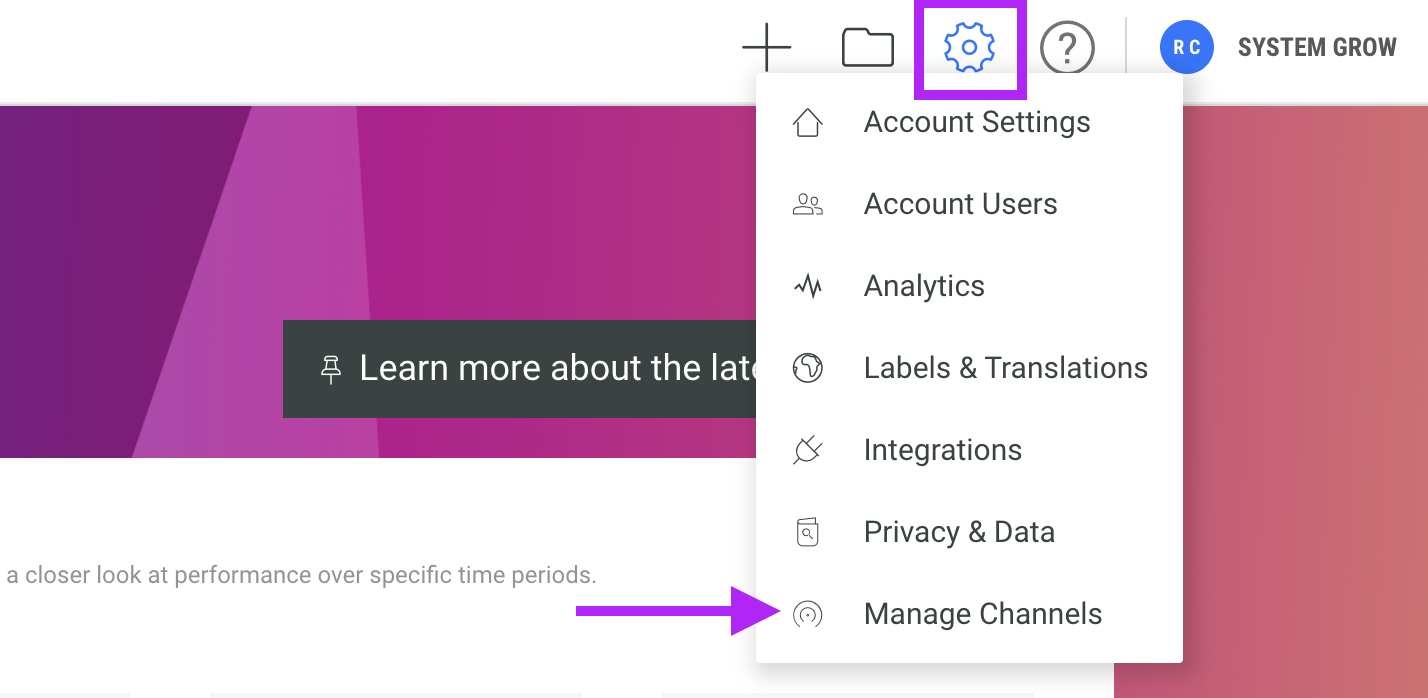
Hover over the cog icon in the top banner. Select Manage Channels from the drop down menu.
-
Select the channel that you want to use, or create a new one.
-
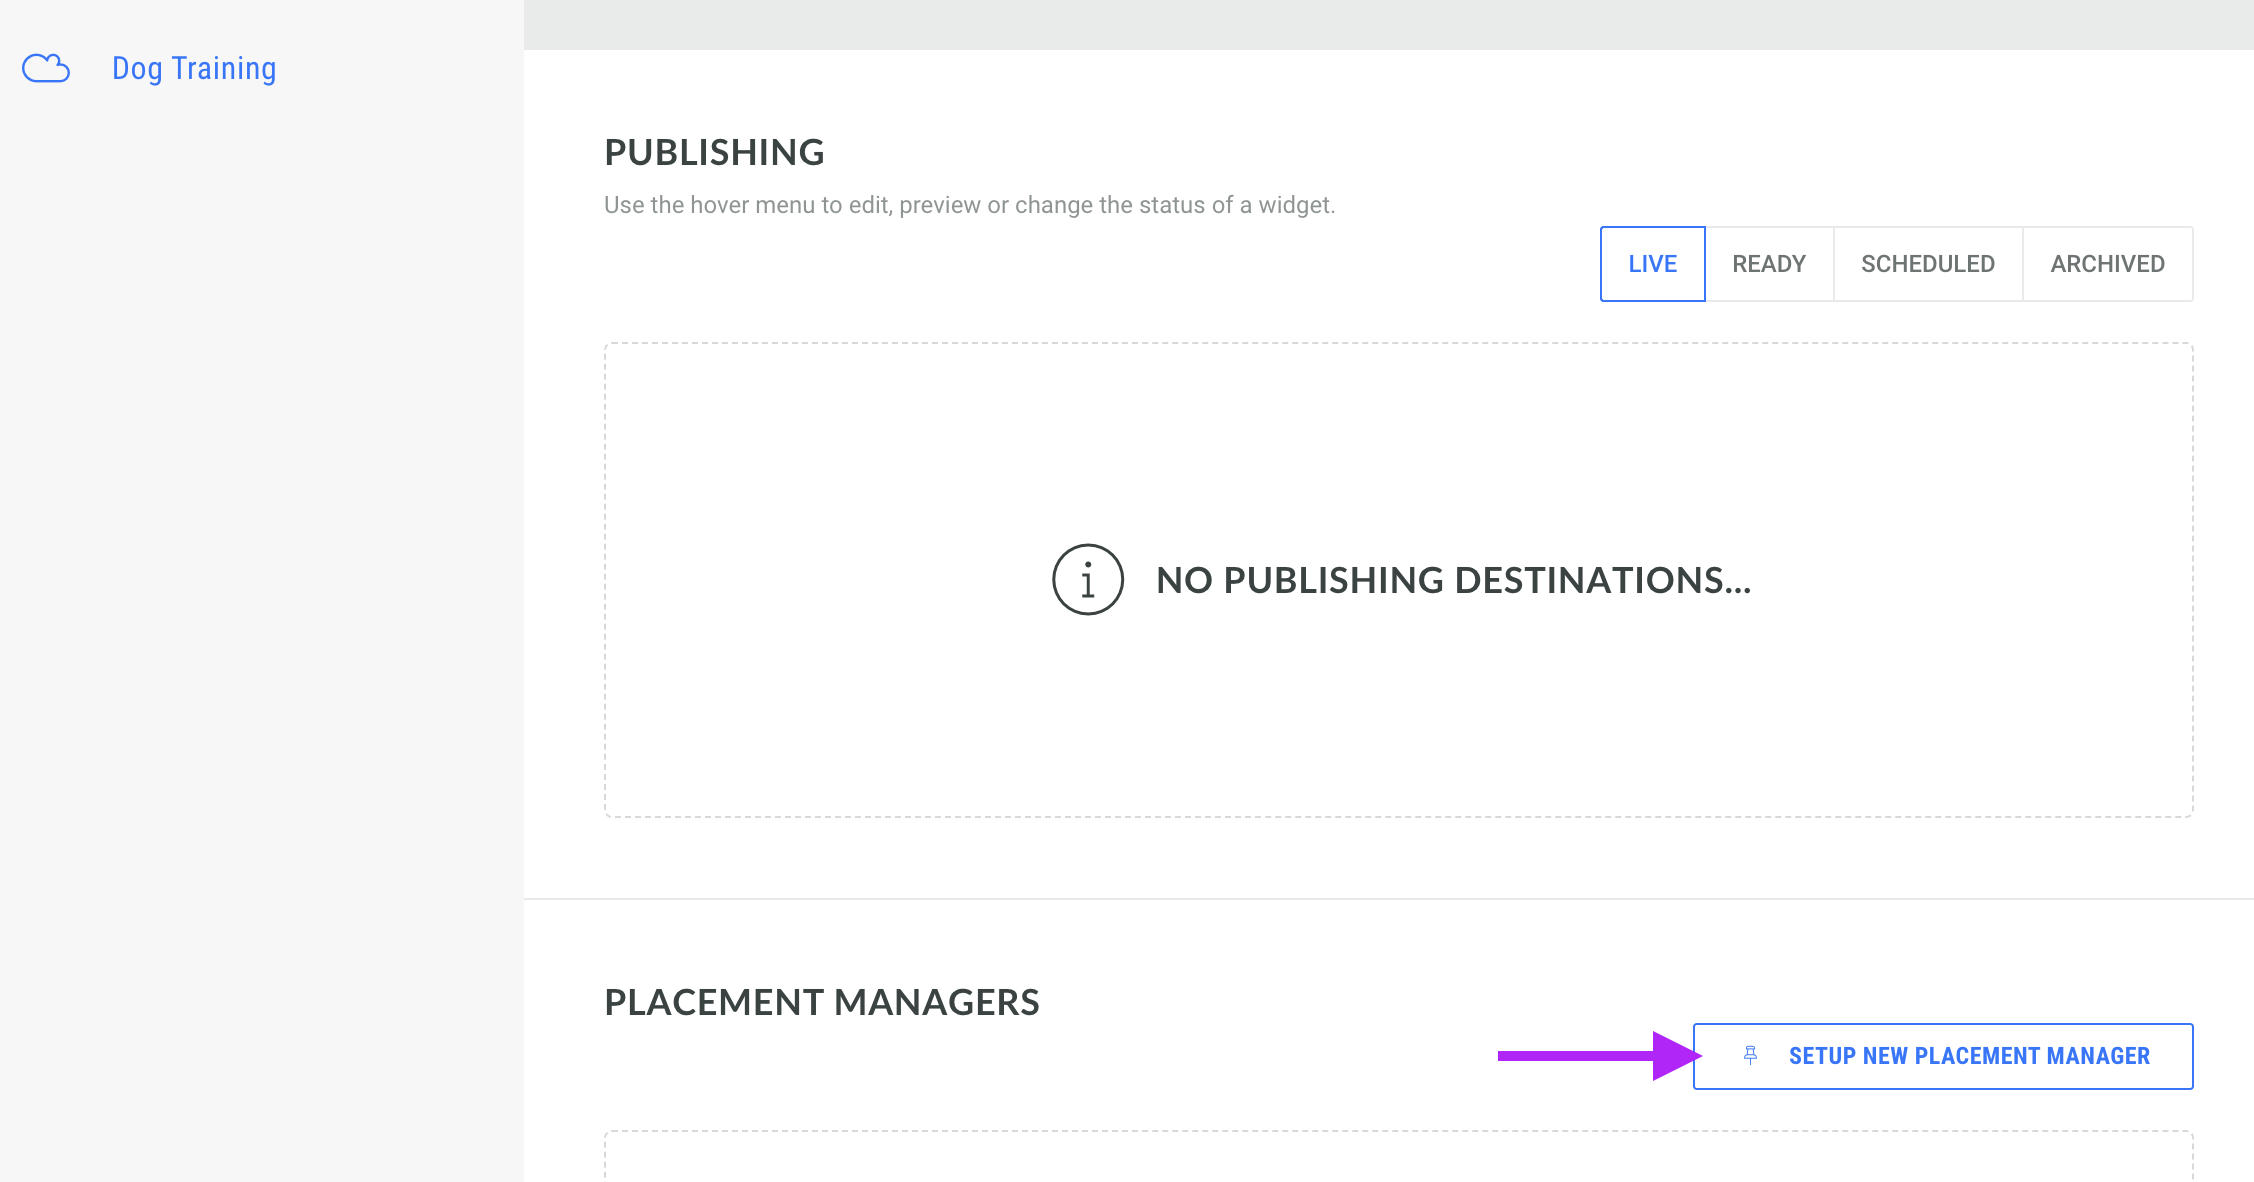
Click Setup New Placement Manager
-
Enter a name for the Placement Manager and click Next.
-
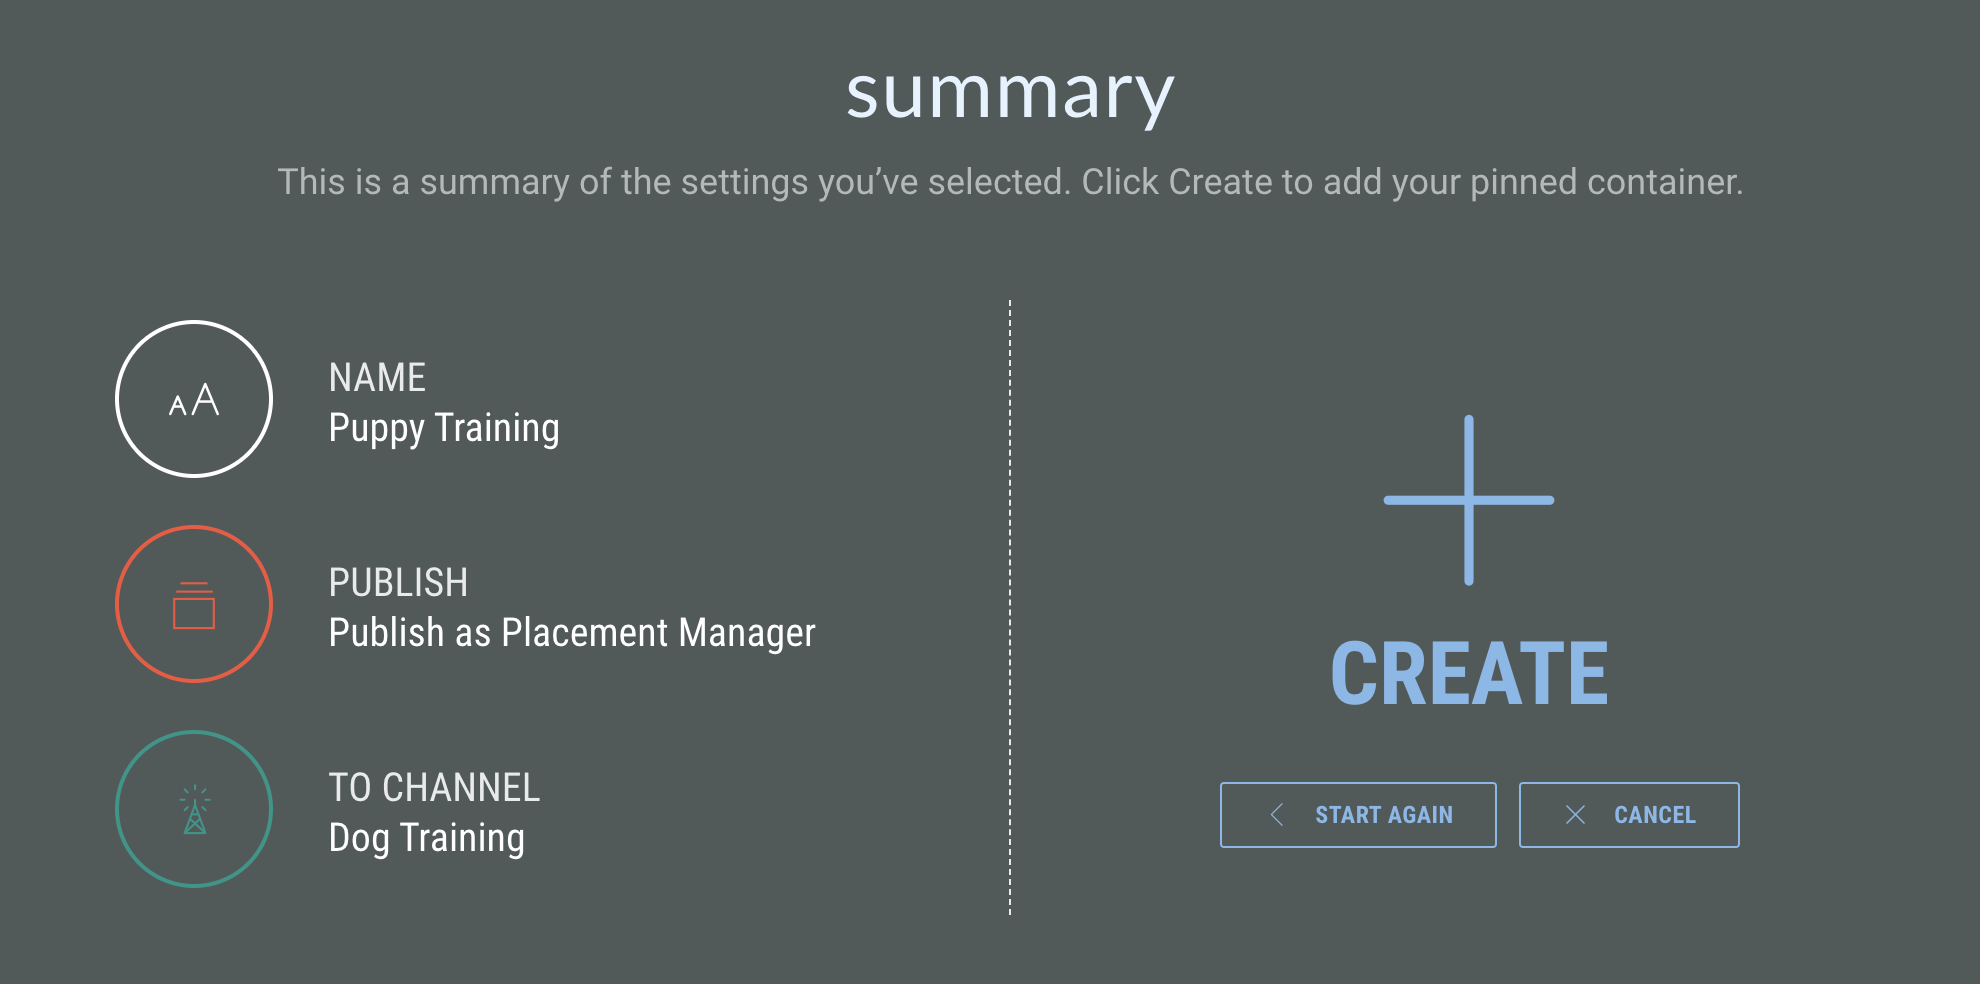
On the Summary step, confirm that the correct channel is selected. Click Create.
-
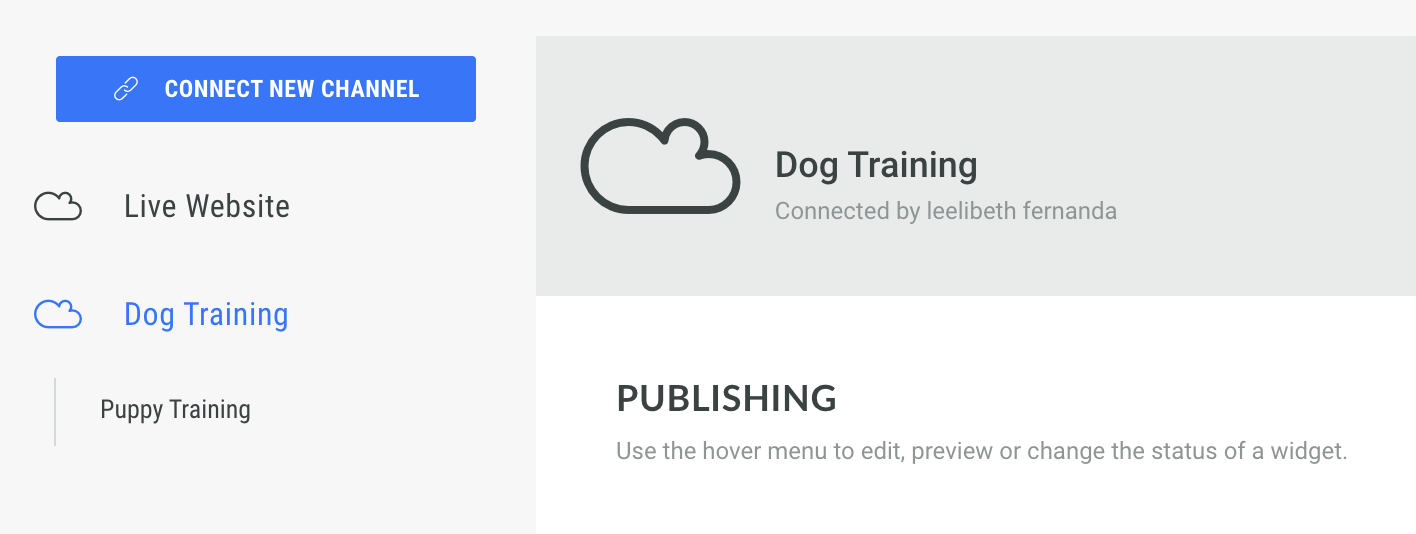
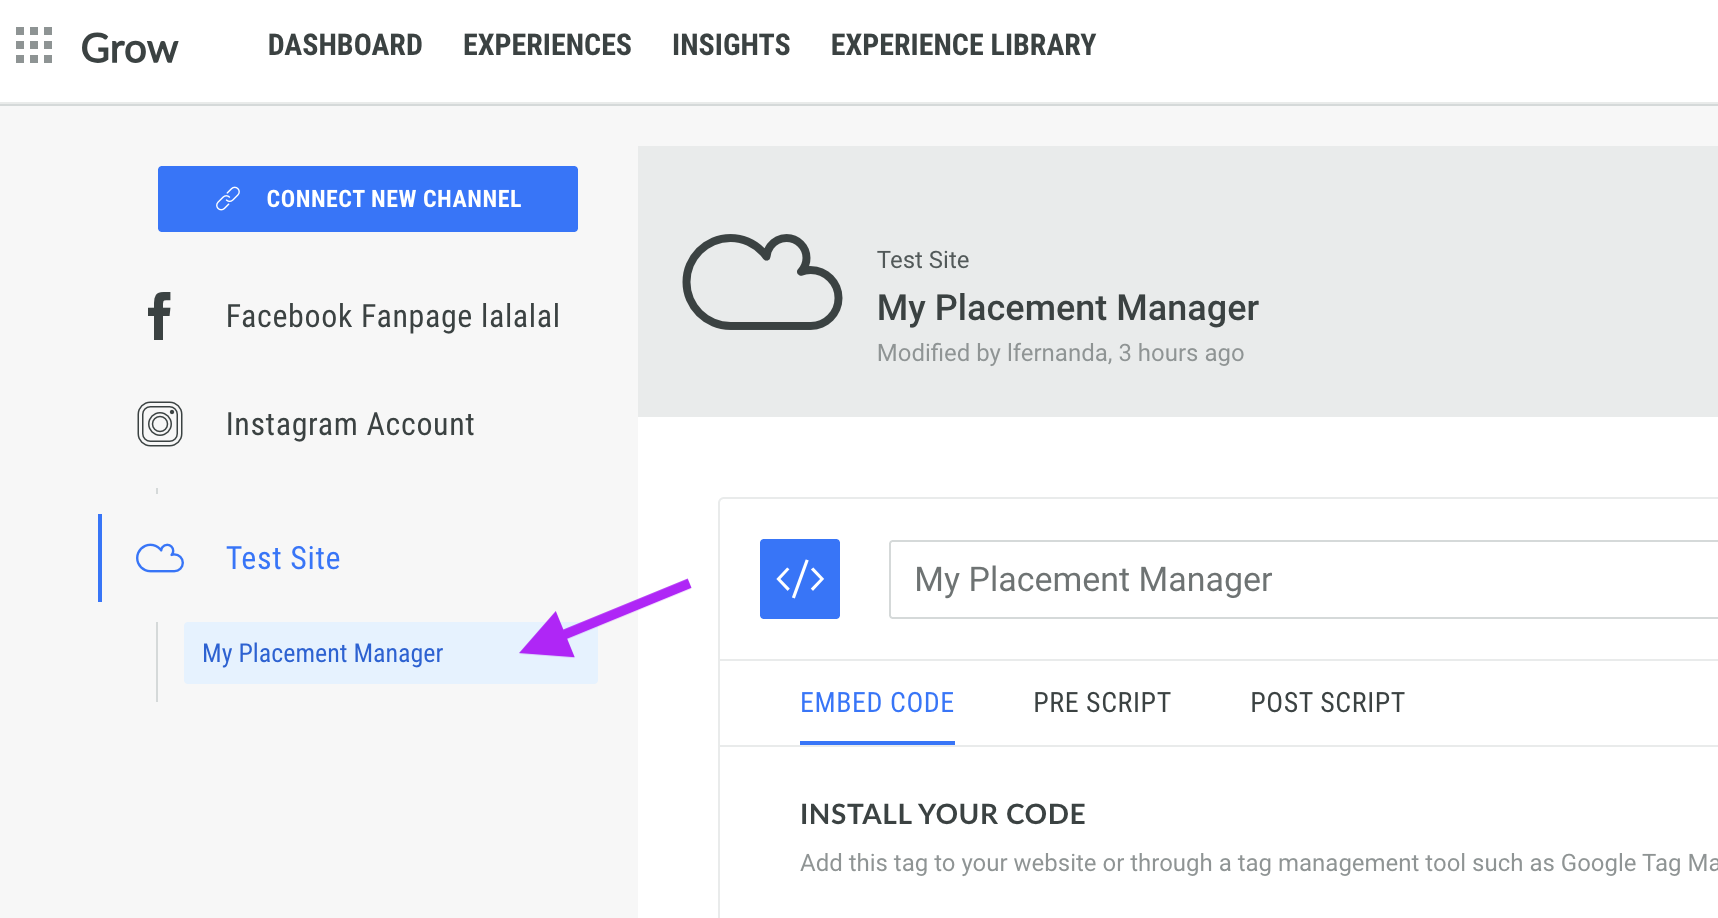
The new Placement Manager is displayed beneath the associated channel in the panel on the left hand side.
Add the Placement Manager tag to your website
There are several ways you can add the Placement Manager code to your website; either directly to your website or by using a tool such as Google Tag Manager (GTM).
-
Select the Placement Manager from the panel on the left hand side.
-
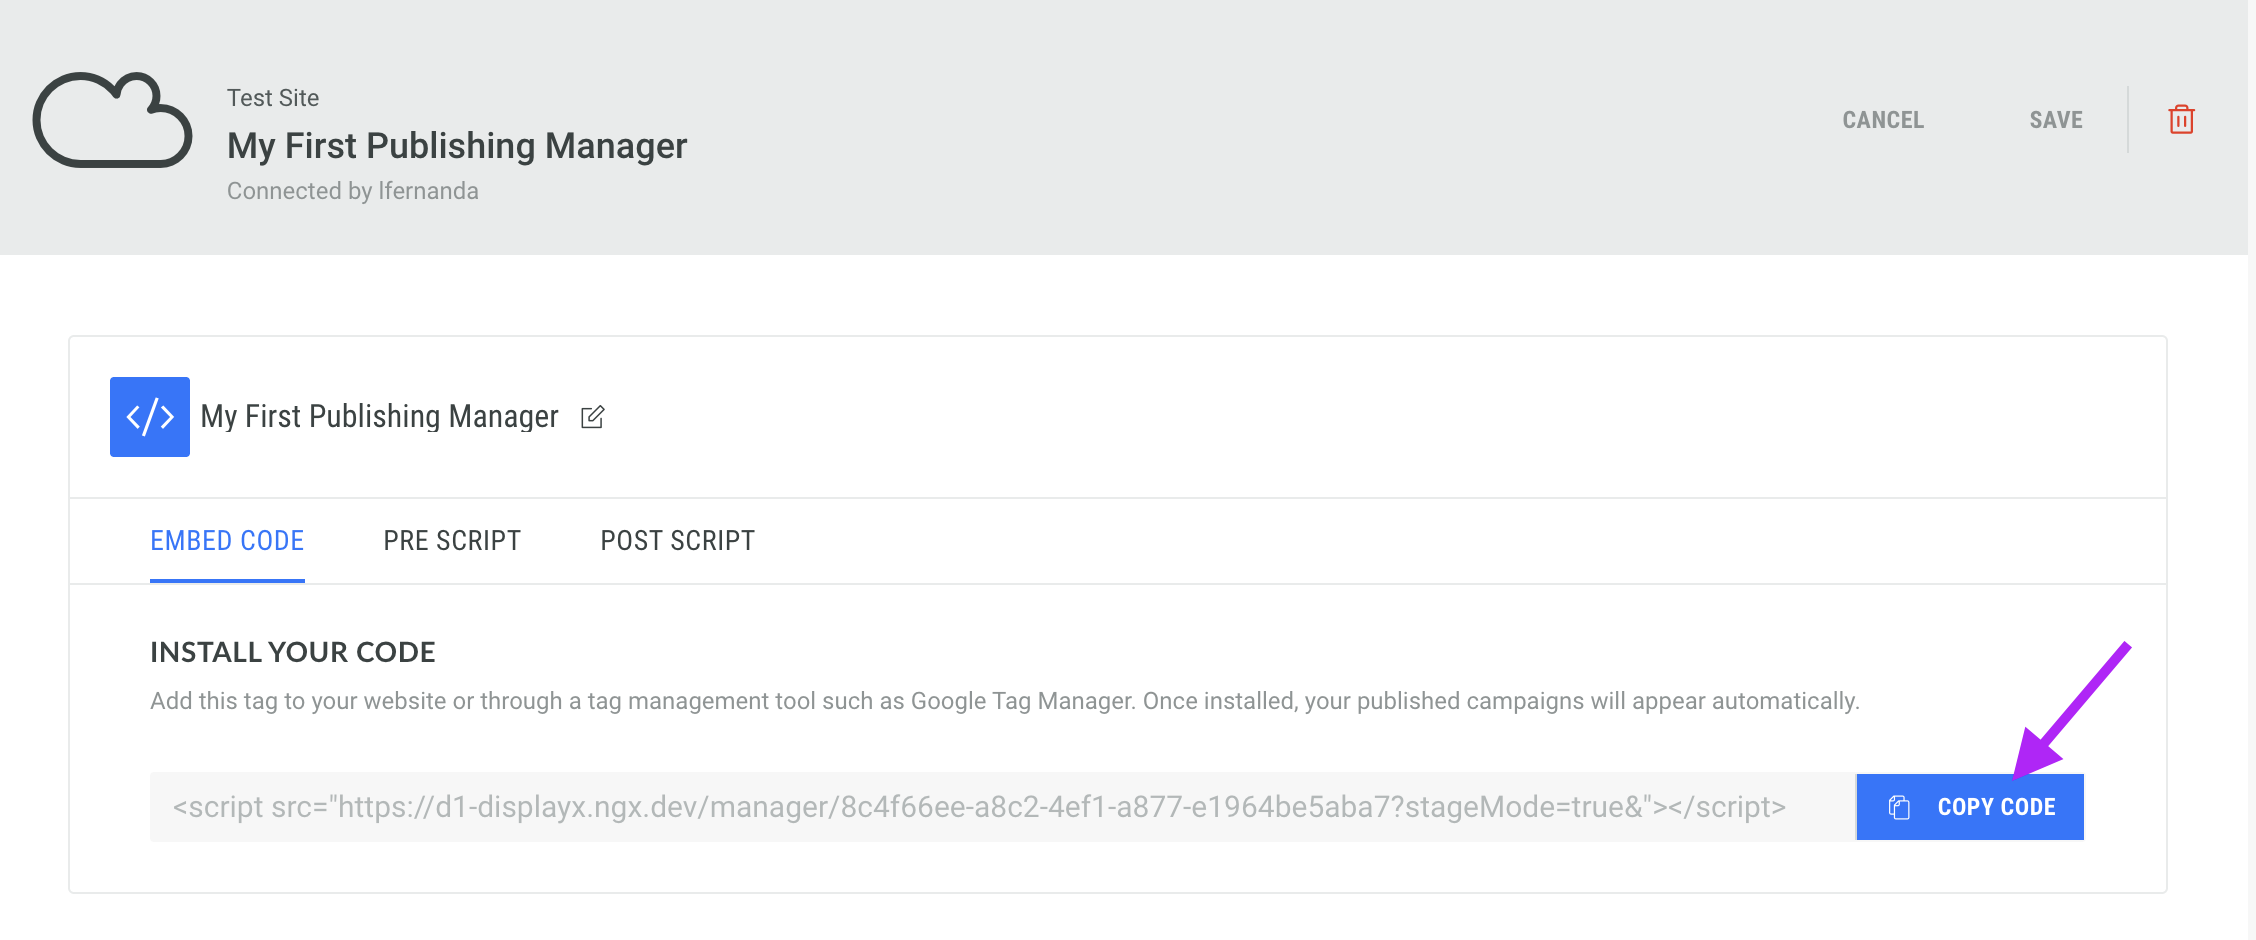
Copy the <script> code from within the Embed Code tab
-
Follow the instructions below to add the code either directly to your website or via GTM.
Directly to your website
You can then paste the above code directly into your website. Add the JavaScript snippet to your website, as close to the top of the <head> section as possible.
Note: Do not edit the code or add individual destination scripts alongside the code provided by the Placement Manager.
Using Google Tag Manager (GTM)
Using the Placement Manager with Google Tag Manager allows you to manage multiple Experiences through a single website tag.
For more information on this process and how to set it up, see our Google Tag Manager guide.
Using pre- and post-scripts
The Placement Manager includes Pre-Script and Post-Script for code that you want to run before or after Grow and inserts the destination scripts into the parent page.
Note: Use these fields only if your implementation requires custom JavaScript. Your development team should review and test any custom code before it is published.
Add Experiences to the Placement Manager
You can add multiple Experiences, to a Placement Manager.
-
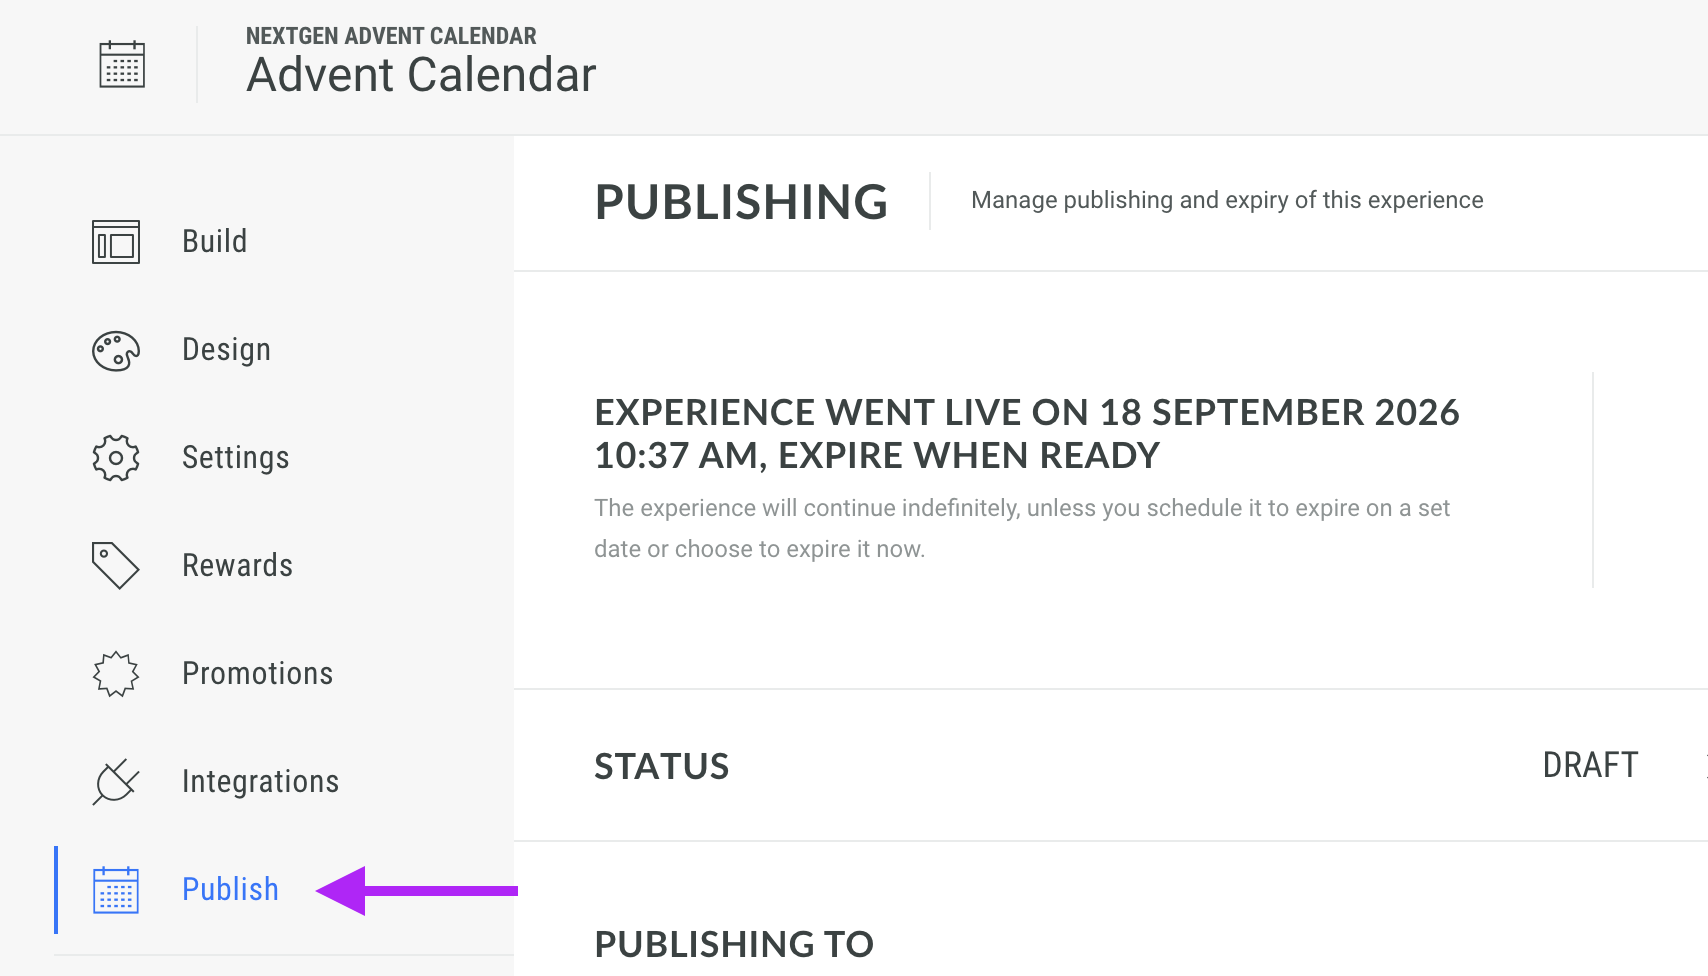
Open an Experience and select Publish from the tabs on the left hand side
-
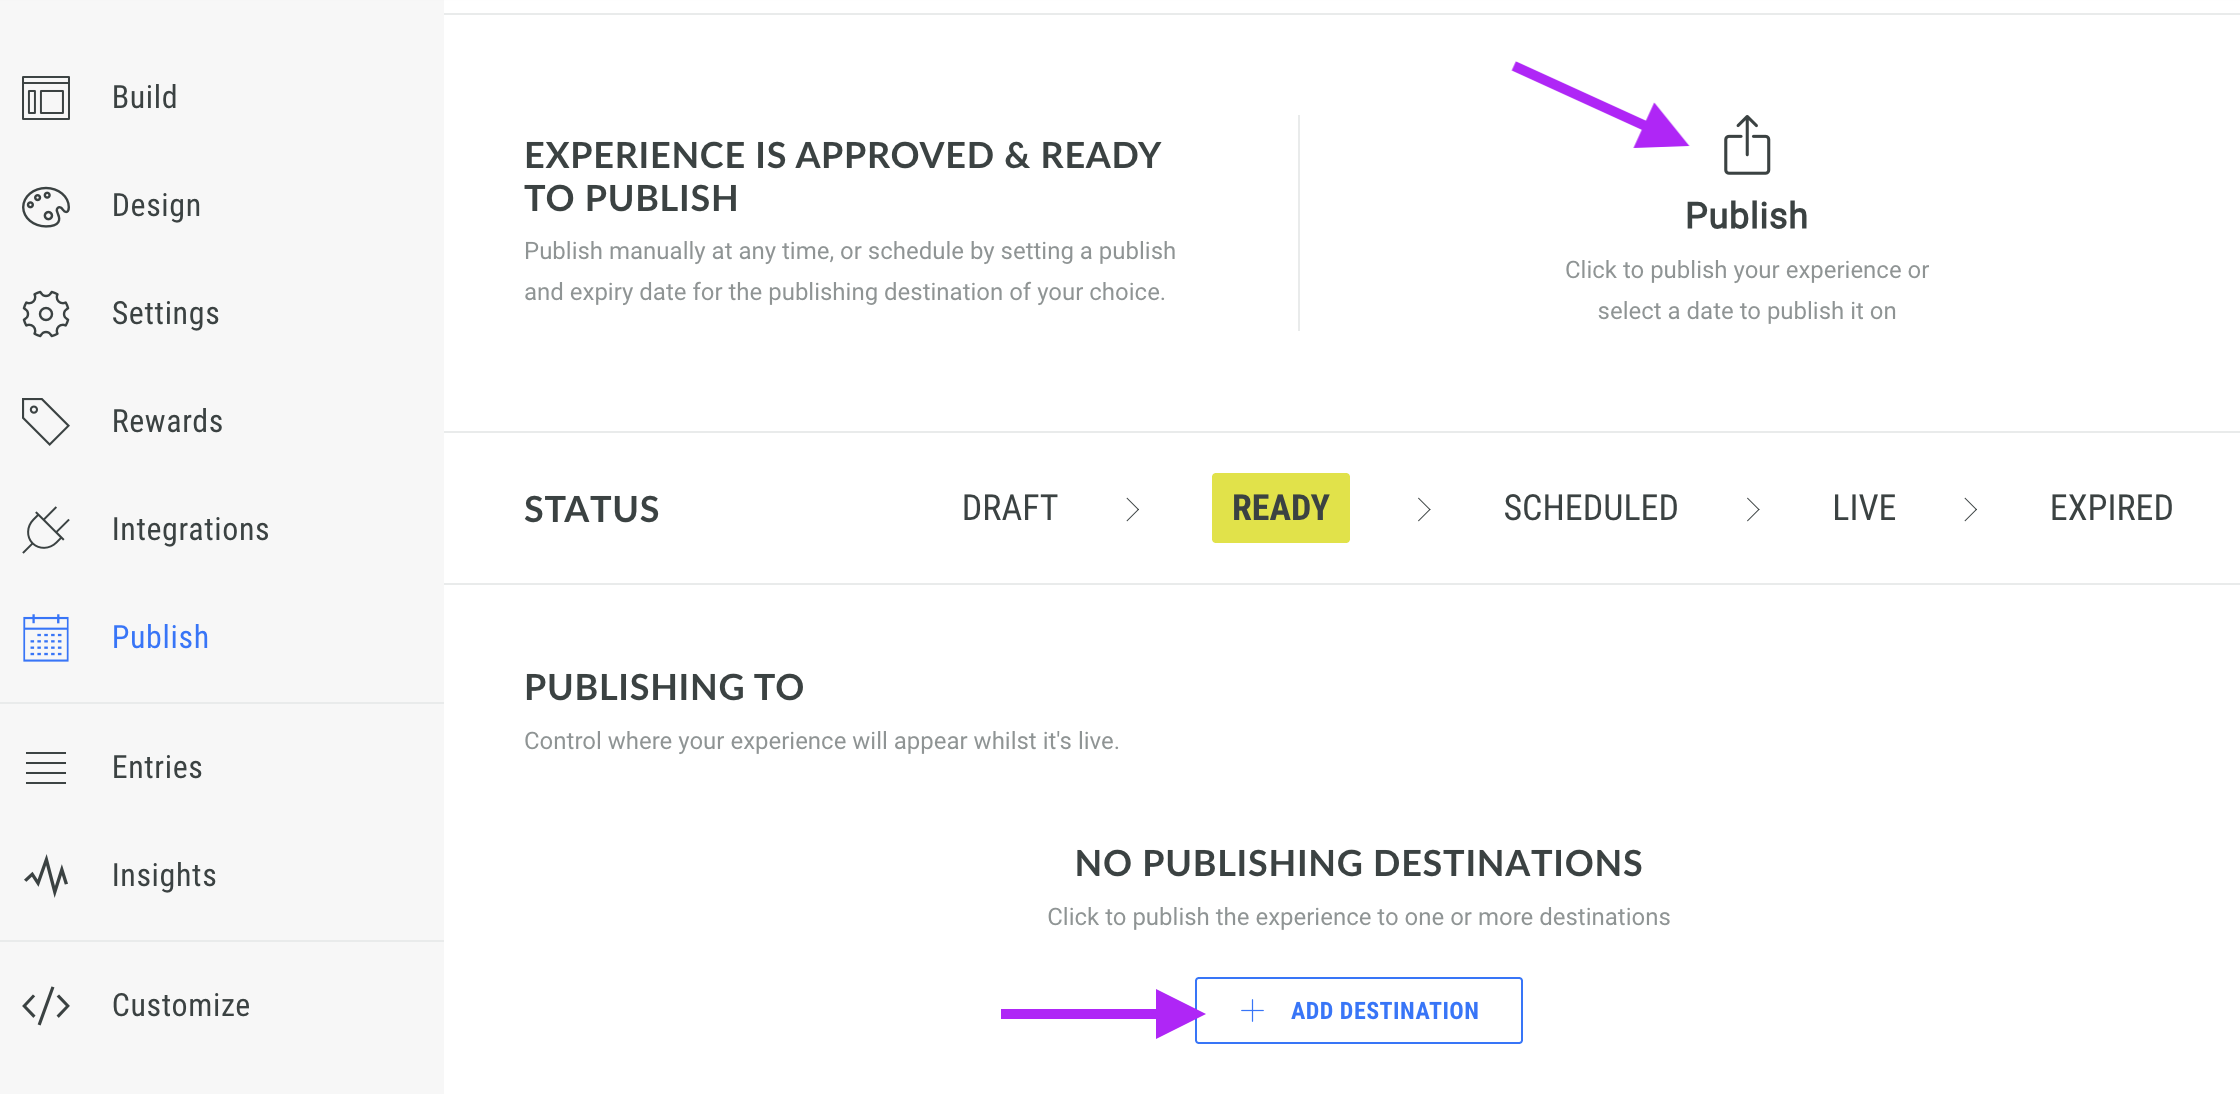
Click Publish or + Add Destination to open the Publishing wizard; choose either Lightbox or Web Embed. Follow the directions to set up the publishing destination.
-
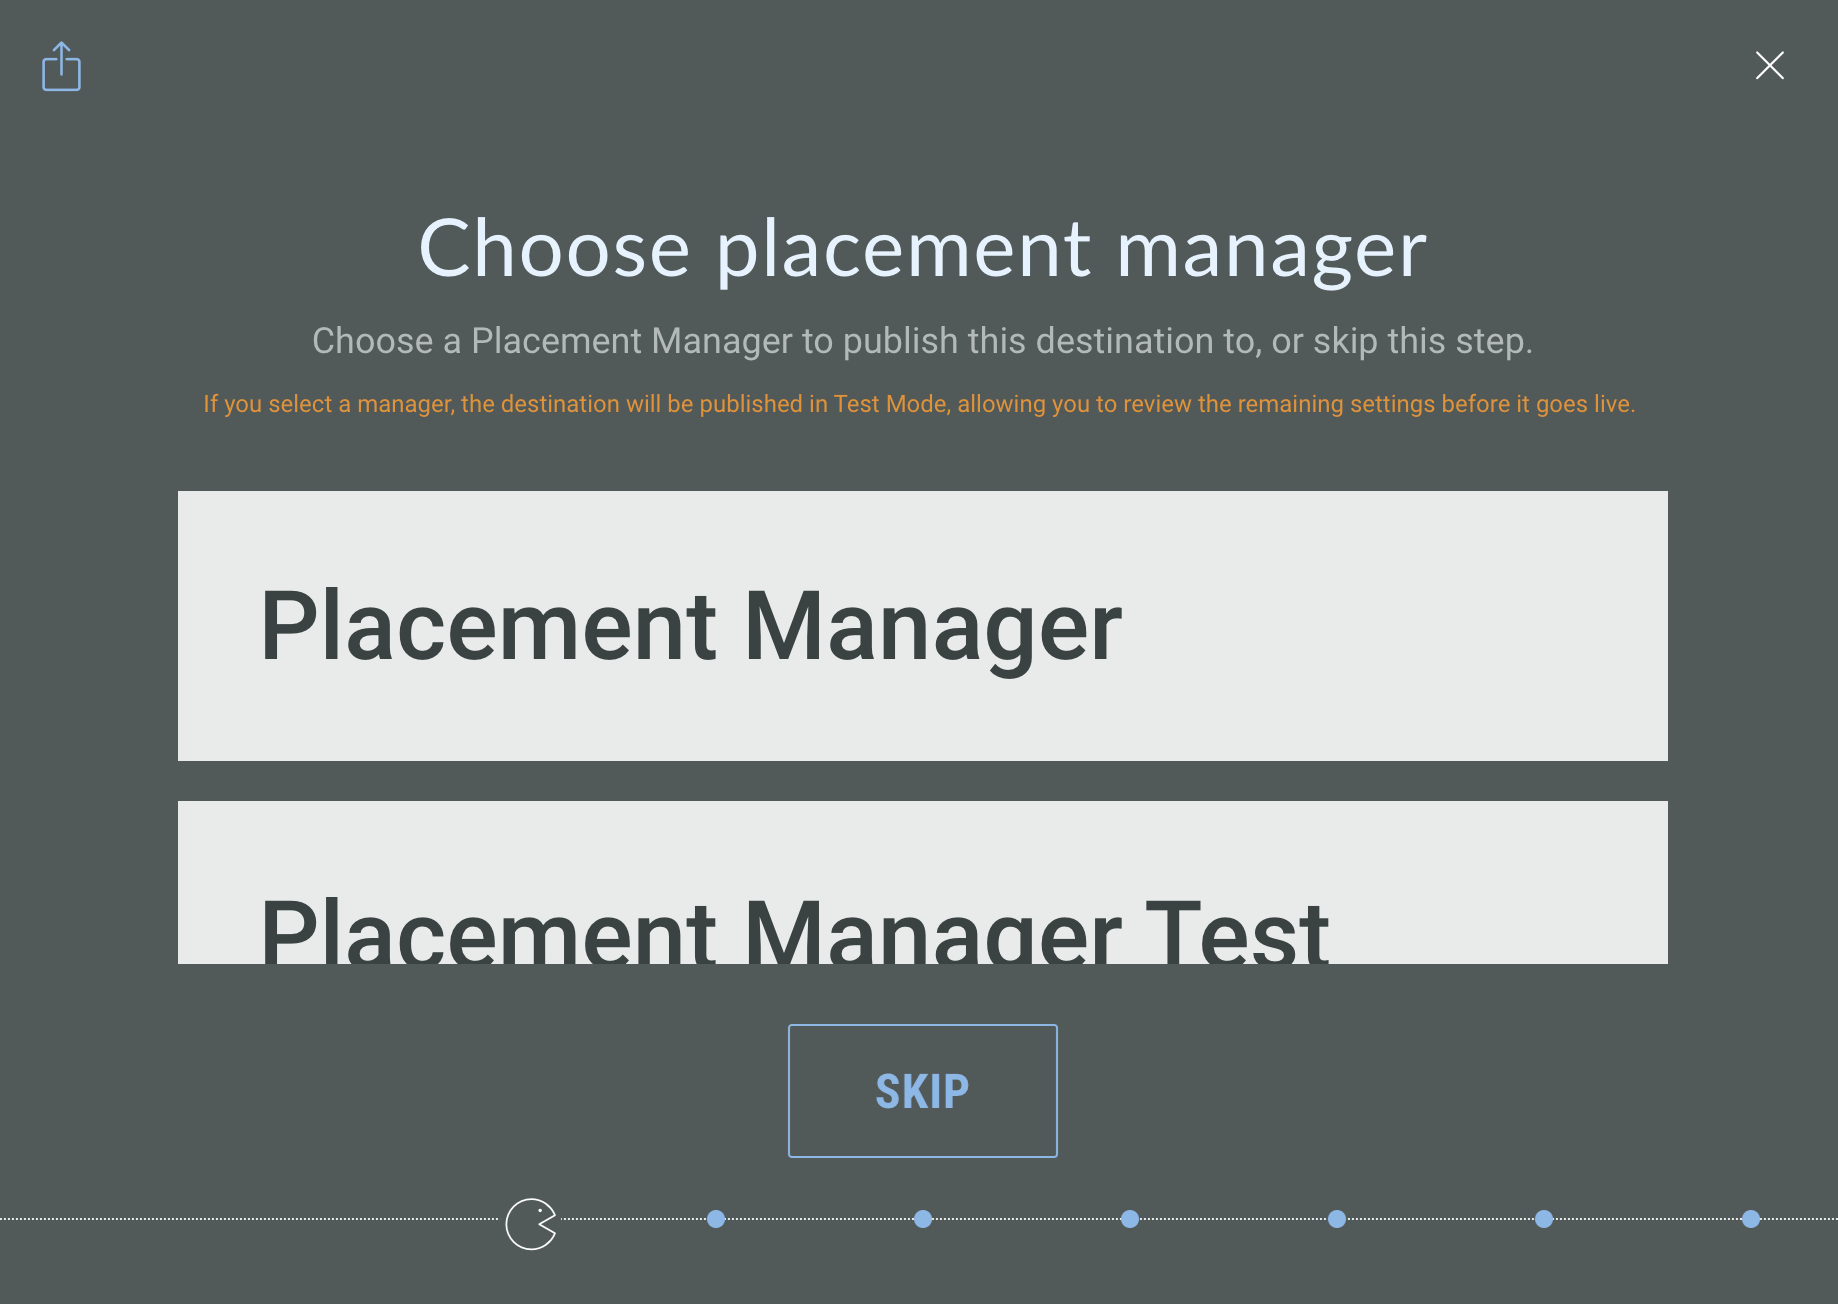
You will be prompted to select the Channel and the Placement Manager (if they have been configured previously); select from the options available.
-
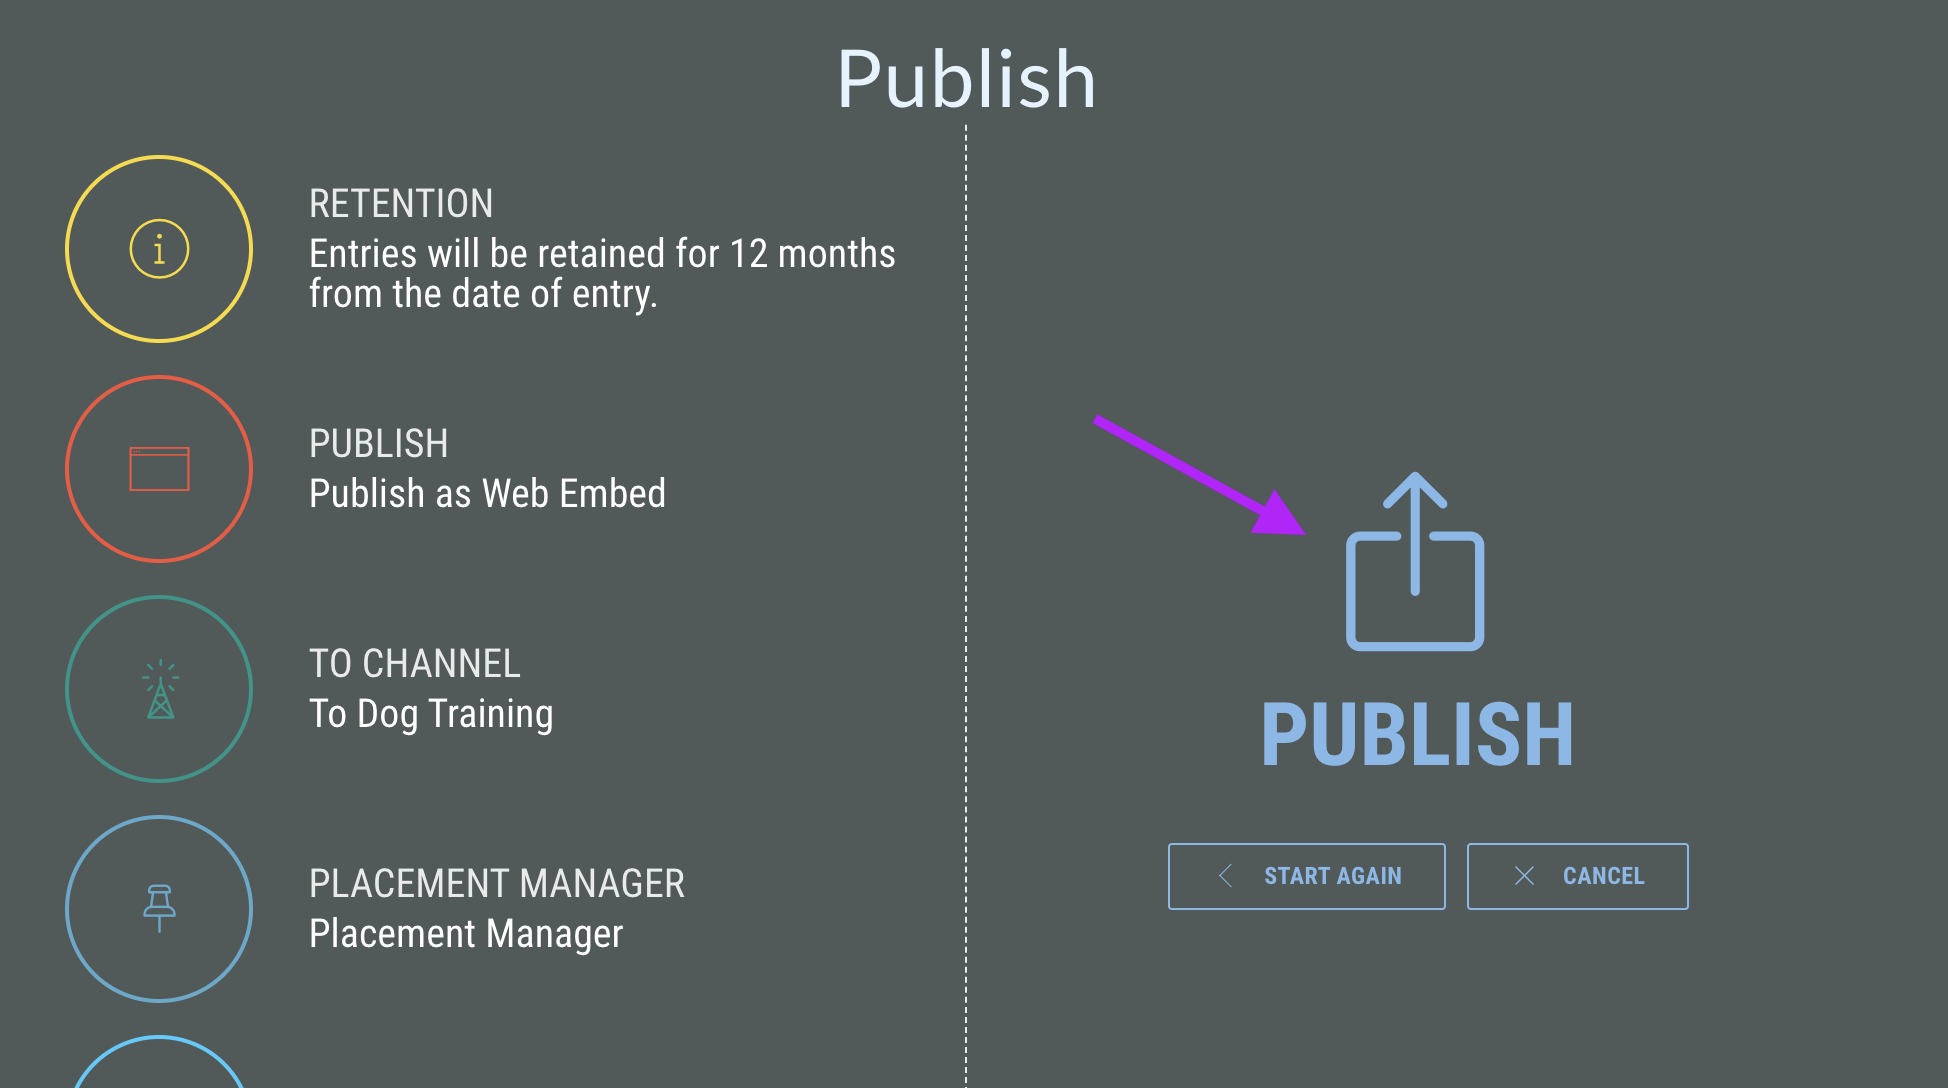
On the final page of the wizard, review the settings shown on the left hand side and then click Publish
-
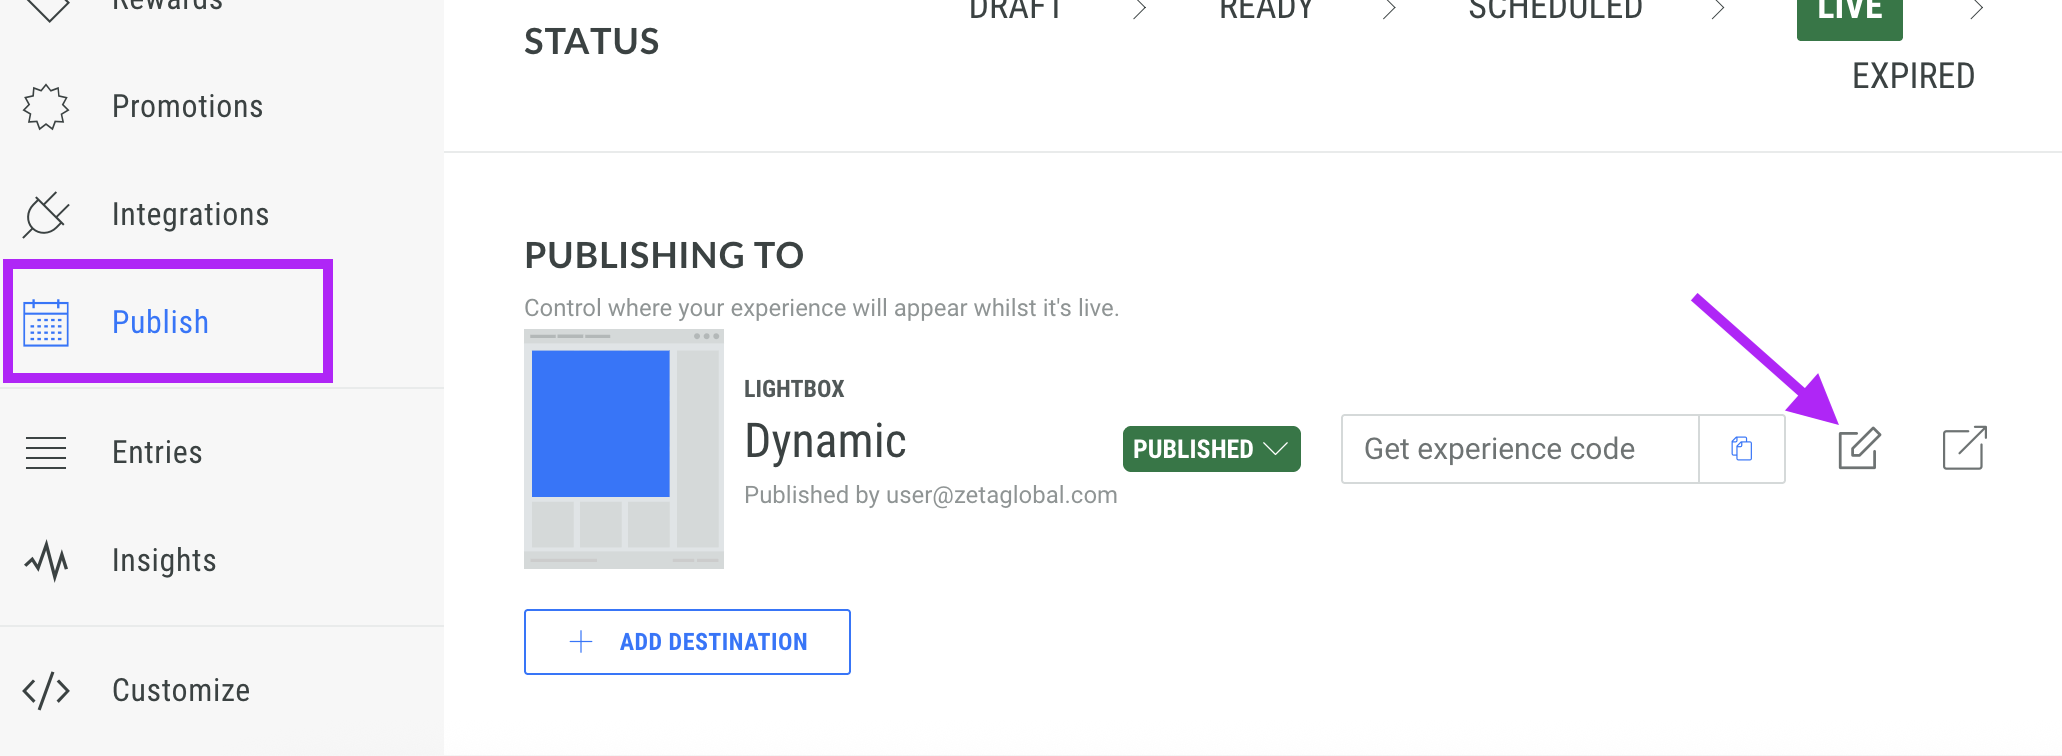
Next, you will need to head to the settings page to complete the setup. On the Publish tab, click the Edit icon next to the publishing destination you have just configured.
-
Here, you can define all of the settings associated with the publishing destination; see our guides on publishing as Lightbox and Web Embed.
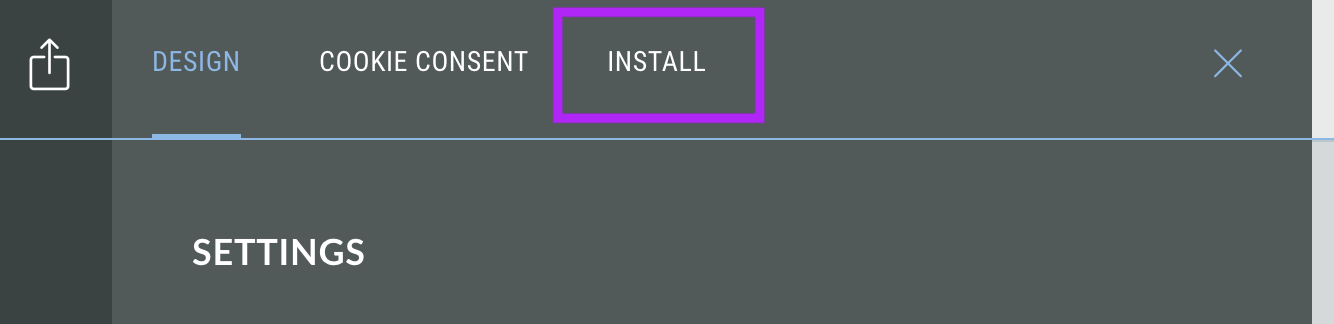
Click on the Install tab.
-
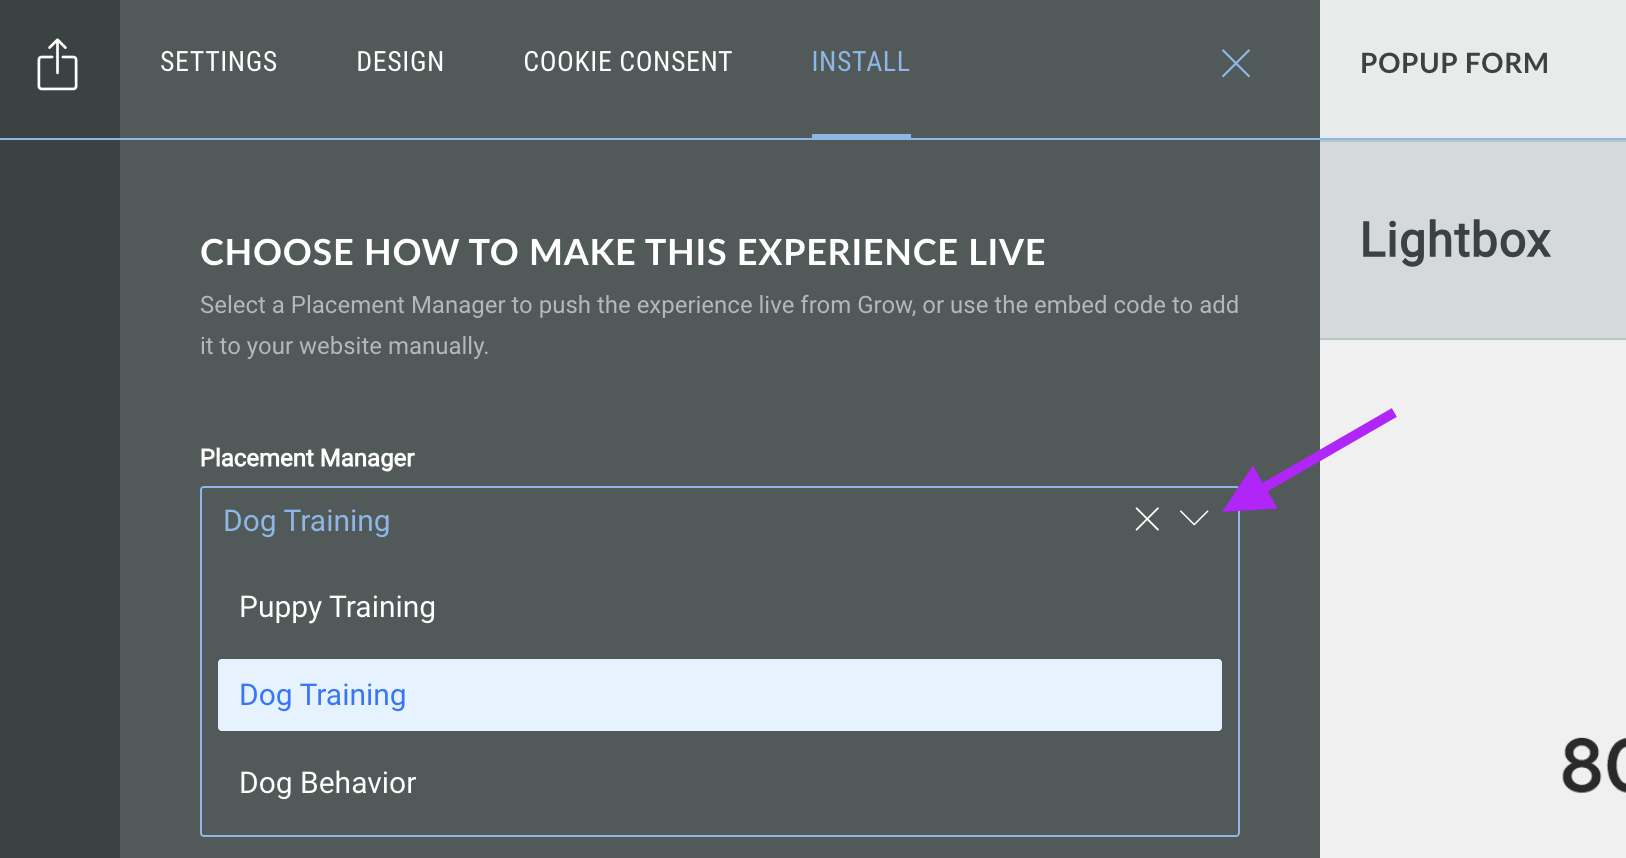
If you did not select it in the publishing wizard or if you would like to change it, you can choose the Placement Manager you wish to publish to.
Under the heading Choose How to Make This Experience Live, select the Placement Manager by expanding the drop down menu and selecting from the options available.
-
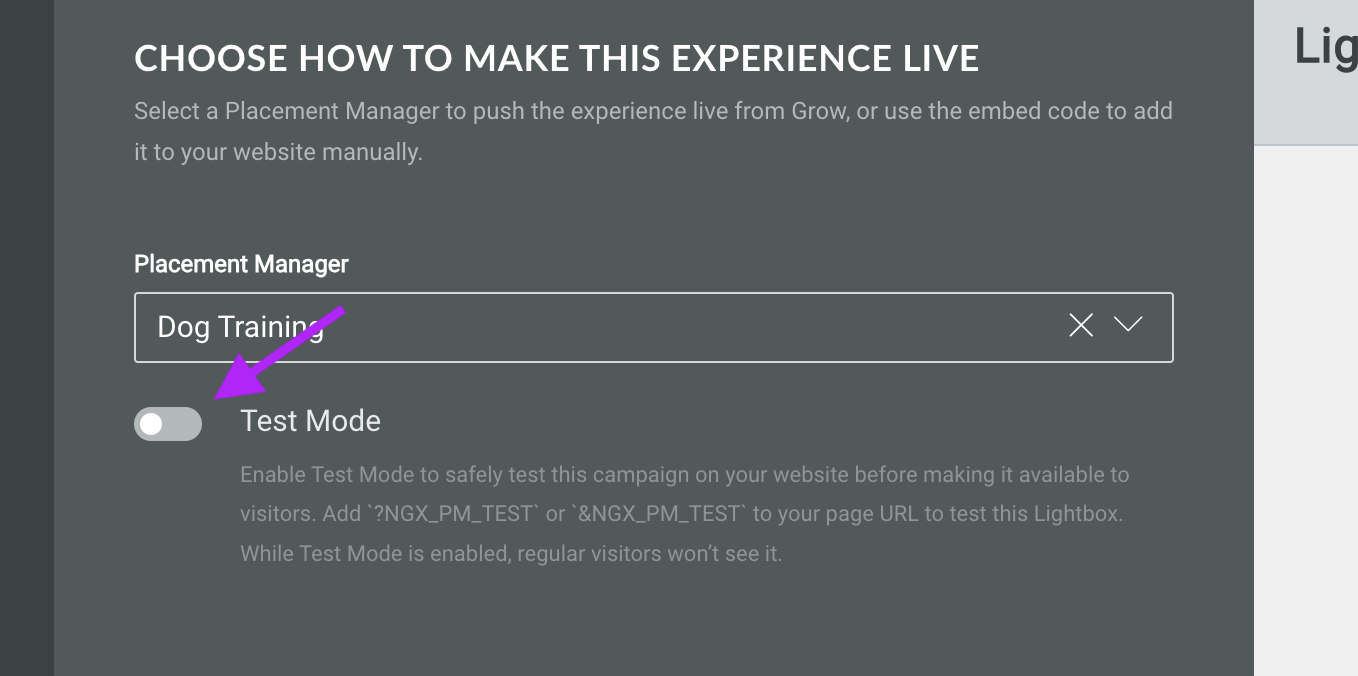
Toggle Test Mode on/off. See below for more information on testing your Placement Manager.
-
If you have selected to publish as a Web Embed, you will be required to define the selector at which the Experience will be embedded, as well as the associated insert method
-
Click Save in the top right corner.
Reorder campaign priority
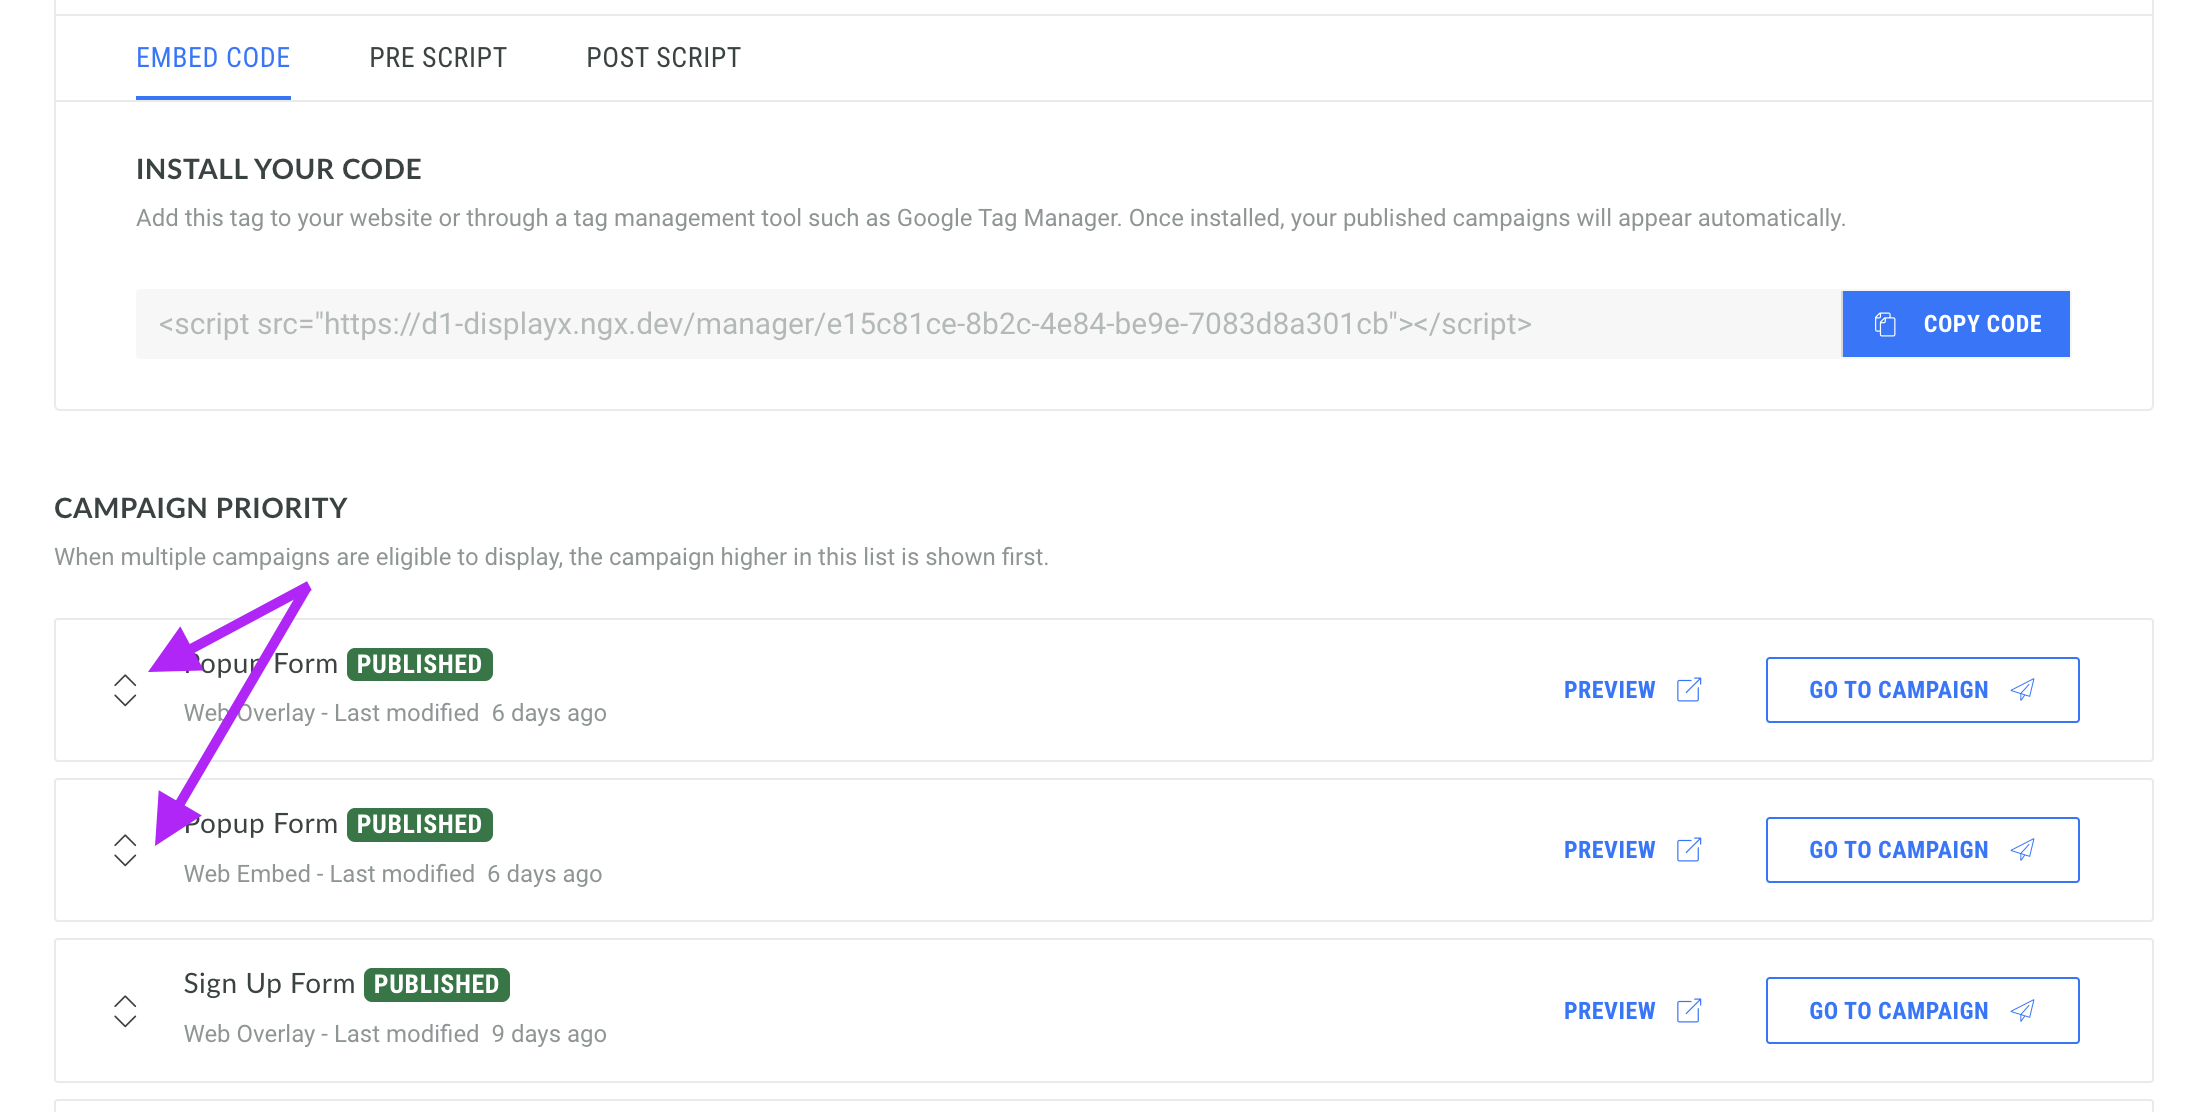
Once you have added several campaigns to your Placement Manager, you can reorder them based on the priority in which they should be displayed.
Simply drag and drop the campaigns to reorganize them; the campaign higher in this list will be shown first.
Test your Placement Manager
You can test your Placement Manager by using the Test Mode within your Grow account. Enabling Test Mode allows you to test your Experience before making it available to visitors.
Note: If you have not already, you will need to publish an Experience as a Lightbox to be able to test your Placement Manager.
-
Go to an Experience within Grow and click on the Publish tab. Click on the edit icon next to a Lightbox publishing destination.
-
The settings page for the Experience will open. Click on the Install tab.
-
Choose your Placement Manager from the options available.
-
Toggle Test Mode on.
-
Add `?NGX_PM_TEST` or `&NGX_PM_TEST` to the end of your website URL.
For example:
https://www.yoursite.com/?NGX_PM_TESTVisit the test URL and your Experience will appear when its display rules are met. While Test Mode is enabled, regular visitors won’t see it.