
Note: This feature is available on request. Please get in touch with your Zeta contact.
While designing and setting up the content of an email/template/Quick Start message or page in the Content chapter of Selligent, you can define Data Selections.
In the Data Selection filtering options, you can allow to manually select existing items or add new items
to a Repeater.
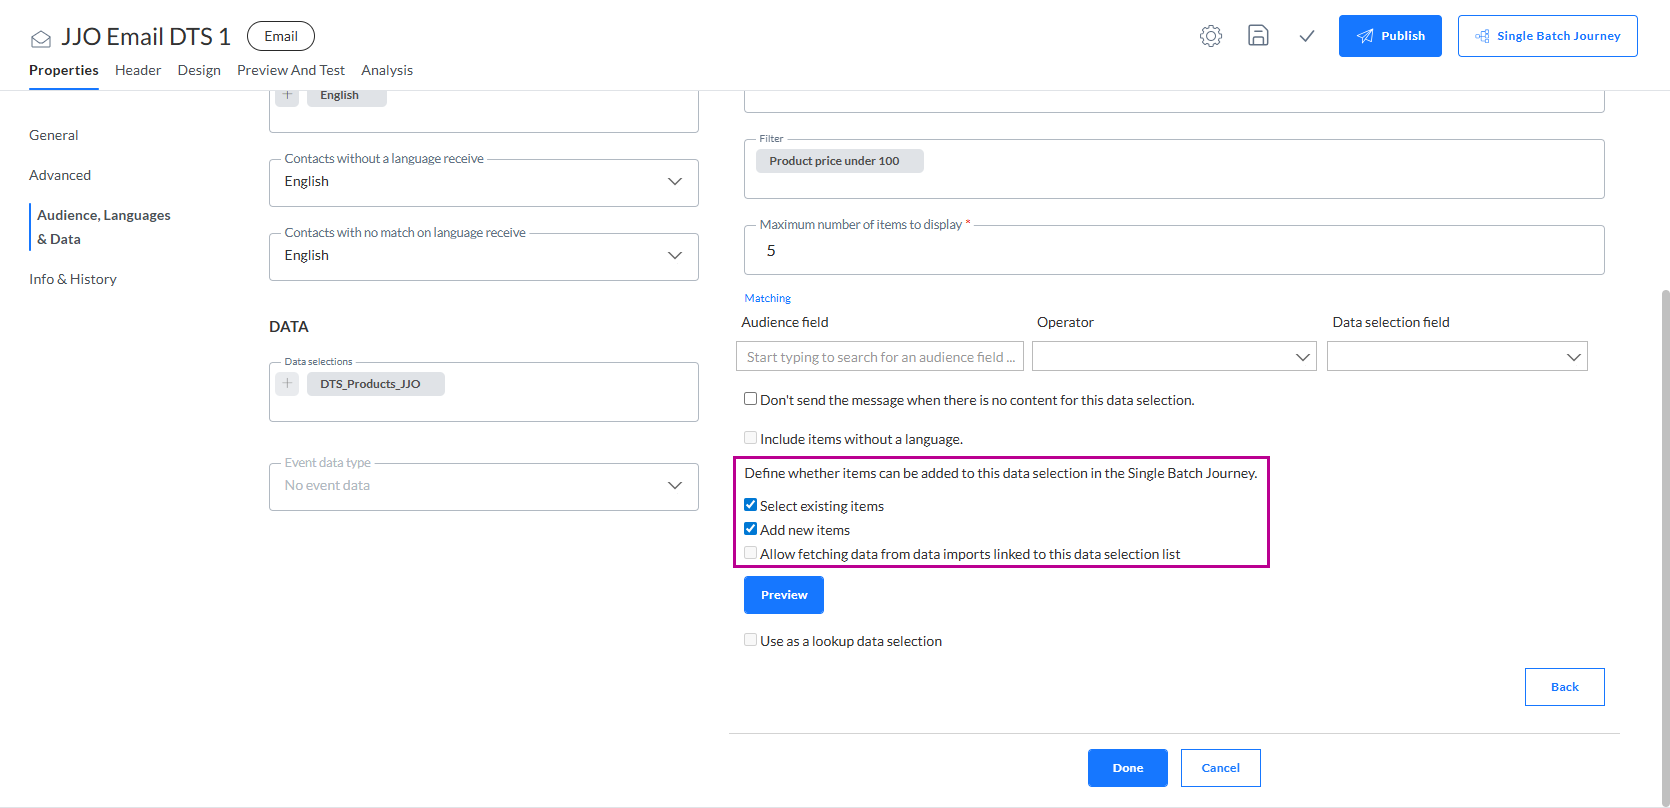
When enabled, the content creator can add Repeater items directly within the message and store them in the data source.
Note: If a message does not allow the content creator to select or add items, the Repeater is populated with items automatically, based on filters, matching, and maximum number of items defined in the Data Selection configured for the Repeater.
Below, the content creator functionalities are explained, when both options (select existing items and add new items) are enabled in the Data Selection that's being used in a Repeater in the message.
Article selection mode (Responsive Design Editor)
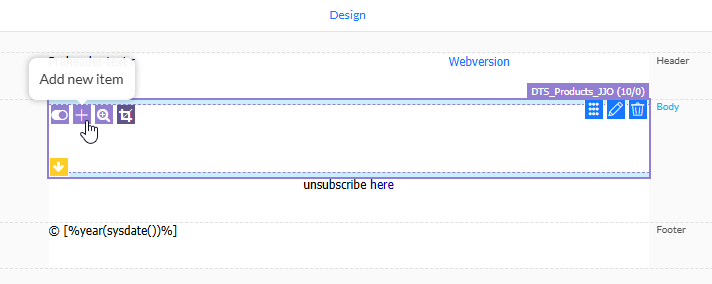
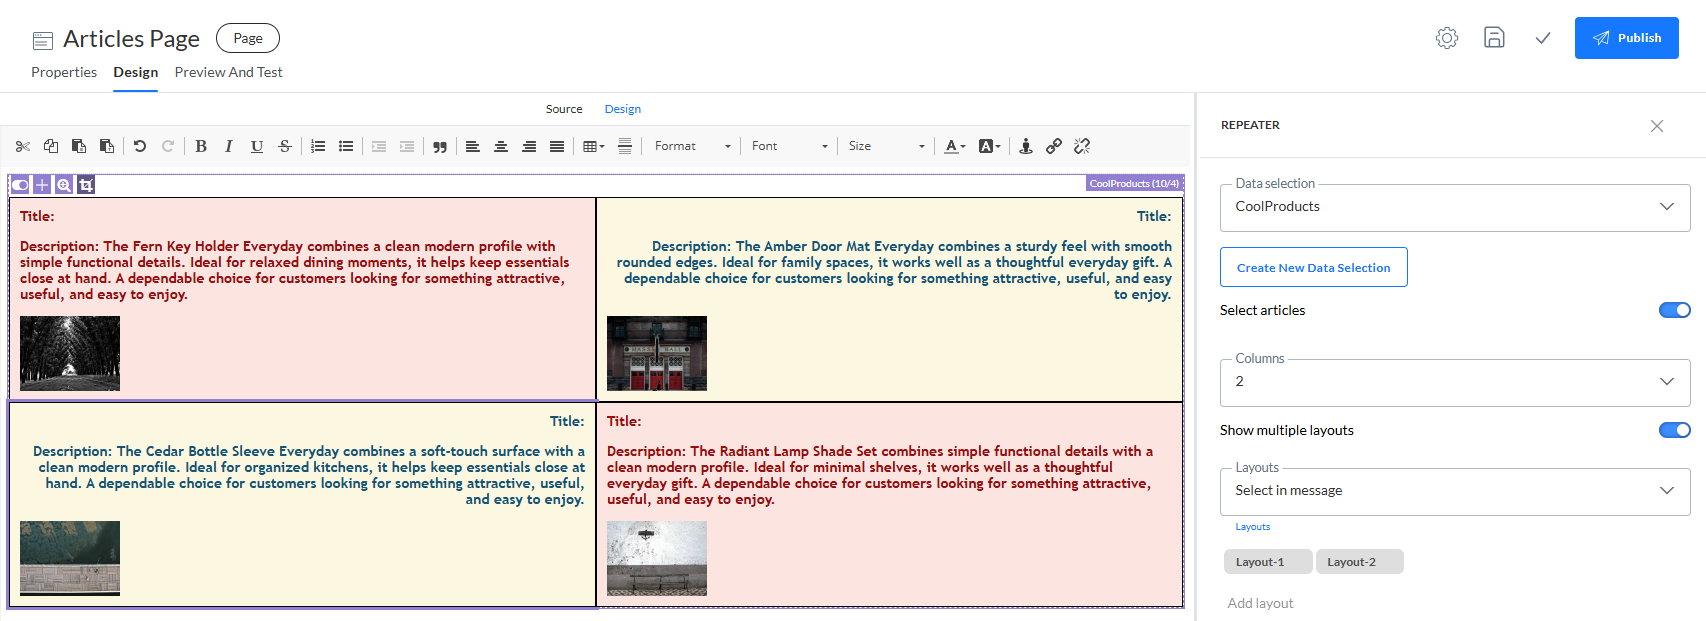
While designing an email/template/Quick Start message in the Responsive Design Editor, the following is an example of what a Repeater looks like:
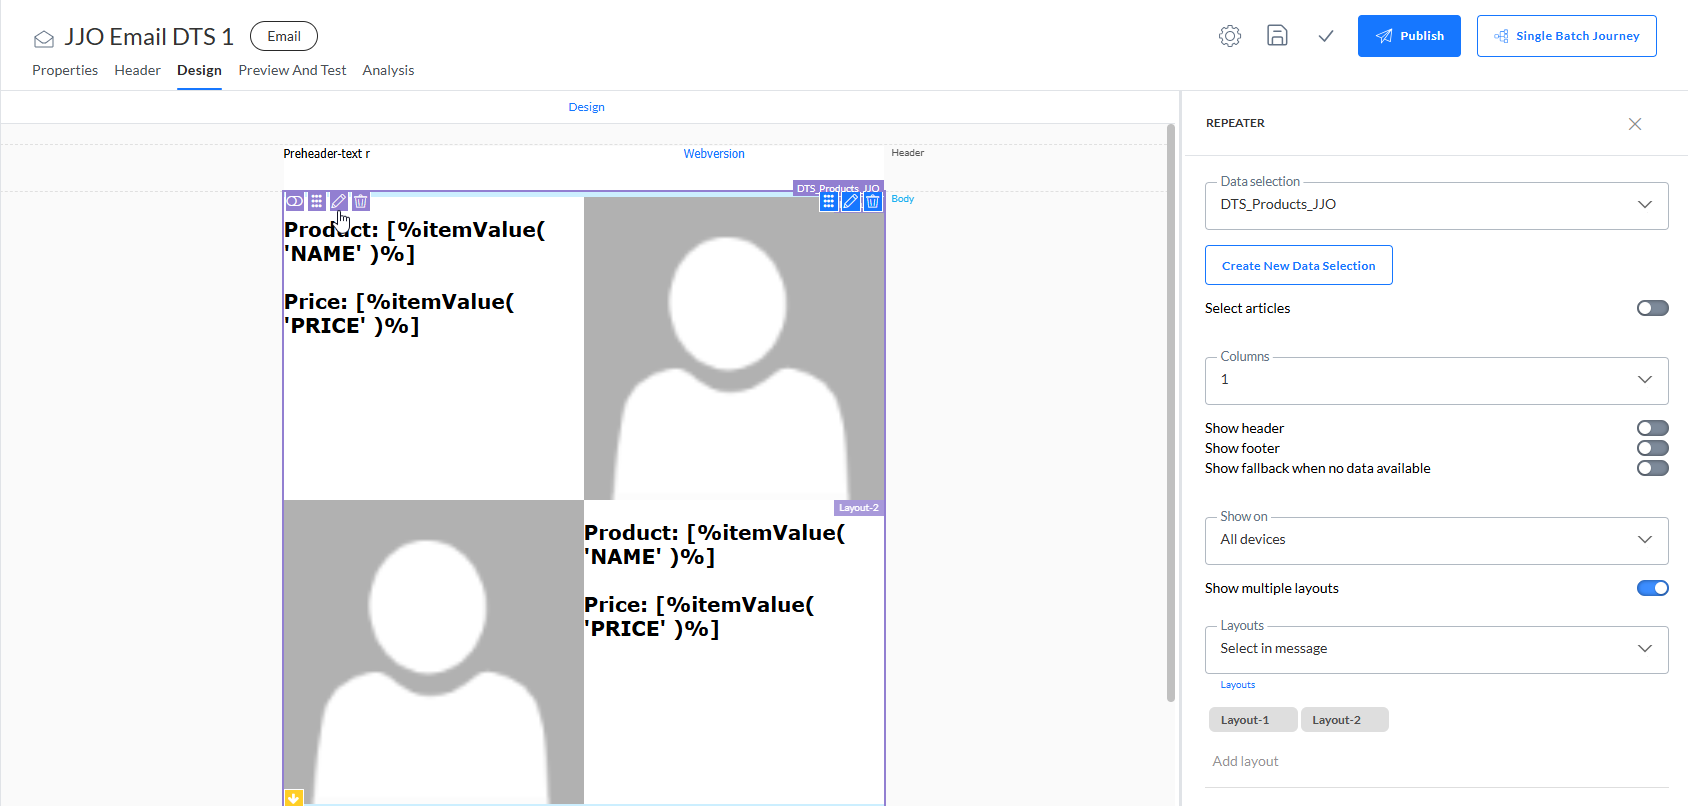
At the top-left of the Repeater, there's an icon to toggle between Design mode and Article selection mode.
With the toggle turned on, the Article selection mode looks like this:
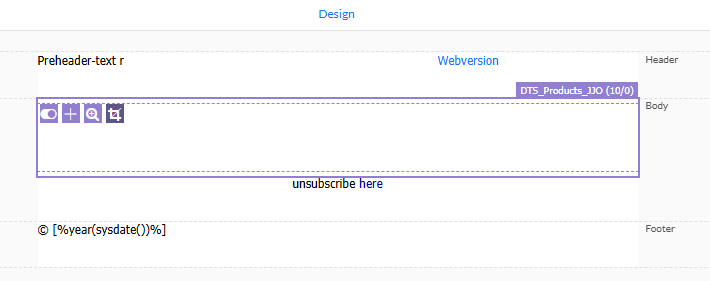
At the top-right, the Repeater indicates the name of the Data Selection that's used, the maximum number of items to display (e.g. 10), as well as the number of items currently defined (default 0, as no items have been selected yet).
Note: The maximum number of items to display is defined in the Data Selection that's being used.
The following icons at the top-left of the Repeater indicate what can be done:
-
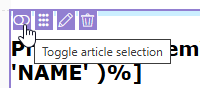
 — To toggle between design mode (toggle off) and article selection mode (toggle on).
 -
 — Add new items. This icon lets you add new items to the message.
 -
 — Select existing items. This icon allows adding existing items to the message.
 -
 — Toggle cropping. This toggles between displaying
all selected items or only the maximum number allowed for the Data Selection.
— Toggle cropping. This toggles between displaying
all selected items or only the maximum number allowed for the Data Selection.
The icons that are displayed depend on the configuration of the Data Selection. For example, if users can only select existing items, the Add new items icon will not be available.
Note: When the
Repeater has multiple layouts configured, different situations can occur.
- If the Repeater layout is set to alternating, no action is needed by
the user adding the items. The layouts will be applied automatically in
an alternating way to the items added. The same is the case for layouts
that are assigned based on a specific field value (= From content).
- However, if the layout is defined to be selected in the message, the user
can choose the layout for items when adding them.
Note: The article selection mode works the same way in the Wysiwyg Editor.
Select existing items
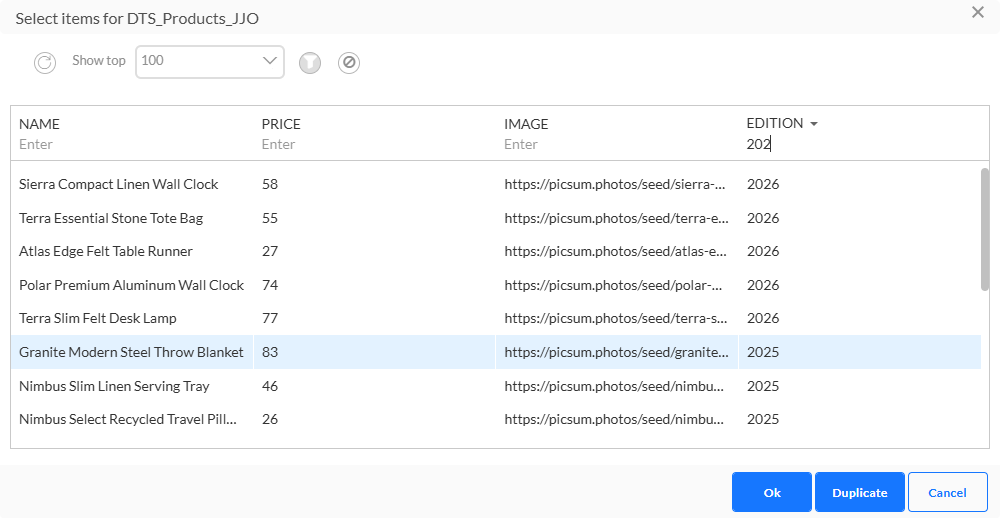
1. To select existing items, click the Search icon in the Repeater. A dialog pops up where items can be selected.
2. Select one or more items at a time by holding down the CTRL button on your keyboard while clicking items.
3. You can select the top x number of items to show in the list. To narrow down the items, apply a filter and double-click the column header to sort the items (for example the most recent ones at the top).
4. Click Duplicate to copy an existing item, make modifications and save it in the Data Selection List.
After selecting existing items and/or saving a duplicated item, the message gets automatically updated with your selection.
Note: All items in the data source that match the language of the message, are available for selection. However if items are selected that do not correspond to the filters and matching defined in the Data Selection, they simply won't be displayed in the final message.
Note: When adding existing items to the Repeater for which the layout needs to be defined in the message, you have to edit the added item and apply the correct layout in the properties on the right. A default layout is always applied.
Add new items
When the message allows it, the user can create completely new items and add them to the data source for use in the message and any future communications.
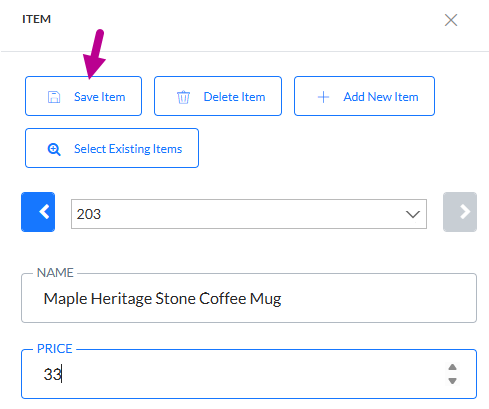
1. To add a new item to the message, click the Add item icon in the Repeater. The item's property panel is displayed on the right with all the fields to fill out for each item.
2. At the top of the Item panel, the field in between the arrows holds the value for the key field (defined in the Data Selection properties), which is empty when a new item is created.
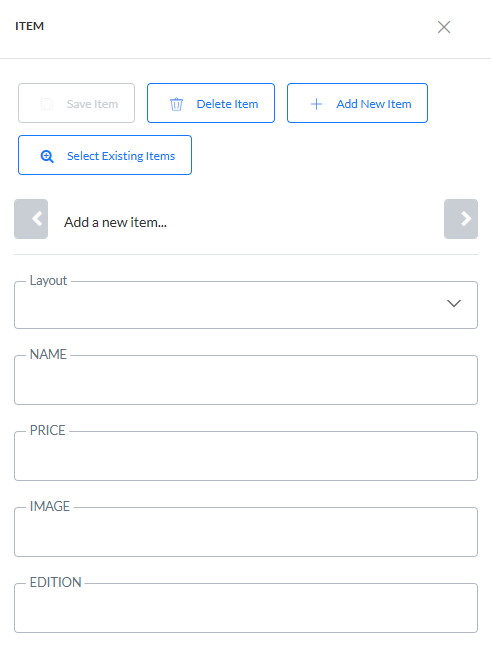
The fields below are used to describe the item.
Note: The list of fields corresponds to the fields selected in the properties of the Data Selection in the message.
3. Fill out these fields and save the item. It is stored in the data source and added to the message as well.
Note: When the
layout of the item must be selected in the message, an additional field is available to choose this layout. Nevertheless, a default layout is
automatically applied.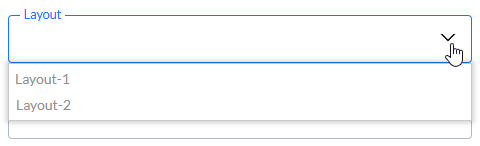
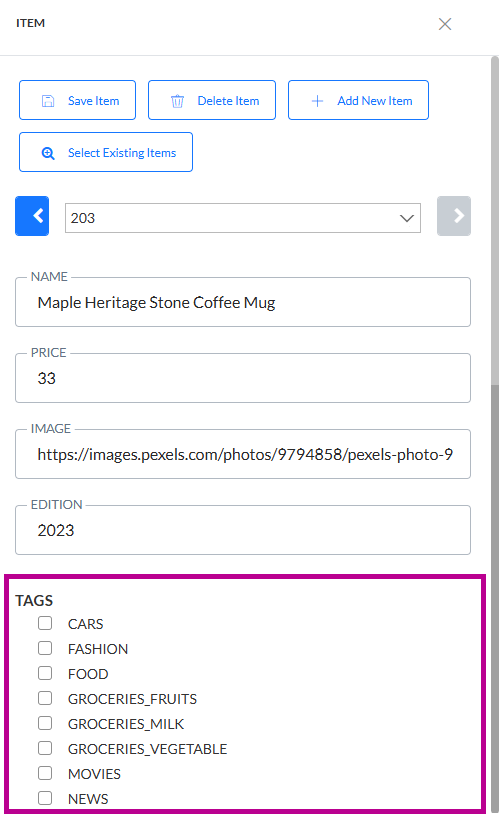
Note: When Interest Tags is activated for the environment, and a Tag list has been defined and linked to the Audience list, it is possible to select these tags and add them to a new item if the Taxonomy field has been selected for the Data Selection.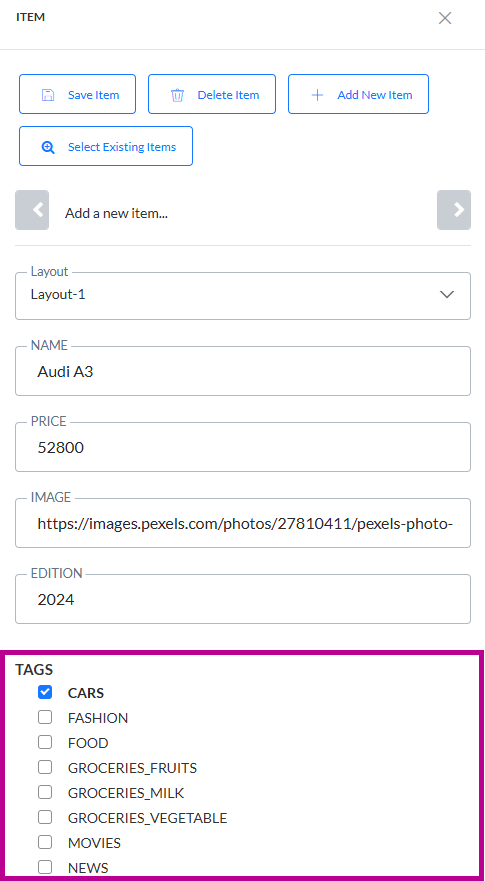
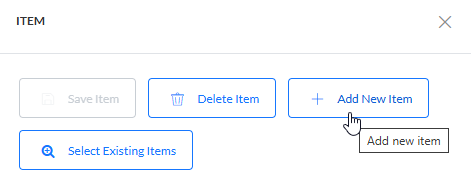
4. To add additional items, click the + Add New Item button at the top of the Item panel and perform the same steps.
Note: There is no validation on the items that are added to the data source. Therefore, even if the Data Selection used for the Repeater only returns items of a specific category, the user will always be able to create new items for other categories as well.
Edit items
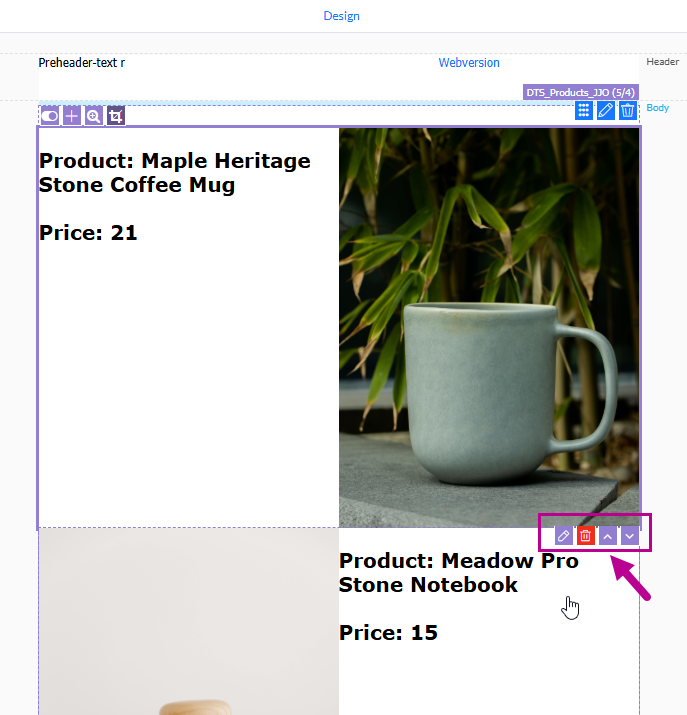
Once items have been added to the message, they can be edited, removed, or moved up or down in the order in which they are displayed. The following control icons are available in each item:
-
 — Edit the item.
 -
 — Delete the item.
 -
 — Move the item up or down, to change the order in which the items are displayed.
Note: The first item in the message only shows a move down icon while the last item in the message only shows a move up icon.
1. Click the Pencil icon in the item you want to edit. The item details are displayed in the panel on the right and can be edited.
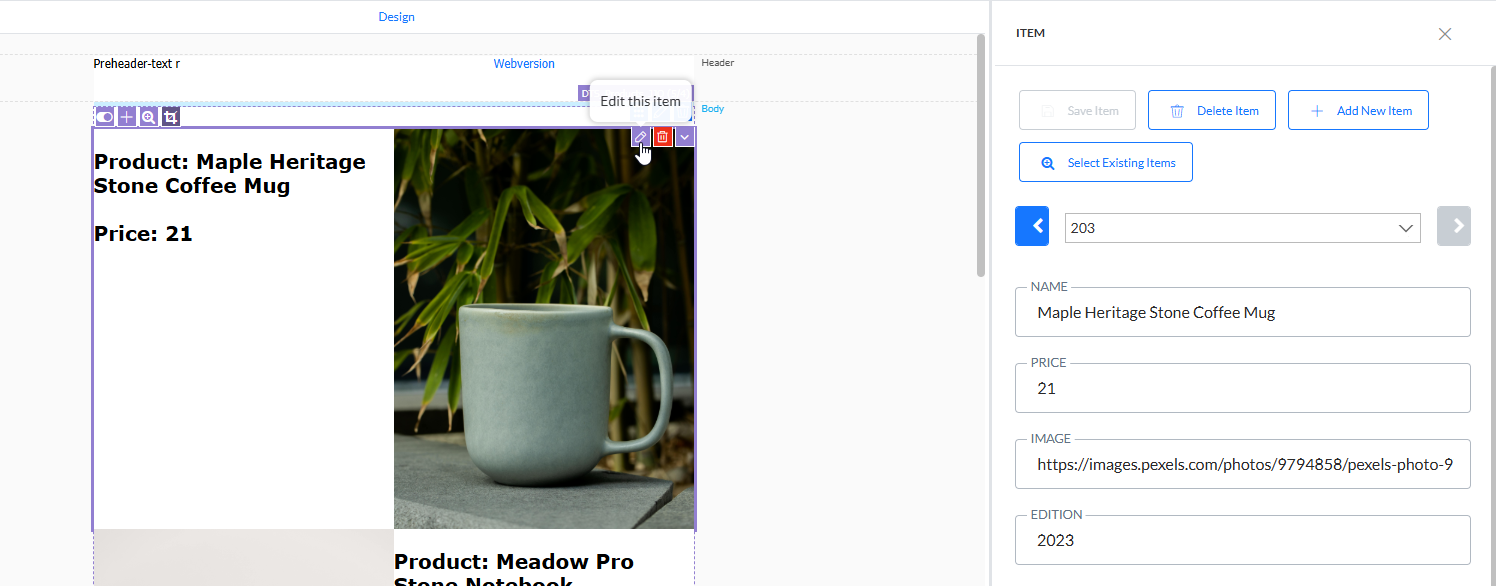
2. Make changes to the item and when done, press Save item at the top.
Note: When Interest Tags is activated for the environment, a Tag list has been defined and linked to the Audience list, and the Taxonomy field has been selected for the Data Selection, it's possible to select these tags when editing an item.
Note: In the
panel on the right, use the arrows to navigate through the items currently placed
in the message and edit them.
The field between the arrows contains the
key field defined in the Data Selection. (When none is set, the ID field is used as key field by default.)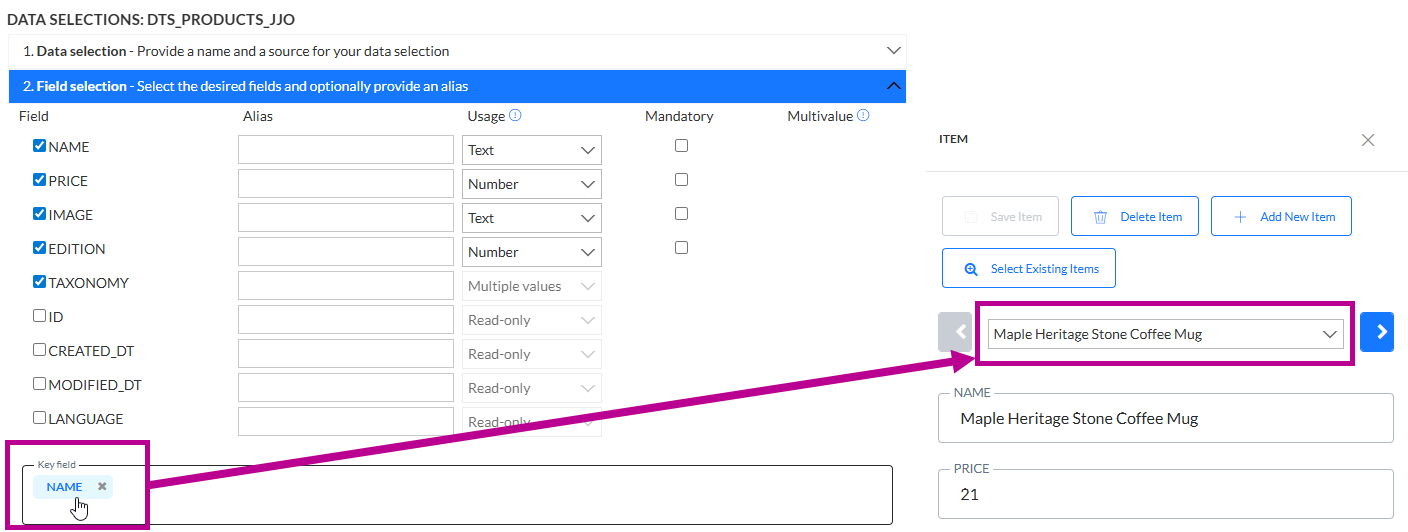
You can only scroll through the
items when there are at least two defined for the message.
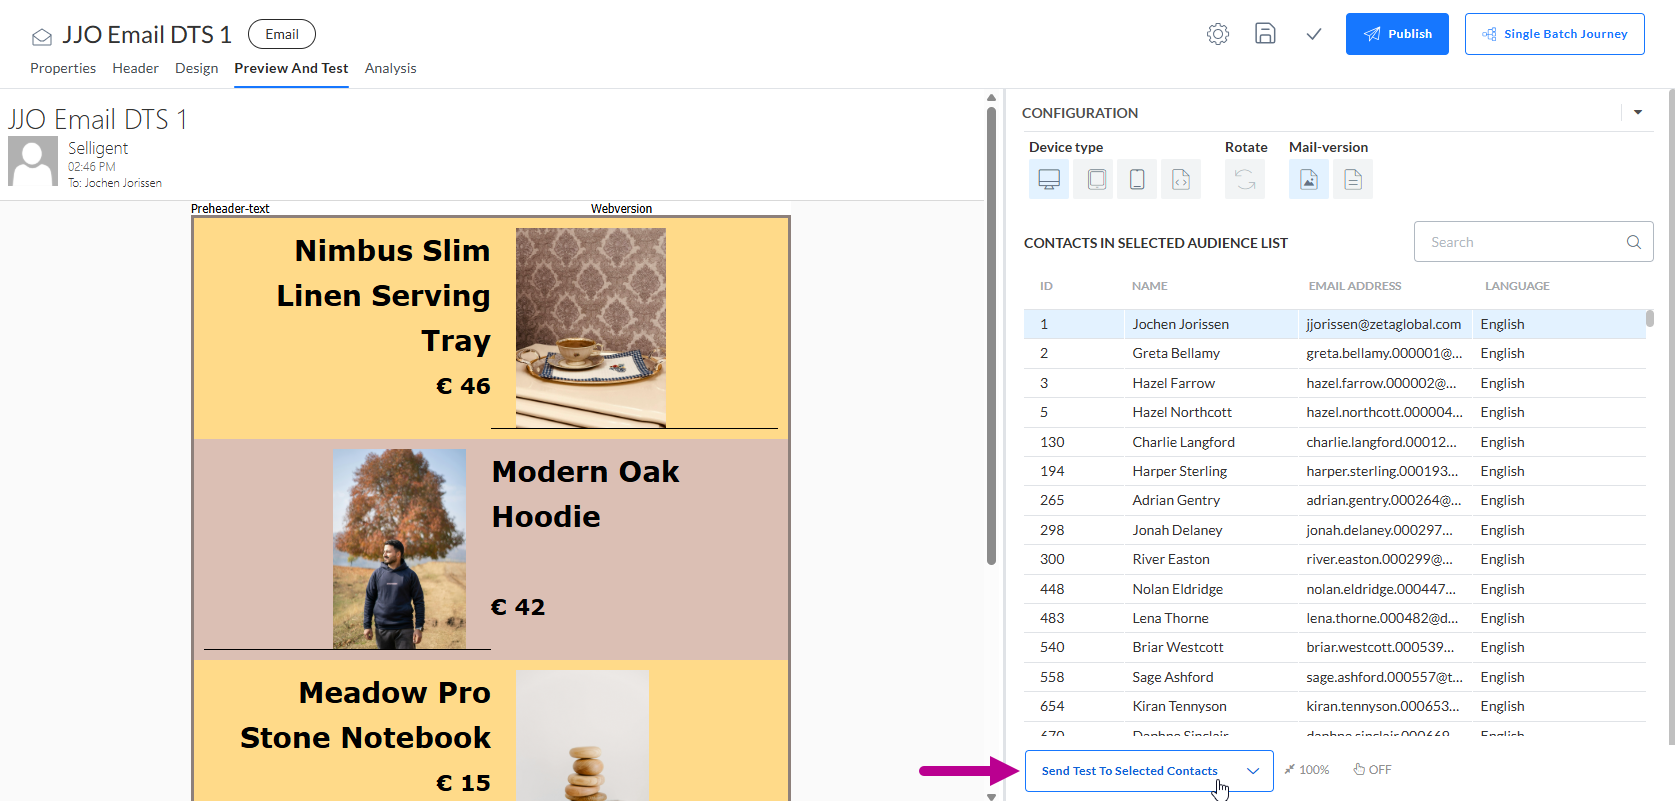
Preview and test
When articles have been added in the message, when previewing the message, they show up as well.
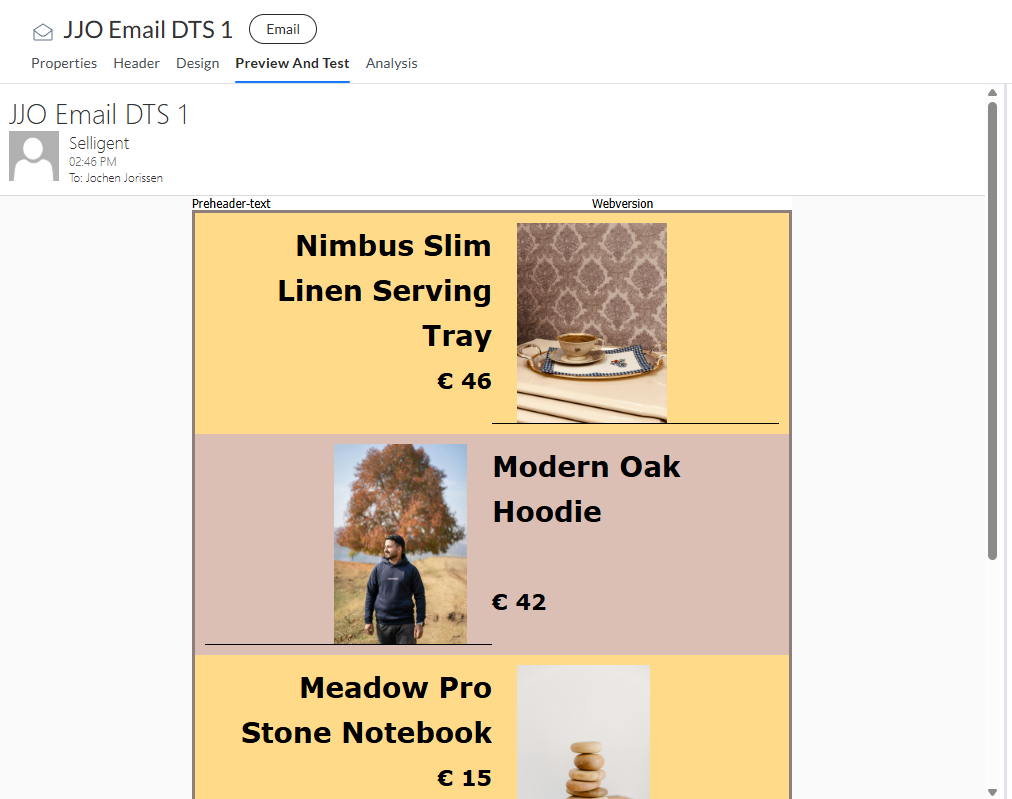
Equally, you can send testmails containing these articles.
Preservation of articles
Preserve articles when copying messages
When you duplicate an email, template or Quick Start message containing articles, the copied message contains the same articles as the original one.
Example:
1. An email contains a Data Selection setup and a Repeater with a selection of articles.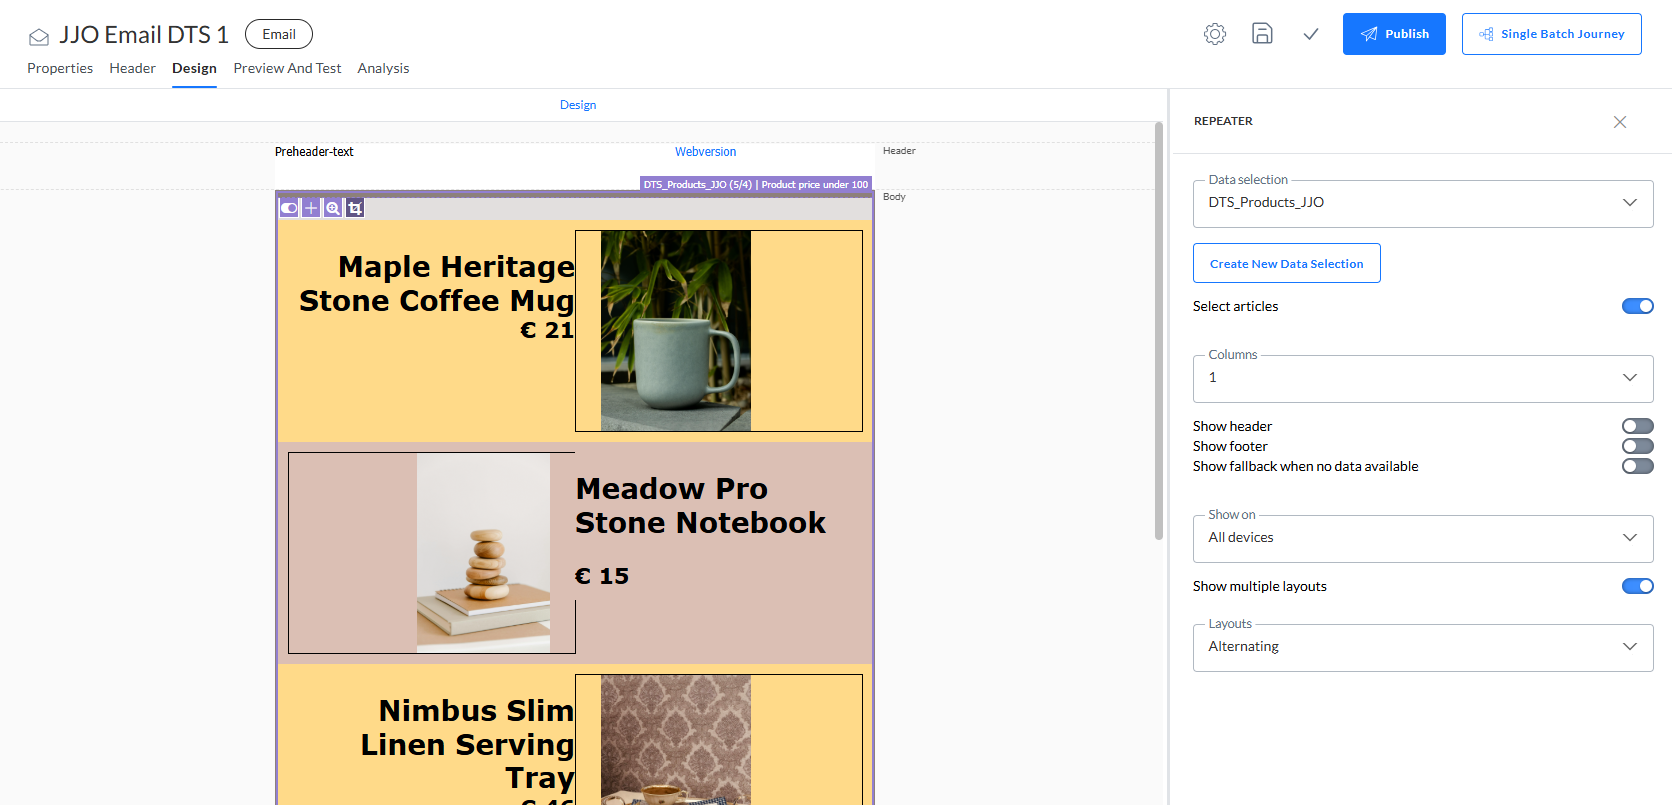
2. Clicking the Copy icon on the Content Start Page duplicates the email message.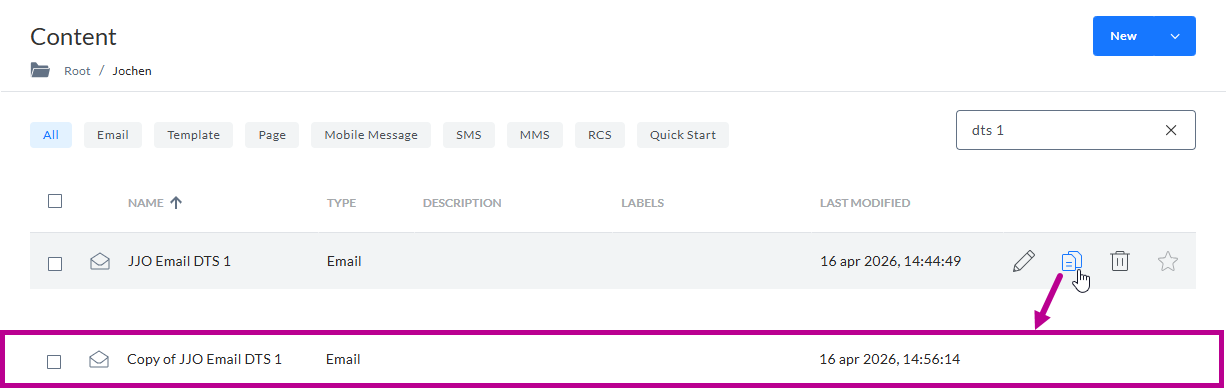
3. When opening the copied message, the Data Selection setup and the selection of articles is identical to the original one.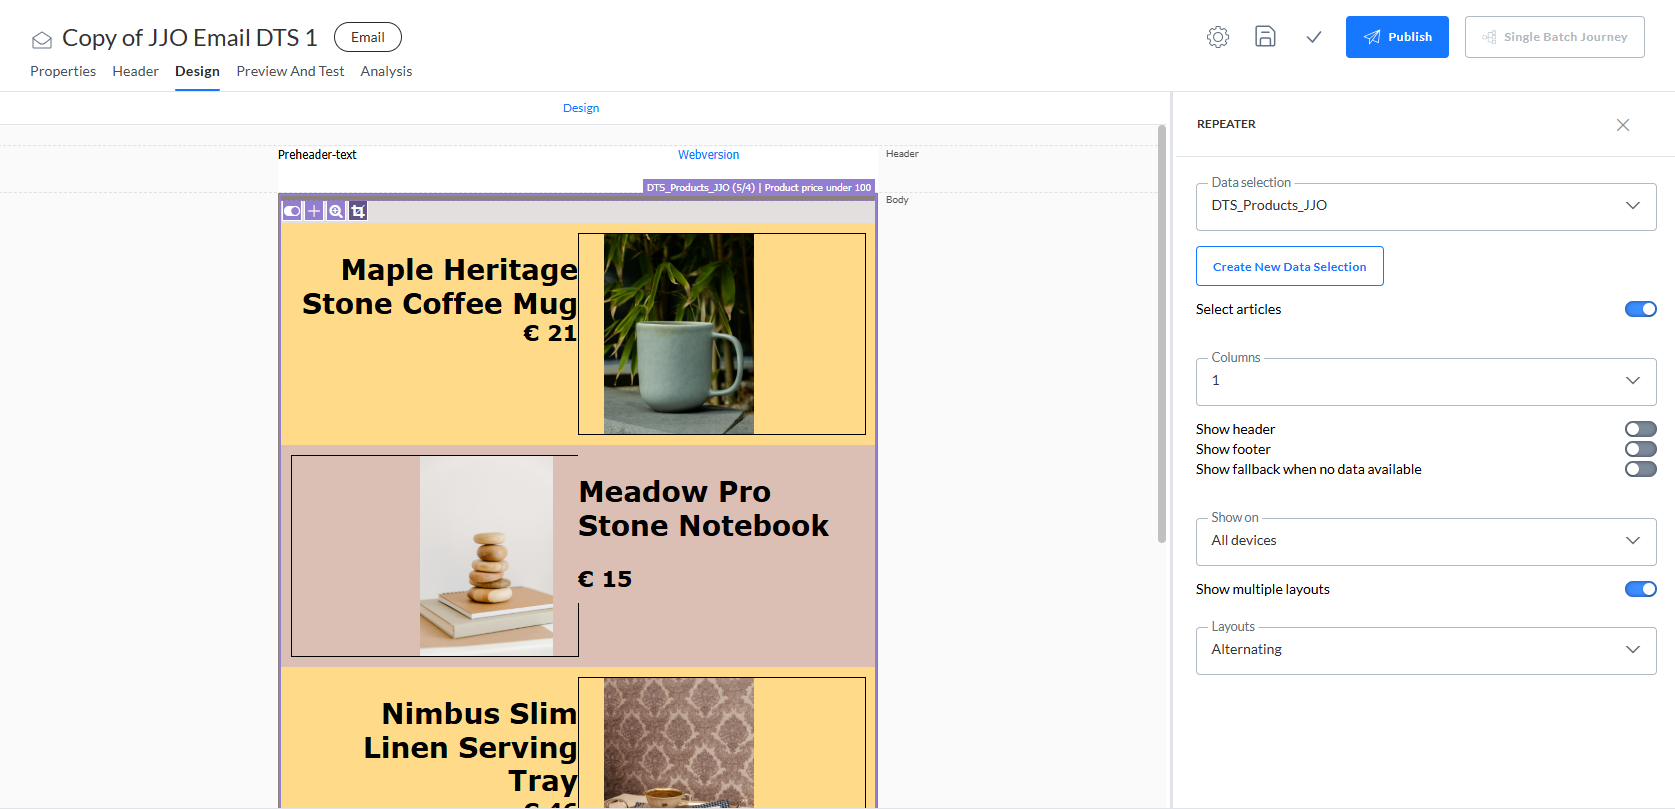
Preserve articles in messages created from Quick Starts
When you create a message from a Quick Start, the message contains the same articles as used in the Quick Start.
Example:
1. A Quick Start message contains a Data Selection setup and a Repeater with a selection of articles.
2. You can create a new message from the published Quick Start to use all properties from the Quick Start in the new message.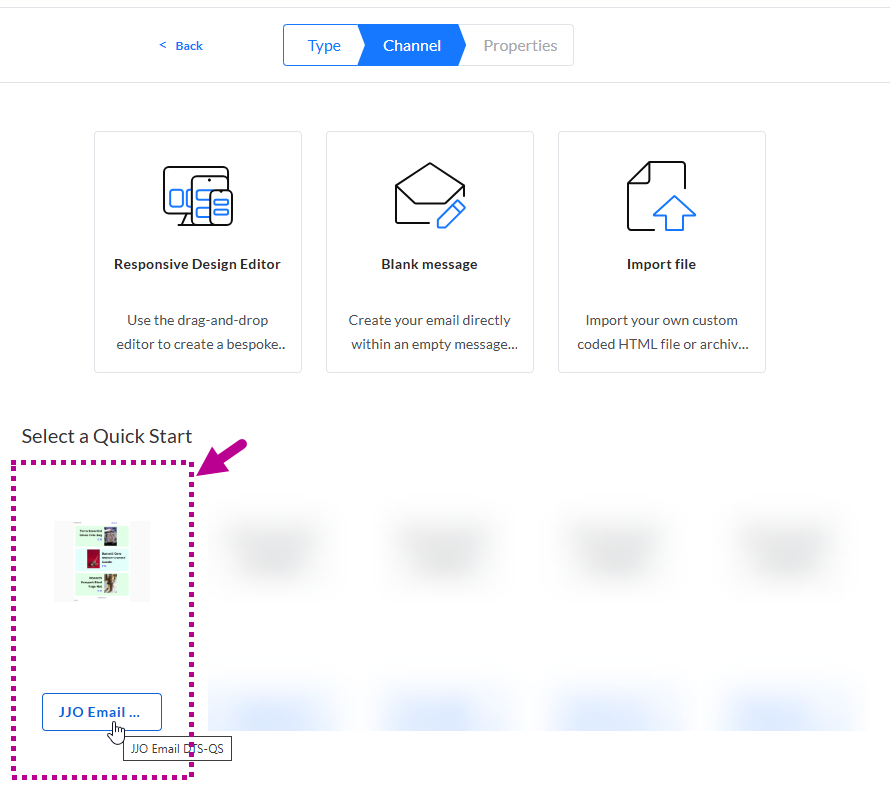
3. When opening the new message, the Data Selection setup and the selection of articles is identical to the Quick Start message.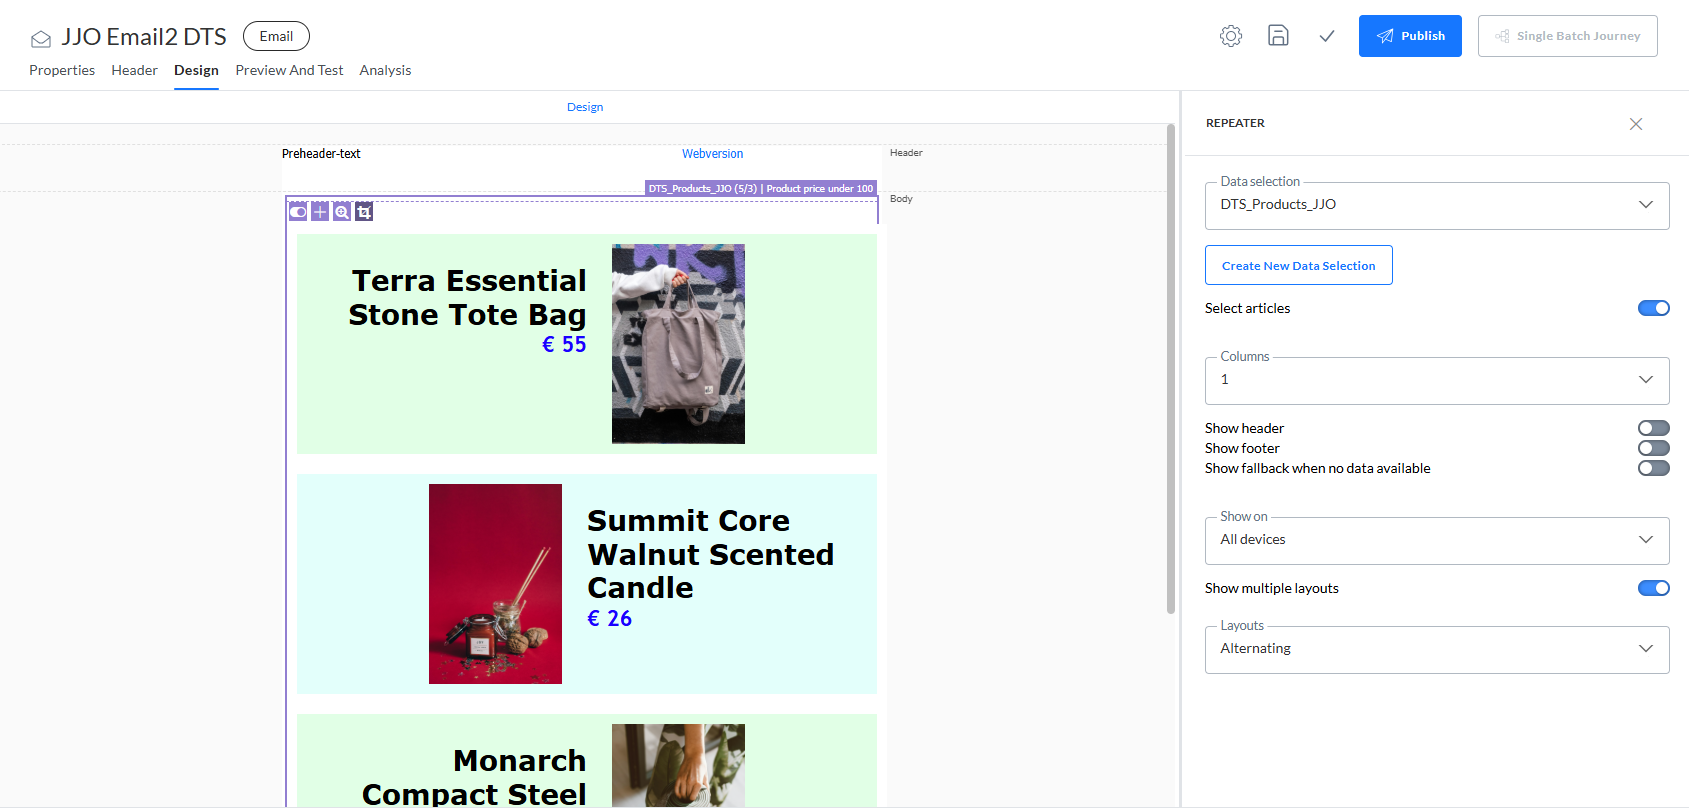
Preserve articles when duplicating journeys
When you duplicate a journey, any used messages are duplicated, while Data Selection articles are the same as in the original messages.
Example:
1. A Custom Journey contains two email messages, which both have a Data Selection setup and a Repeater with a selection of articles. (See JJO Email DTS1 and JJO Email2 DTS in the examples above.)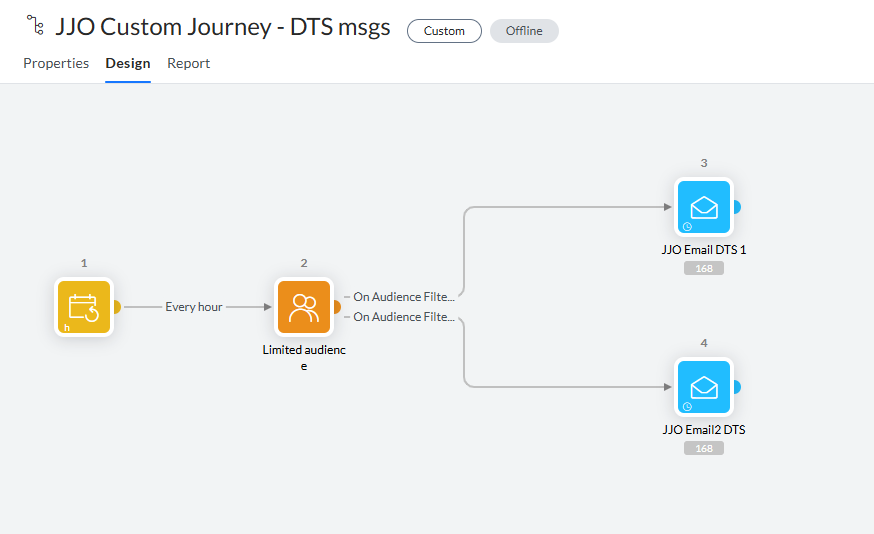
2. Click the Copy icon on the Journeys Start Page to duplicate the journey.
3. A pop-up is then shown, mentioning that the journey content will also be duplicated, while Data Selections and articles are the same.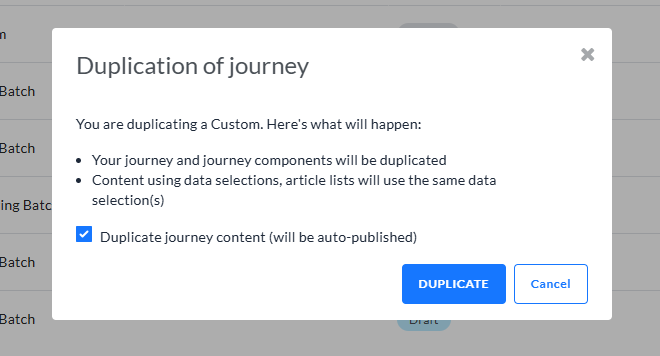
4. Clicking the Duplicate button in the pop-up creates the copy. This may take some time; keep an eye on the active tasks in the top bar of the application. Once done, the copied journey is available from the Journeys Start Page.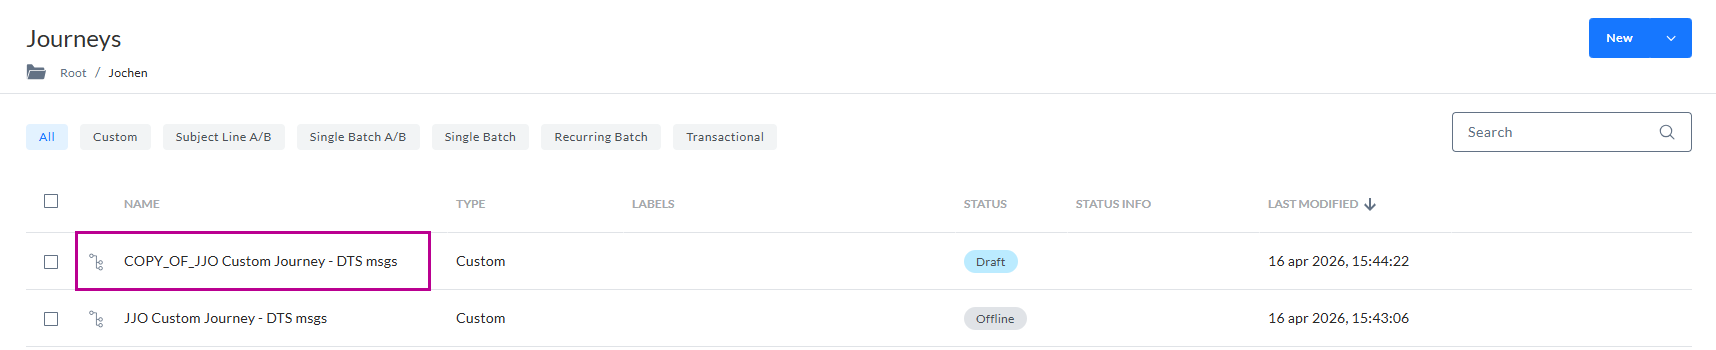
5. The copied journey contains duplicated components, as you can see in this example. (The original journey uses JJO Email2 DTS, while the copied journey created a duplicate message, named COPY OF JJO Email2 DTS.)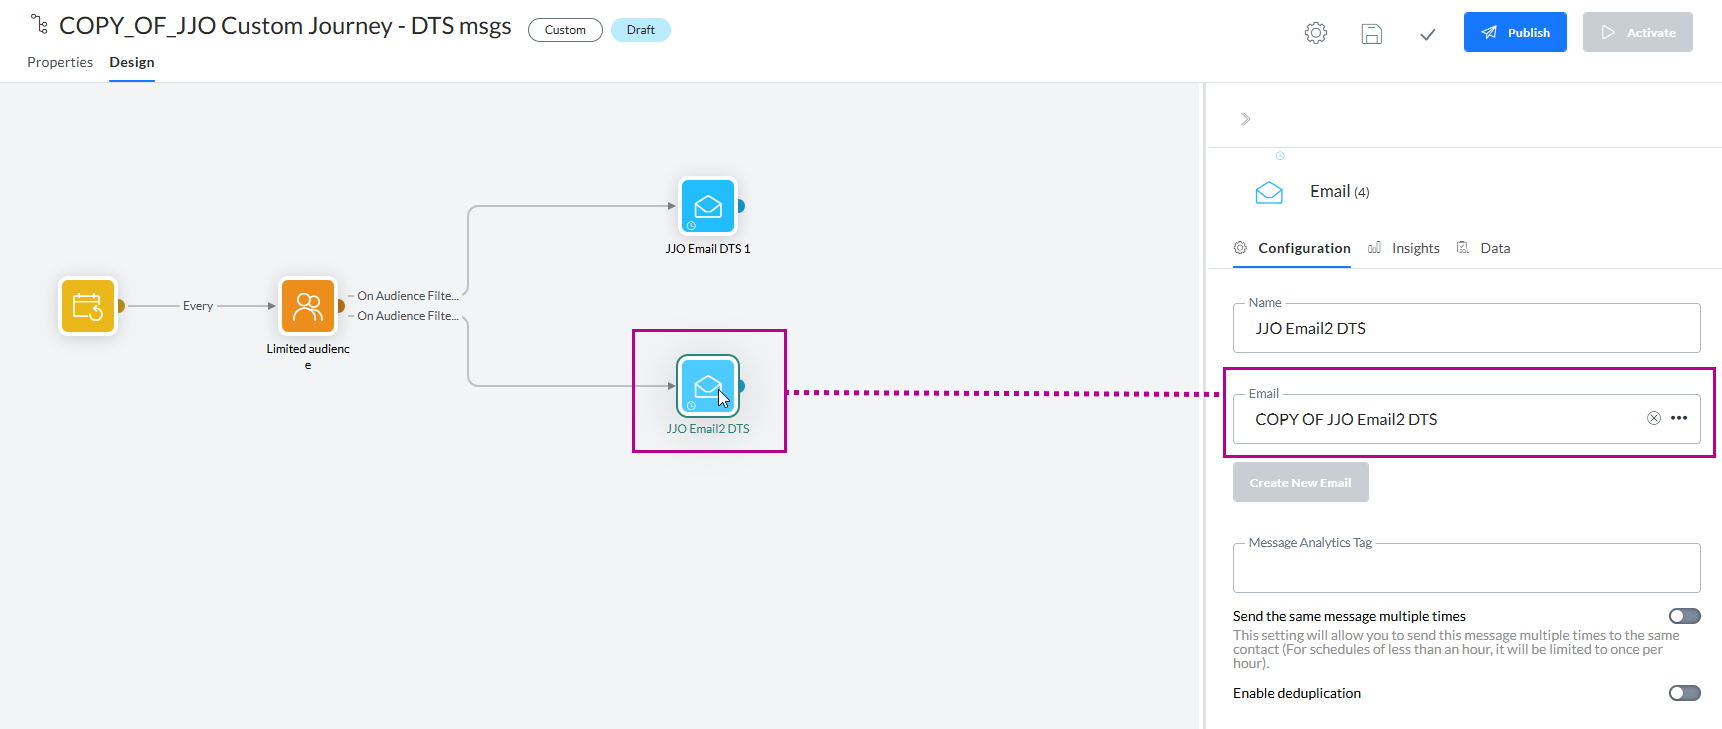
6. When opening such a duplicate message, the selection of articles is identical to the ones in the original message.
Article selection mode (Wysiwyg Editor)
The article selection mode for Repeaters is also available when working with the Wysiwyg Editor (e.g. for a page).
Note: The Repeater toggle to switch between article selection mode (to add items) and design mode (to create and design the content) is only available on the Design tab, not on the Source tab (which contains the HTML source code).
The same toggle is also available in the Repeater properties panel, on the right.
More info about the Wysiwyg Editor itself can be found here.
All functionalities are the same as in the Responsive Design Editor explained above:
