
HTML Editor
Increase your HTML template design efficiency with a modern HTML template editor. Syntax highlighting and a side-by-side view of your code and template preview provide immediate visual feedback on any changes you make while designing your template.
Note: If this is your first time building templates for Sailthru, or you're building a new type of template for the first time, be sure to discuss your plans with your Customer Success manager. Your CSM can provide sample template code and ensure you are using Sailthru's best practices for template design and strategy.
How it works
Navigate to the Templates page (Messaging > Templates), select the Create New Template button, hover over HTML Templates, and select Template Editor.
By default, the Inbox section will be open when you open an existing template or create a new one. The preview updates as you make changes to the HTML in the Content pane. The verification section shows any issues with your HTML, Zephyr, or links.
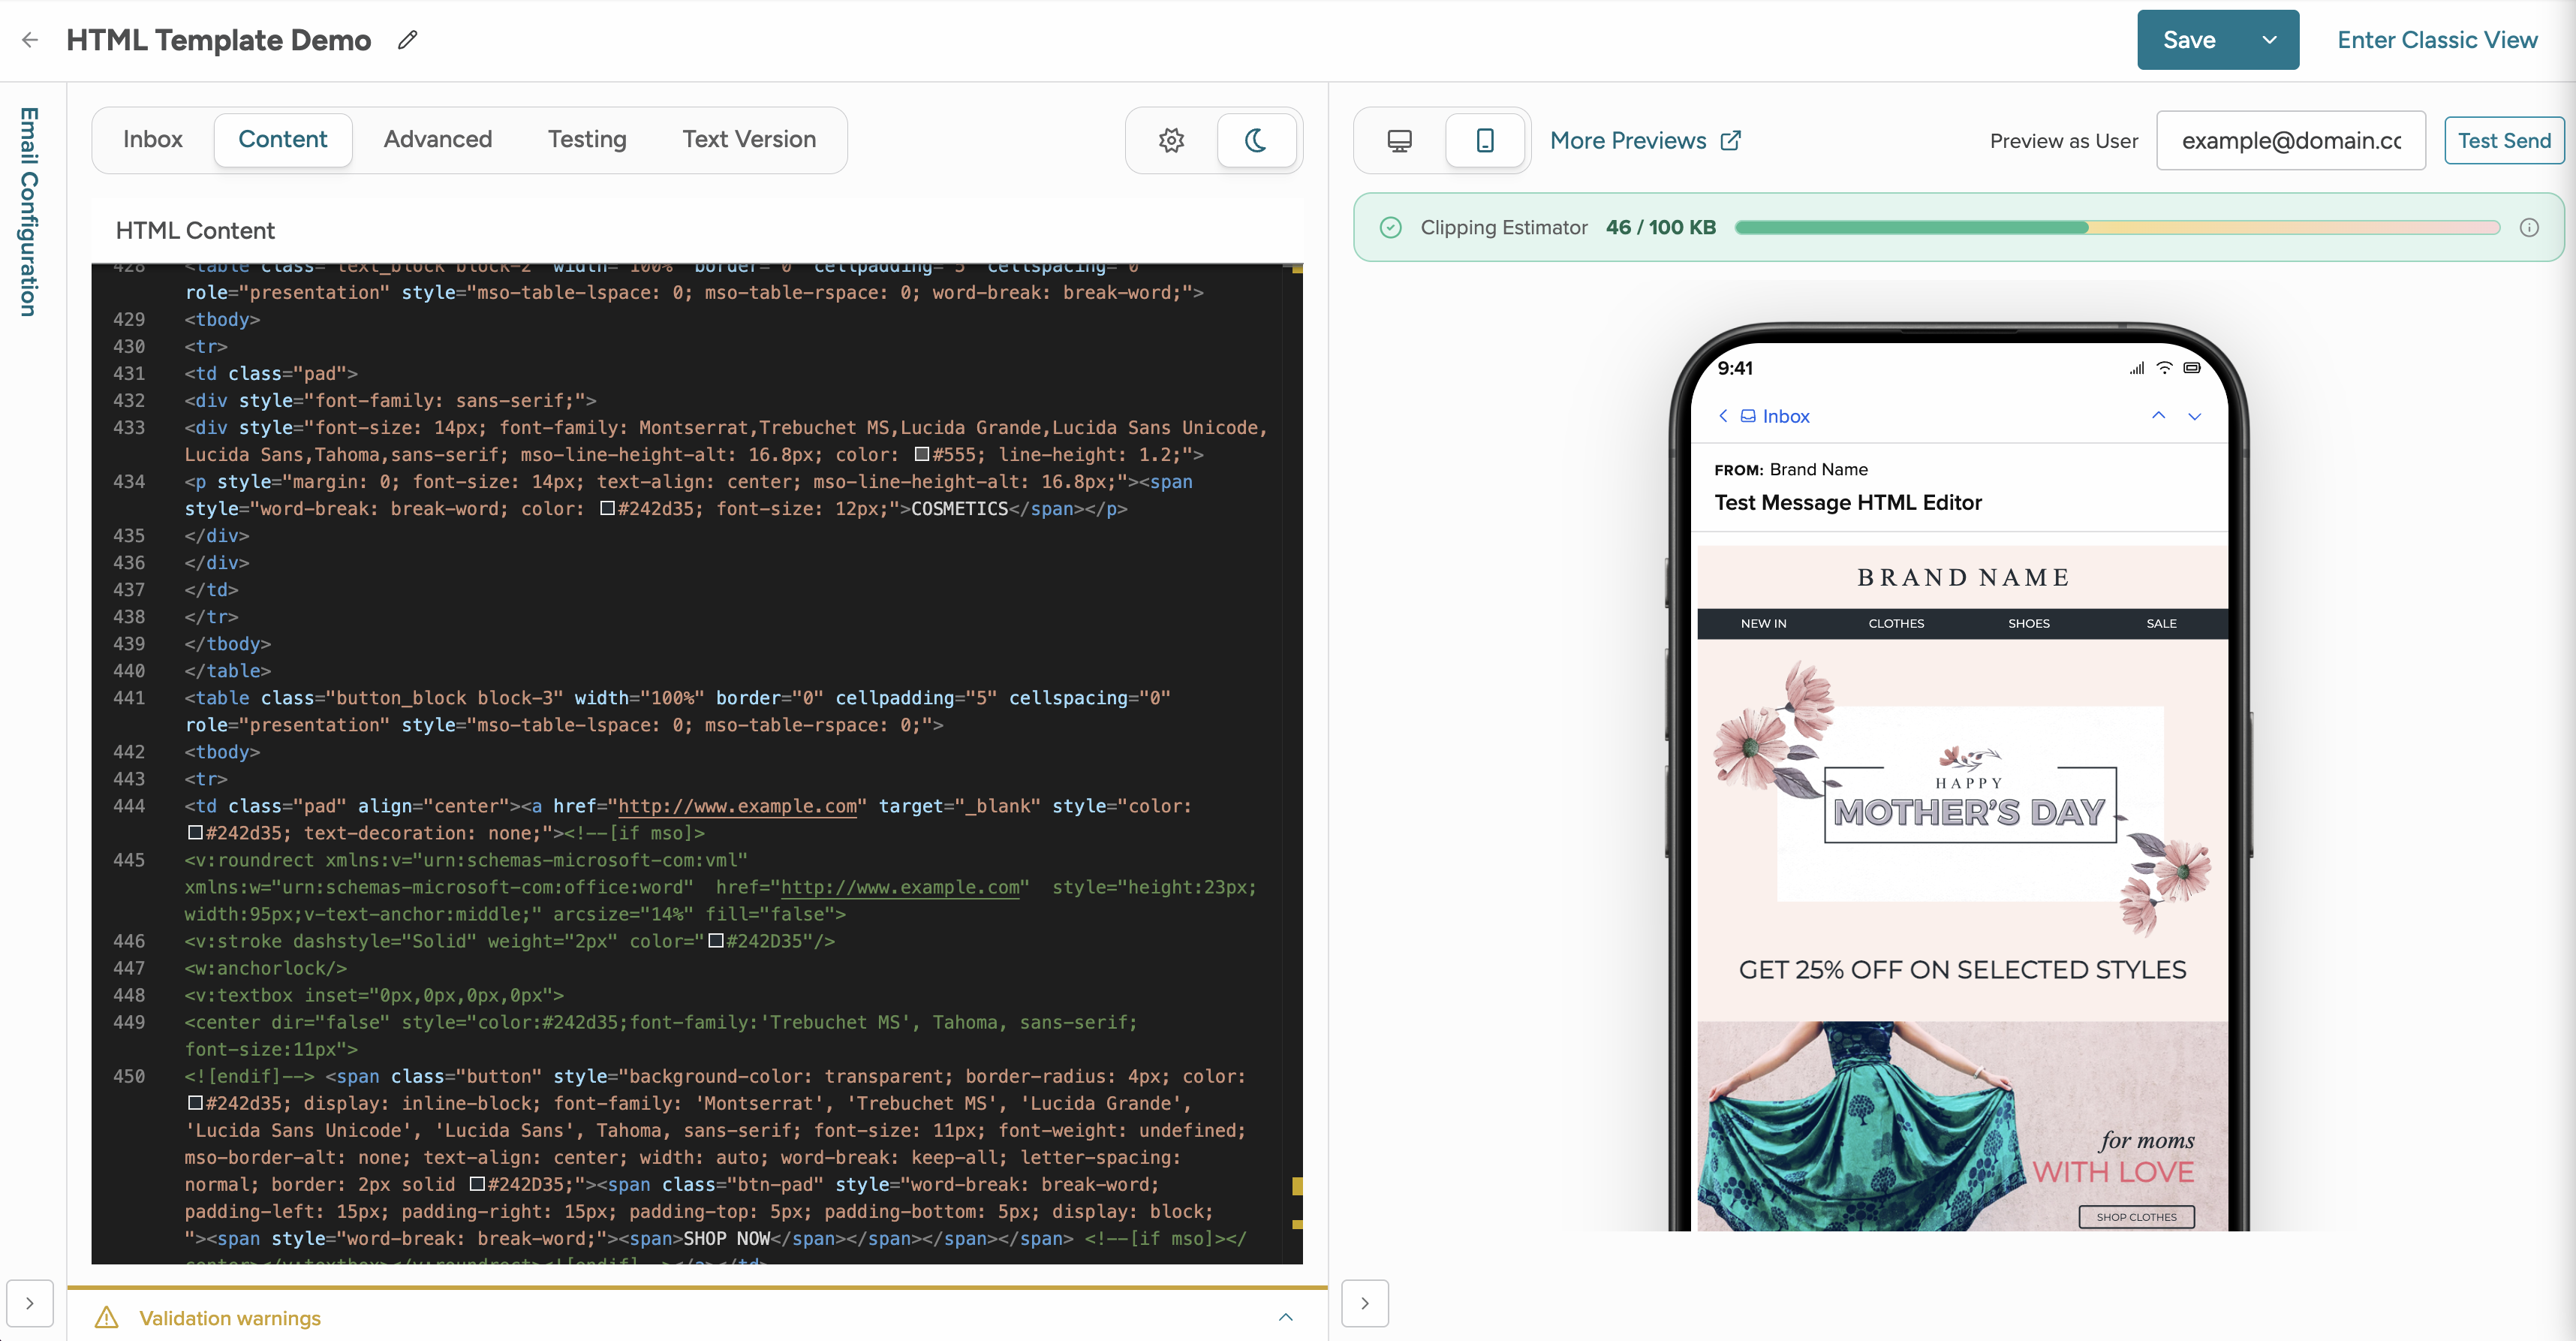

The left-pointing arrow at the bottom left corner of the screen opens the template setup panel where you can enter Setup details like a From Name, add existing assets like code snippets, or add any data sources like promotional codes. .
Build a New Template
-
Select Templates under the Messaging menu.
-
Select Create New Template from the Templates page.
-
Select HTML Email then Template Editor from the menu.
-
In the Template Editor, use the UI areas described in this article to enter all template settings and code.
Duplicate a template
Instead of building a template from scratch, you can duplicate an existing template and edit it. To duplicate a template:
- Locate the template you wish to duplicate in the template list or in its folder.
- Hover over the three-dot menu at the end of the row.
- Select Duplicate from the list. The duplication modal opens.
- Select the correct account and then select Duplicate.
Email Configuration
To open the Email Configuration panel, select the left-hand panel. The panel contains the basic settings for your template, a section to manage any assets, and a section to manage data sources. The configuration pane opens to Email Setup.
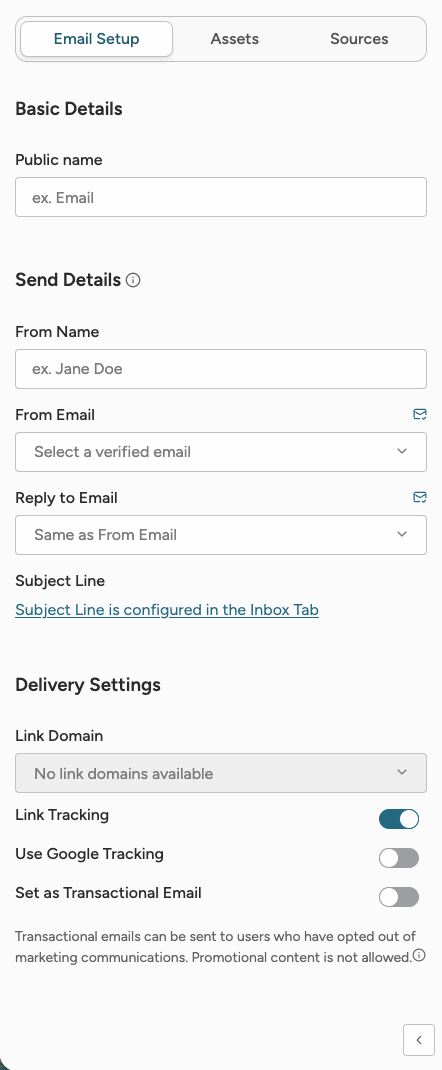
Email setup
The following options are available on the Email Setup tab:
- Public Name is the name a user will see if they visit the unsubscribe page or receive a signup confirmation from the template you're editing. This is only visible if you are using (make no edits to) the Sailthru-provided default unsubscribe page or utilize the
{template}Zephyr on your page. - From Name is the name the subscriber will see that the email is "From" in their inbox.
- From Email must be a Sailthru-verified email address. All verified emails available for your use are listed in the drop-down. To add an additional email address, click the Add verified emails link. A confirmation email will be sent to that inbox. Click the link inside the email to automatically add the address to your Sailthru list of verified from email addresses. The domain of the From Email must match the domain you've enabled Sailthru to send on behalf of. Contact your Customer Success Manager if you wish to send from a new/additional domain. Note: you must have at least one Verified Email configured in order to use the template Preview feature.
- Reply-To Email should be a monitored address such as feedback@ or support@. Noreply@ is advised against because it alienates subscribers and they are more likely to mark the email as SPAM.
- Subject line configuration is in the Inbox tab for the Code Editor. Select the link to go to the Inbox tab.
- Link Tracking allows you to track the number of people who click on your emails, which is very useful as a measure of user response to your emails. We recommend turning on link tracking. Note: If link tracking is disabled, Sailthru cannot measure clicks and this metric will not appear in reporting.
- To activate, simply make sure that the Link Tracking option is set to "Yes" in the Details tab of the template or campaign editor.
- All links will automatically be rewritten to go to the Link Domain you have set on your Sailthru Settings Page.
- See Track Link Clicks for additional information on the Google Analytics configuration.
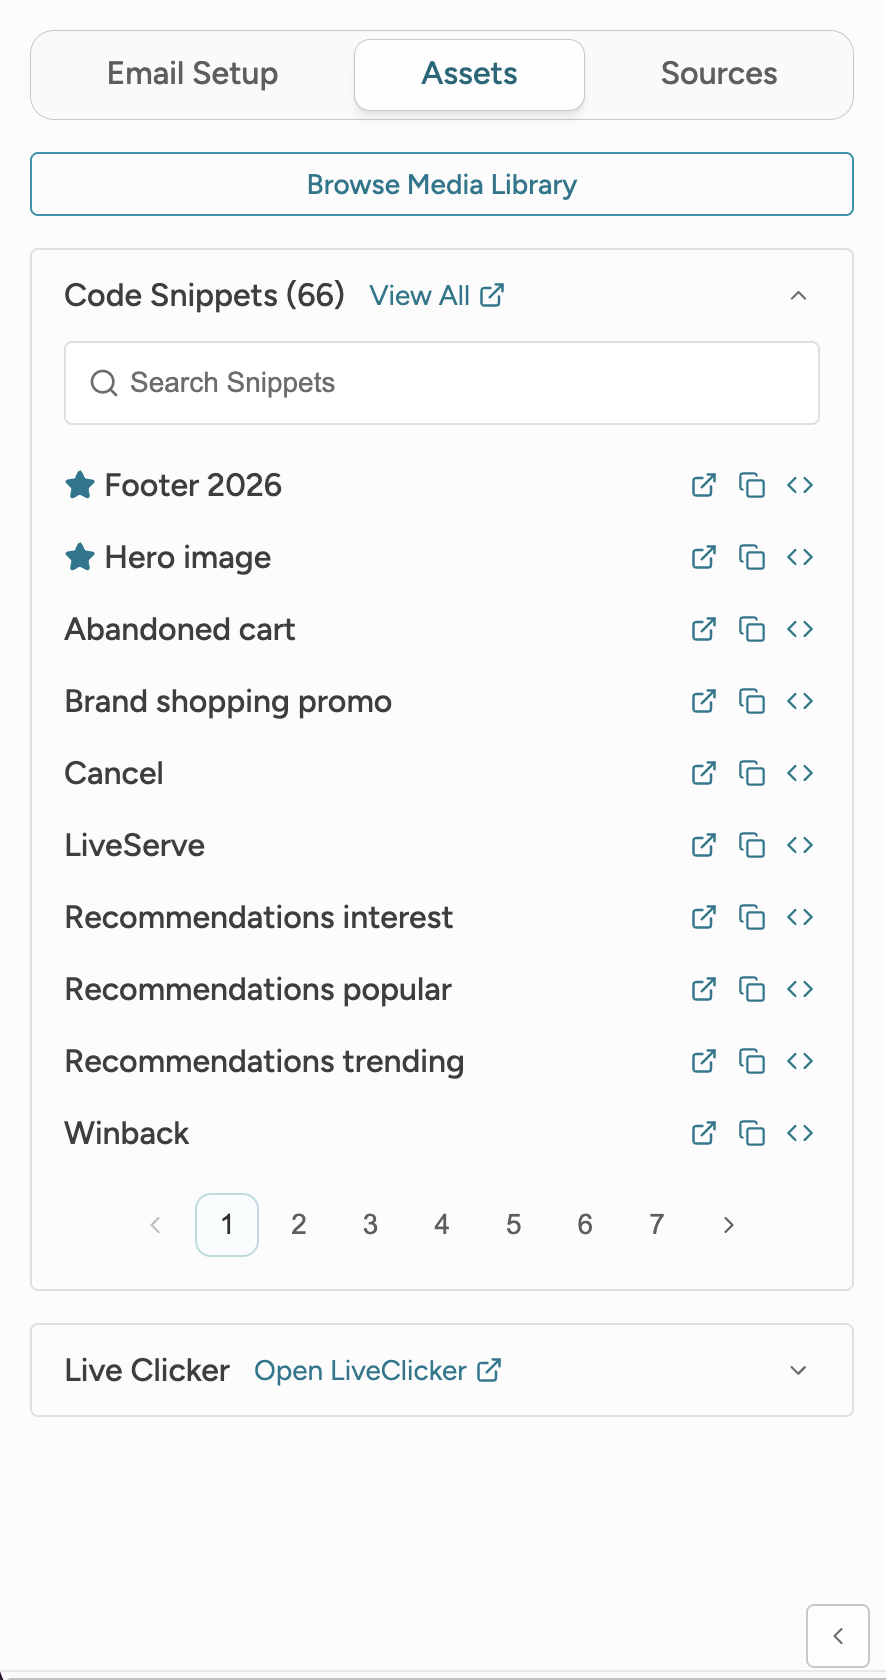
Assets
Manage any media assets (images, documents) that are used in your message.
Sources
Add a promotion code from the Sources pane.
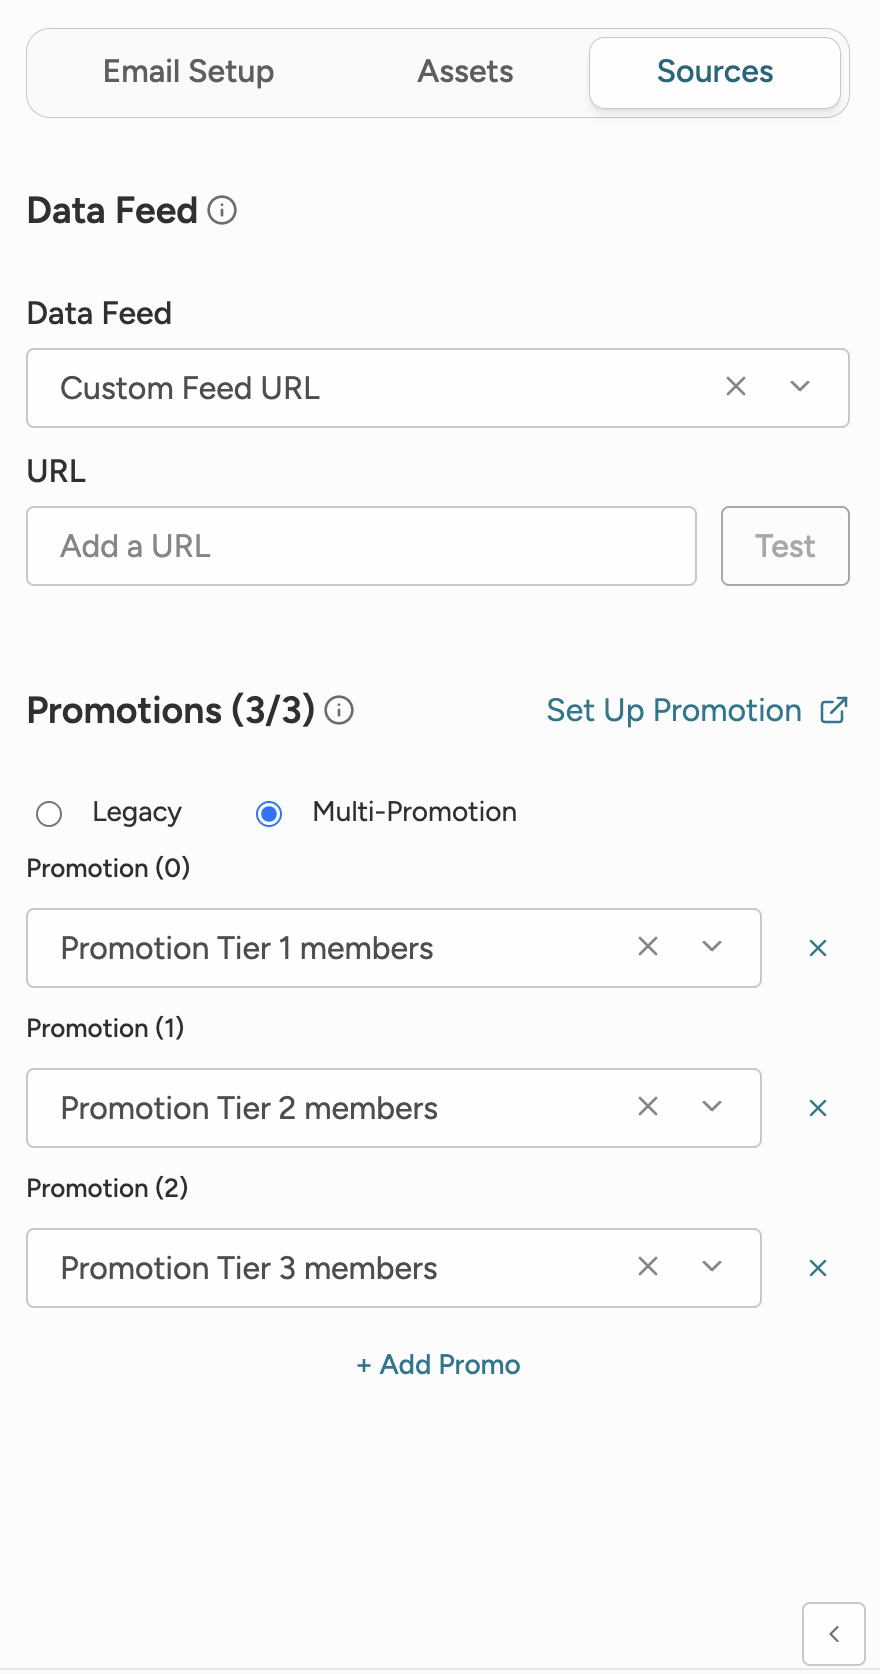
To add a promotion to your template, select the type of promotion and then each promotion you wish to use. You can add up to three promotions per template with the Multi-Promotion option.
For more information on adding promotions to an HTML template, see the Multi-Promotions documentation.
The content pane
The content pane is the place to enter your HTML, Subject line, Setup, Test vars, and Link Parameters. Select light or dark mode to control your editing environment.
All the tabs in the content pane support Zephyr code and offer real-time validation.
Inbox
Enter your subject line and preview text in the Inbox pane.
Content (HTML)
Write (or paste) and edit the HTML, CSS, and Zephyr code that generates the email body. The HTML and CSS provide the design (and any hard-coded content) and the Zephyr code handles the display of dynamic content, such as content from a data feed. For more information, see the For Developers documentation.

- You may include Zephyr syntax to personalize greetings, and pull in content from a data feed. (See Code a Template Using a Data Feed.)
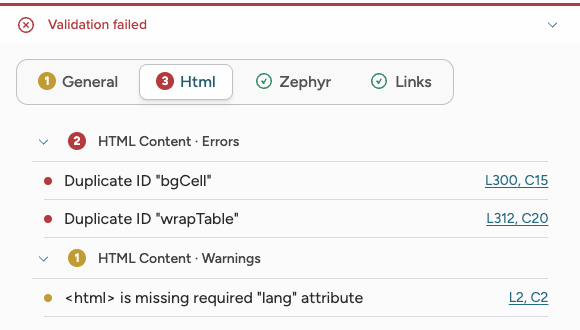
- Content is automatically validated as your enter it directly below the HTML editor.
 .
.
- Add Zephyr variables, for example {
varNameHere}. Variable values can be populated by:- User profile fields, including custom fields (vars)
- Content feeds
- Send API calls (using the vars parameter)
- Add a beacon image to your code for tracking. For example:
<img src="{beacon_src_ssl}" />This is required for reporting opens. For more information on the available versions of the beacon Zephyr code and how to change the beacon image, see Track Opens with a Beacon Image. - Add
{optout_confirm_url}to the tag of your Unsubscribe link. Note that this variable will auto-append into the code if it is not already present. See Zephyr Template Variables for more information. - You can display the user's abandoned cart contents which, if it exists, is stored on the user profile. You can include this in Abandoned Cart emails and also in other messaging.
- You can use the Find/Replace fields when making template code edits.
- To add preheader text to your template:
- In the
<head>tag, add:<!--[if gte mso 9]> <style type="text/css"> .preheader {display: none}</style> <![endif]--> - In the body of your template, add:
<span class="preheader" style="display: none !important;">Your pre-header goes here</span>
- In the
Advanced
The Advanced pane contains:
-
A Setup textbox where you can add Zephyr code to run when Sailthru generates each message, prior to rendering code in the template body. For example, pull personalized content recommendations for the user into an array for use in the message body, and further filter that content.
-
An Auto append link parameters textbox where you can add query string parameters to every link. You can hard-code a parameter, for example
utm_content=newsletter, or use Zephyr to include a dynamic value, for exampleuser_hash={md5(email)}
Testing
Set temporary variables and values that would otherwise be passed via API or sourced from a user profile or data feed. The test vars feature allows you to input JSON or, for example, "name=dave" to test in the preview and in test sends. If a var already exists, it will note be overwritten.
While the variables are temporary in nature, they will save in the template if you don't delete them before you save your work.
Preview
Use the Preview to review how your HTML, CSS, and Zephyr code would be rendered for a given email recipient in mobile or desktop mode. You can also see a size estimate for your message within the Clipping Estimator above the preview window. The HTML Editor provides both desktop and mobile preview, so you can see how your message will render for your users.
- The Clipping Estimator provides a best estimate of your message's size.
- Personalization content can vary between subscribers, so use the View as User option to check the size as a variety of users.
- Link rewriting or other code conversions that occur after the message leaves Sailthru by Zeta's servers can also impact final message size.
- Edit the View As User address to preview an email as it would appear to any other specific user. This feature is useful when a templates that contain dynamic content (for example, using Zephyr) populates different content based on user variables or interests. Replace the email address in the field and click Refresh.
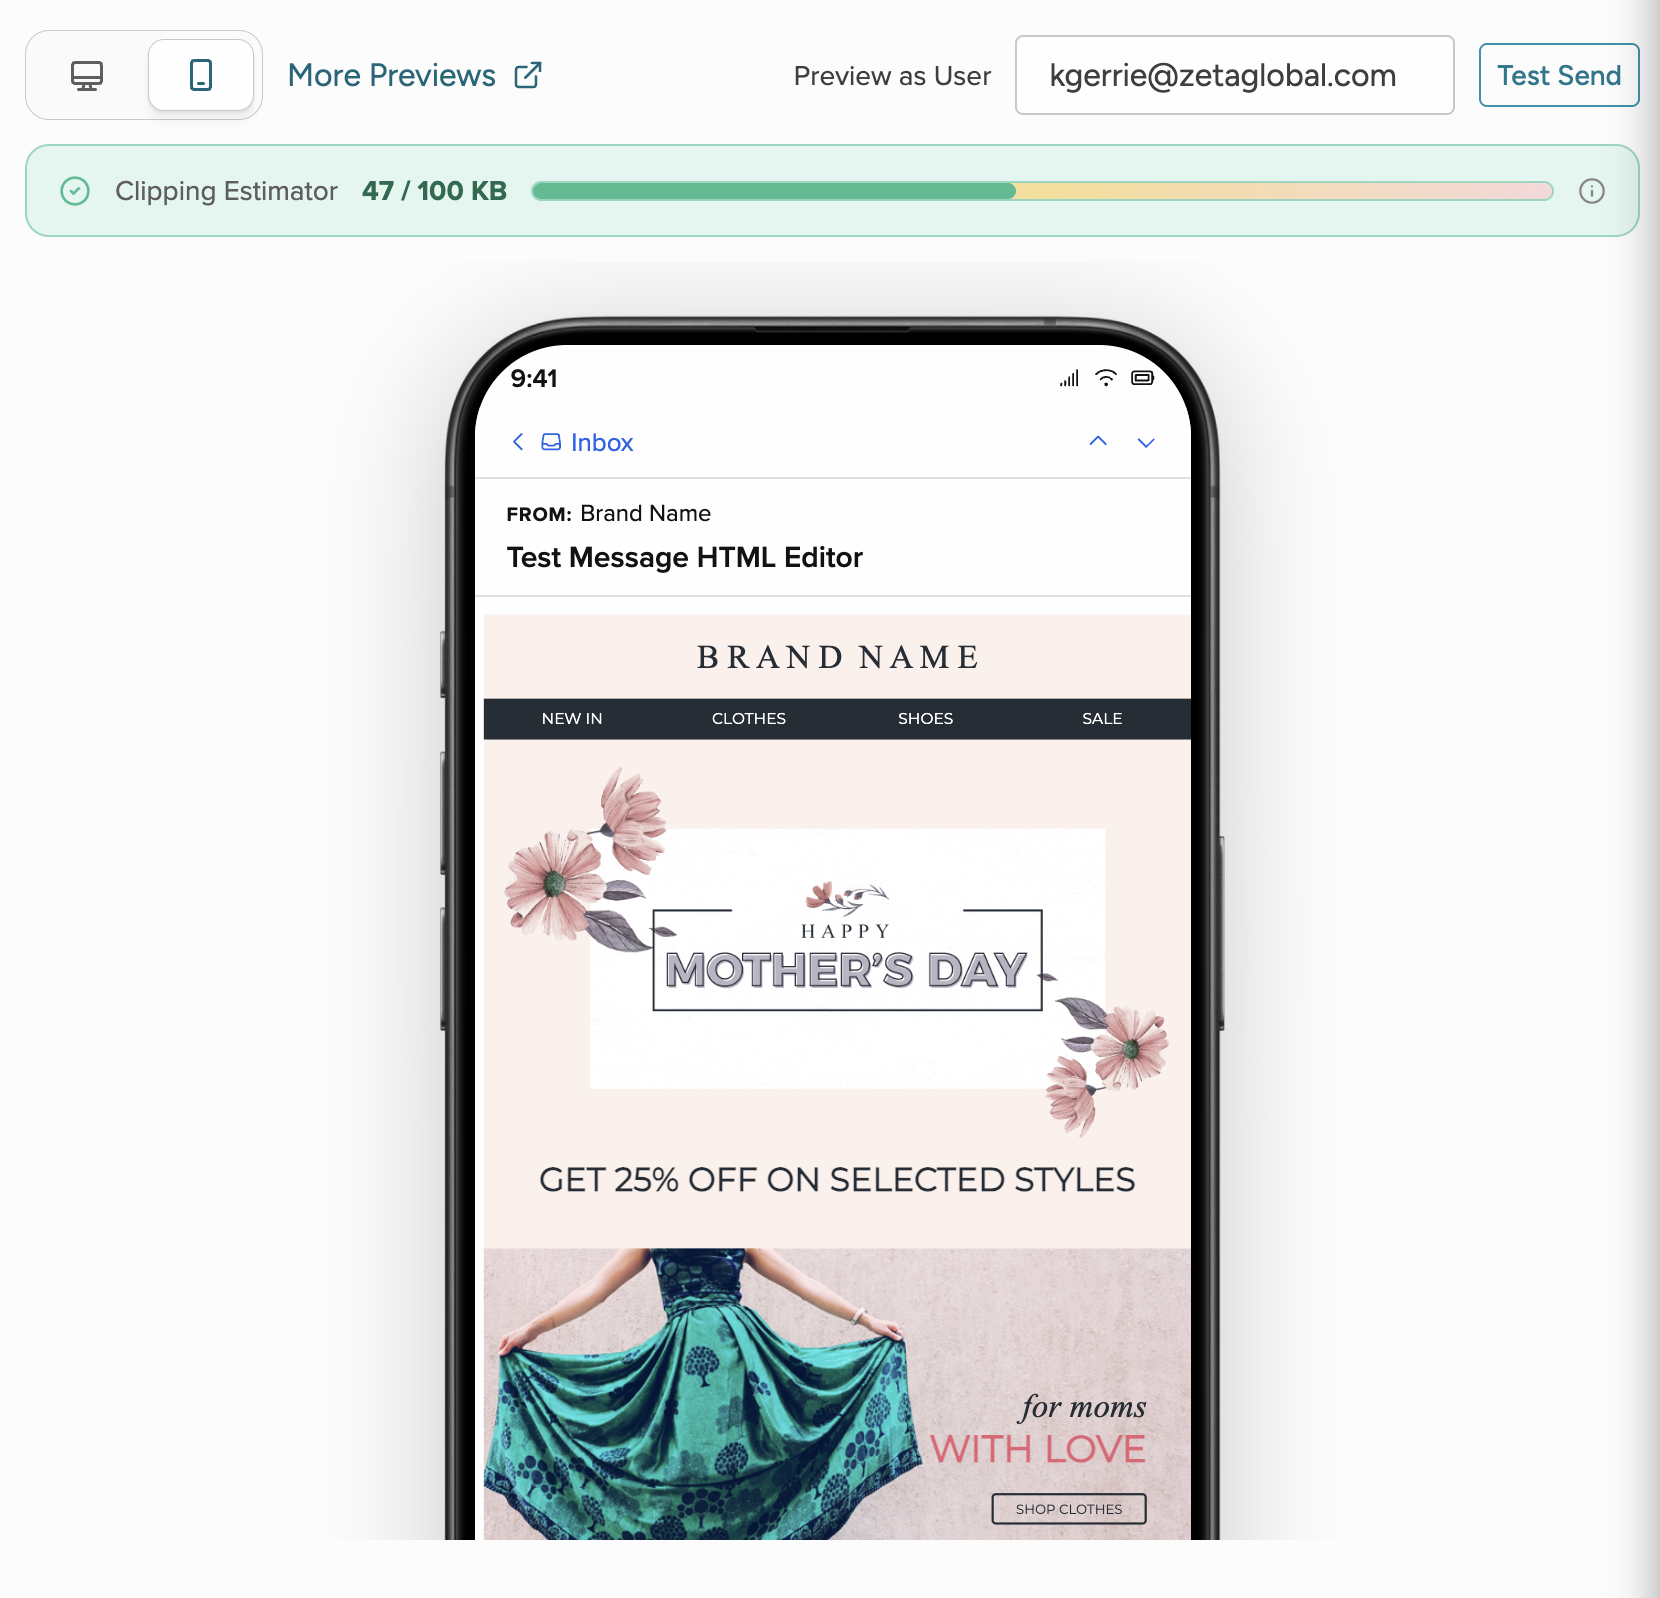
Mobile preview
The mobile preview provides a look at how your message will render for your users in a mobile environment.
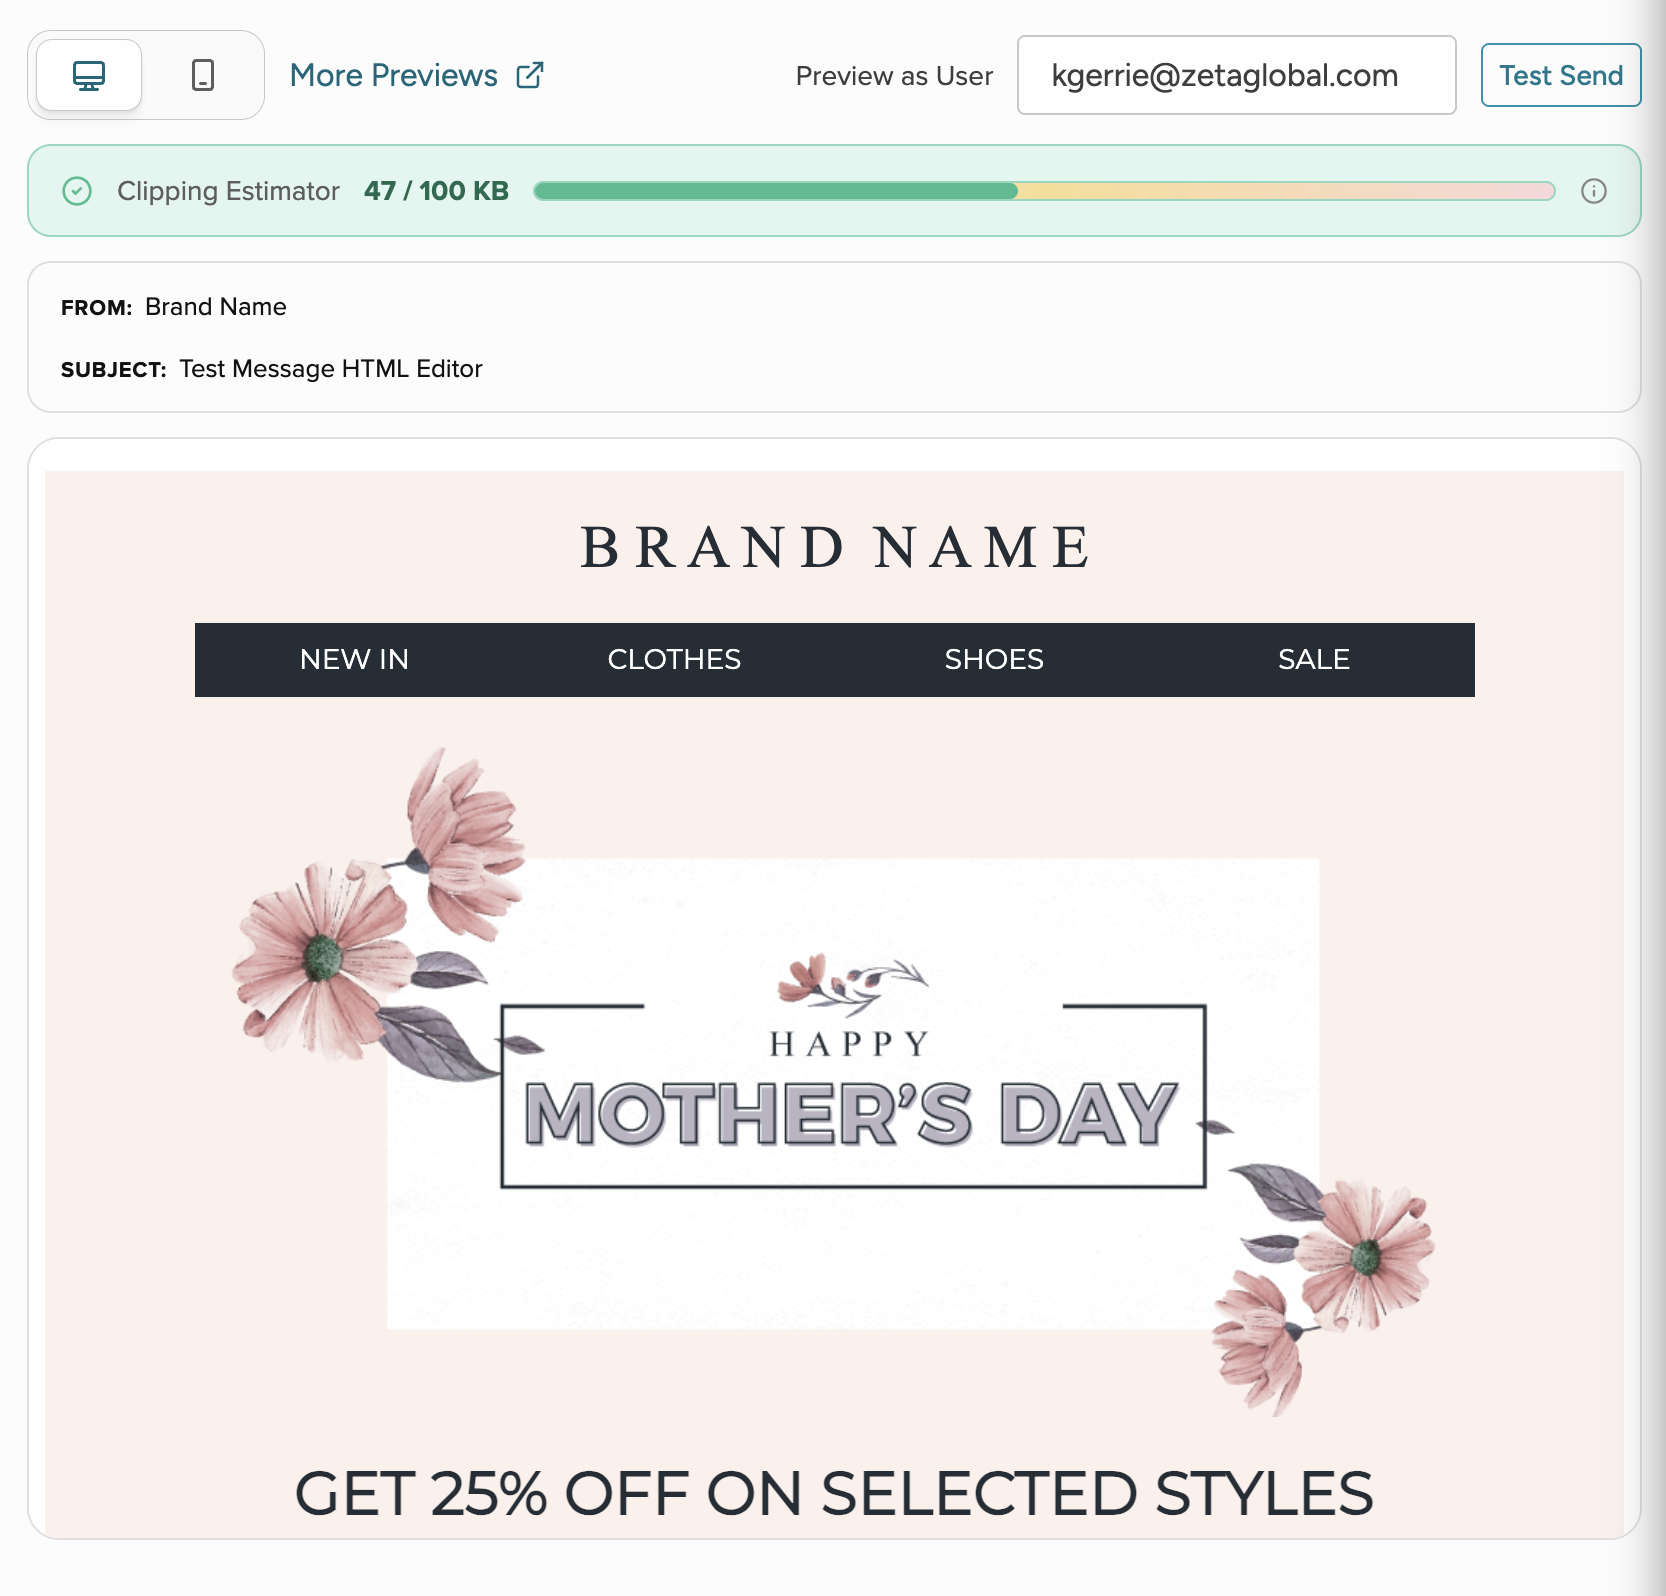
Desktop preview
The desktop preview shows how the message will render in a desktop email inbox.
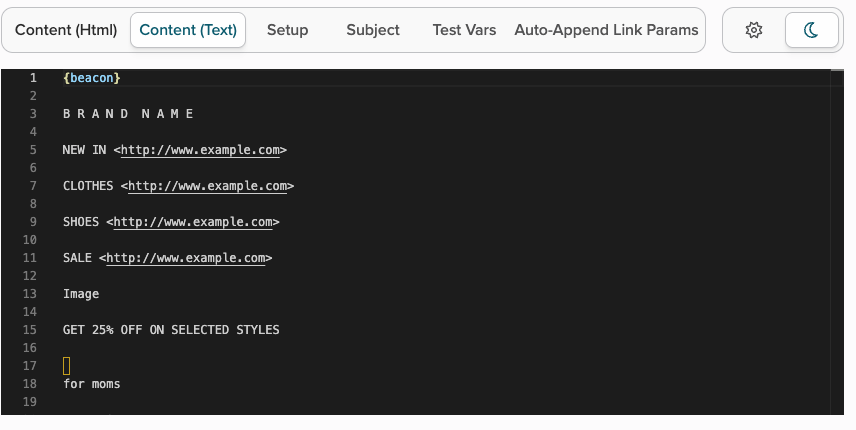
Text Version
Select Generate Text Version next to the light/dark mode buttons to create the text version of your message. When you select that option, the text version shows in your content panel. Remember to remove any imagealt tags that appear in the text and update any dates in the text to the day of send. You can also use Zephyr syntax to call the date.
Note: Producing a text version of your message not only offers a better experience to users who view the plain-text version of the message, but is also an easy way to help minimize the risk of your email being flagged as spam by recipients' email hosts.
Additional Features
- Save - Save your campaign.
- Save Copy As - Create a new session with an identical copy of your template that can be modified separately. Note: this is not related to A/B split testing.
- Select the Test Send button to open a send modal.

- Enter the email address of your choice and then select Send.
- We recommend you always use Test Send prior to deploying to check rendering and links.
- When using the Test Send feature within a template, it:
- Shows up on the User Profile as a transactional email
- Can be used to test triggers
- Will be logged in the Transactional Log Report
- Will produce an opt-out link that displays an opt-out page, though opt-out actions on that page will not be recorded. Opt out page will redirect as if this was a live send.
- More previews - See how your template looks in multiple different email clients. Select More previews to open the test screen, verify the template information, and select Run Test. You'll see the tests populate. Note that if you fail an assert or cancel statement in the template, it will not render in the email client test.