
LiveIntent in the Visual Composer
Drag and drop your LiveIntent ad placements into templates without touching any HTML.
Note: You must have a LiveIntent account and your account must be linked to your Sailthru account to use this feature. Reach out to Support or your CSM to have this configured.
How it works
Once your LiveIntent and Sailthru accounts are linked, you can select your LiveIntent account and a newsletter through the Settings section of the Visual Composer. The ad slots linked to that newsletter are added to the available content blocks and you can drag them into your template, exactly where you want them placed.
Note: LiveIntent Ad rendering can be affected by the sending mechanism you select. The Ads will work in any visual template but will not render on send for any triggered message.

Include an ad placement in a template
There are two steps to including a LiveIntent ad placement in a visual composer template. First, you must enable LiveIntent ads for the template. Then you can use the drag-and-drop content blocks to include an ad placement.
Note: All Inventory settings must be configured in LiveIntent before any ads can be used in Sailthru.
Enable LiveIntent ads
- Create a new Visual Template or open an existing one.
- Select the Settings gear icon.
- Select the Use LiveIntent Ads toggle to turn the feature on.

- Set the Account and Newsletter options. These control which ads are available to you in the visual composer.
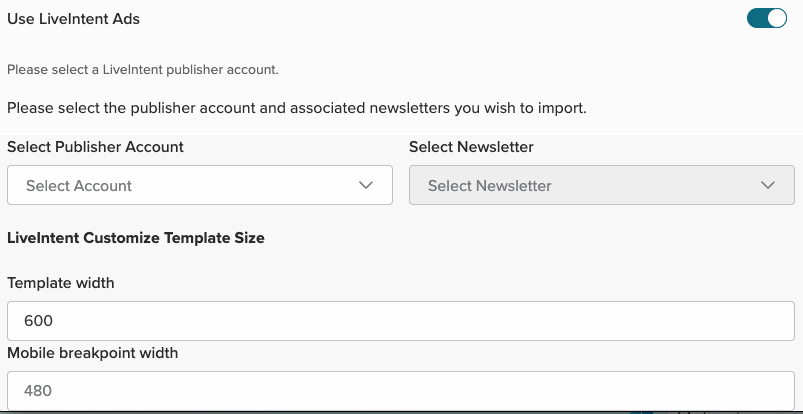
- Set the template width and the mobile width. By default, these are set at 600 pixels for email templates and 480 pixels for mobile templates.
- Save your changes.
Include an ad placement
After you save the changes to the template settings:
- Scroll down to the end of the available content blocks.
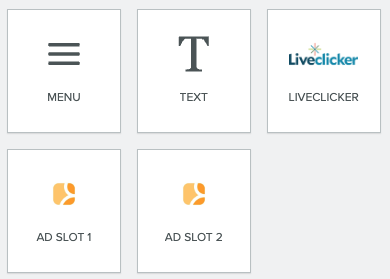
- Select one of your available ad slots and drag it into place in the template.
Note: When you add the ad slot to your template, it will no longer be available in the content blocks section. If you delete it, it will become available again. - Repeat step 2 until all your ads are placed.
- Save your template.
Changing the newsletter
If you wish to change a newsletter after you have added the ad slots to your template, follow these steps:
- Remove all the ad slots from the template.
- Open the Settings screen by selecting the gear icon.
- Select a new newsletter under the Use LiveIntent Ads section.
- Return to your template and place the ad slots.