Enable Placements in an Offer Campaign
A Placement represents a named, repeatable location (usually within a website, email message, or a mobile app) where you intend to display content. Offer Campaigns can be configured to "target" Offers to specified Placements.
Multiple Offer Campaigns can target Offers to the same Placement, which provides marketers with cross-Campaign management capabilities. In a scenario where multiple Offer Campaigns are targeting Offers to the same Placement, the platform will sort the Offers based on which Offer Campaign has the higher Rank value.
To enable a Placement in an Offer Campaign:
-
Select Campaigns from the top navigation bar, then select Campaigns > Campaigns from the side navigation menu. The Offer Campaigns screen is displayed.
-
Search for and select the desired Offer Campaign (see Search for an Offer Campaign for more information on the available search options). The Offer Campaign Details screen is displayed, with the Objective tab selected by default.
-
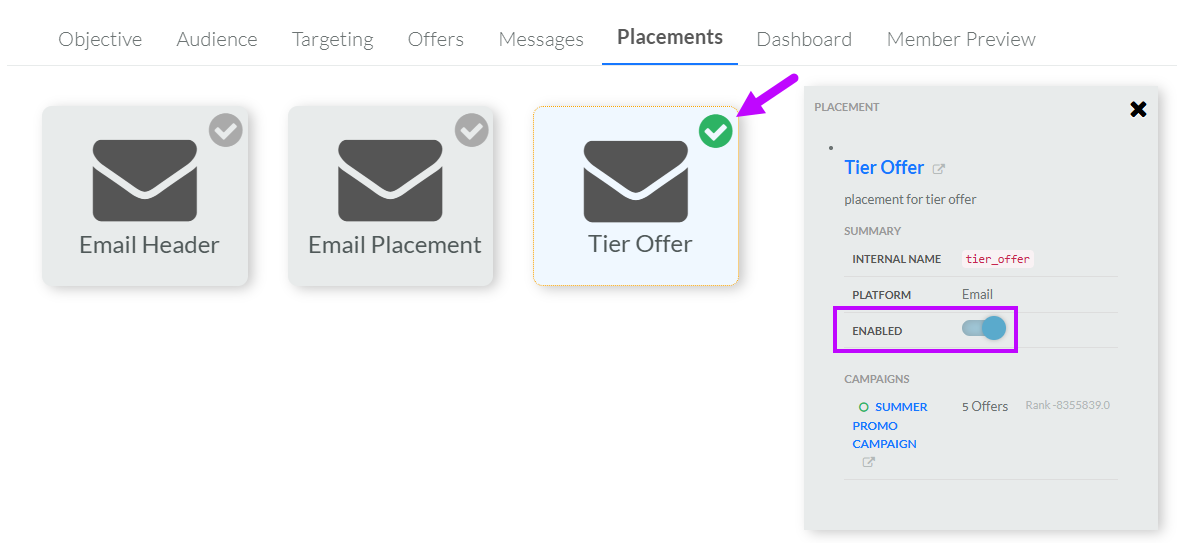
Select the Placements tab. The platform displays "cards" for each of the available Placements defined in your account. Disabled Placements have a gray background and a gray check mark icon. Enabled Placements have a blue background and a green check mark icon.
-
To enable a Placement, click it. The platform displays information about this Placement in the Placement Details panel on the right. Within this panel, toggle Enabled to On.
Note: Optionally, you can also enable a Placement by clicking the gray check mark icon within the thumbnail image of the Placement.
-
Repeat the above steps as needed to enable additional Placements in this Offer Campaign.
-
Optionally, to disable a Placement in this Offer Campaign, click it to select it, then toggle Enabled to Off. Or, you can click the green check mark icon within the thumbnail image to disable the Placement.
To view additional details for a Placement, click its name with the panel; the Placement Details screen is displayed.