Create a Group Category
To create a Group Category:
-
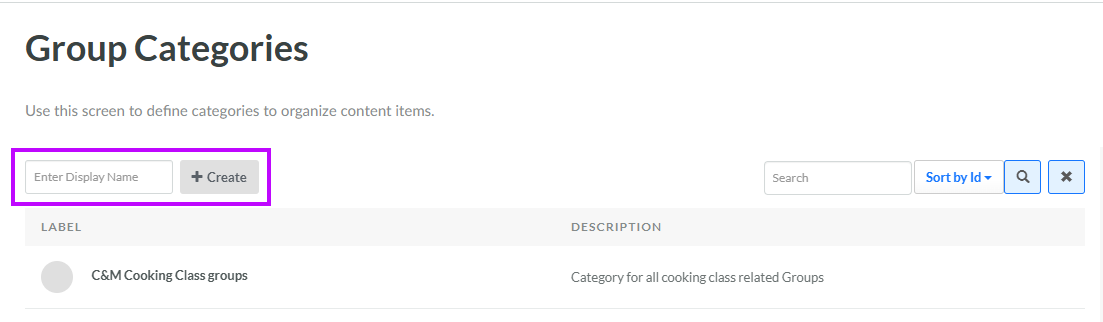
Select Members from the top navigation bar, then select Settings > Group Categories from the side navigation menu. The Group Categories screen is displayed.
-
In the Display Name field, enter a name for the new Group Category.
-
Click Create. The Edit Group Category pop-up window is displayed.
-
The Label field is populated with the value you entered above; optionally edit this value.
-
The Internal Name is automatically populated based on the Display Name value. This field is not editable by default. To edit the Internal Name, check Edit Internal Name. A confirmation dialog box is displayed; click Ok. Edit the Internal Name value.
-
Optionally, to assign a thumbnail image to this item, click Choose File. Browse to and select the desired image file, then click Open.
-
Optionally, in the Description field, enter a description of this item.
-
Click Save.
Add a Group to a Group Category
After creating the Group Category, you can begin adding Groups to it. However, you can't add Groups to the Group Category from the Group Categories screen. Instead, you must navigate to the Group Details screen, and add the desired Groups one at a time to the Group Category.
To add a Group to a Group Category:
-
Select Members from the top navigation bar, then select Groups > Groups from the side navigation menu. The Groups screen is displayed.
-
Optionally, search for and select the desired Group (see Search for a Group for more information on the available search options). The Group Details screen is displayed with the Members tab selected.
-
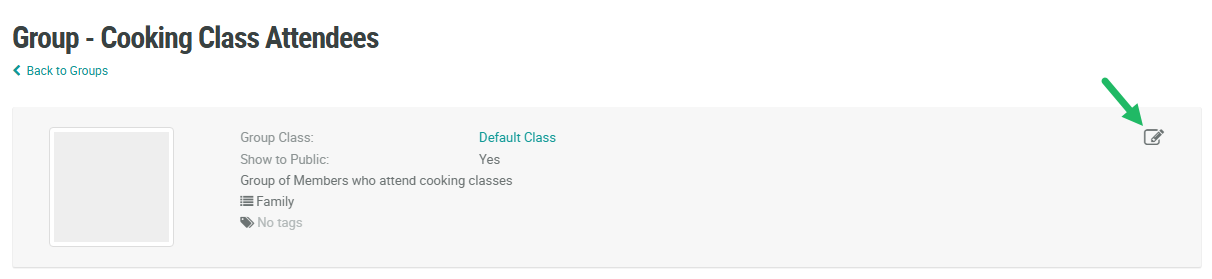
Within the header area, click the Edit icon. The Edit Group pop-up window is displayed.
-
From the Categories drop-down menu, select the desired Group Category. Optionally repeat this step to assign the Group to multiple Categories.
-
Click Save.