Create a Custom Object
Custom Objects are a special type of table in the Loyalty database, designed to extend the Member Profile with object types specific to the client's business. Custom Objects contain their own unique set of Attributes, and can be used for segmentation, personalization, and analytics.
To create a Custom Object:
-
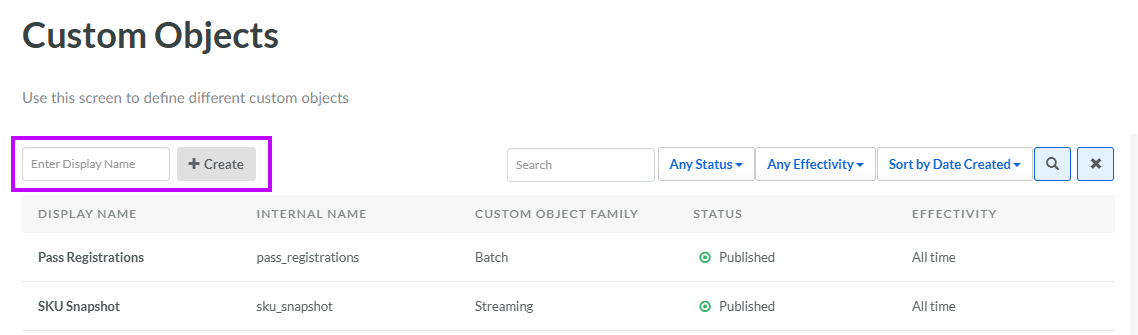
Select Program from the top navigation bar, then select Custom Objects from the side navigation menu. The Custom Objects screen is displayed.
-
In the Display Name field, enter the name of the new Custom Object.
-
Click Create. The Edit Custom Object pop-up window is displayed.
-
The Display Name field is populated with the value you entered above; optionally edit this value.
-
The Internal Name is automatically populated based on the Display Name value. This field is not editable by default. To edit the Internal Name, check Edit Internal Name. A confirmation dialog box is displayed; click Ok. Edit the Internal Name value.
-
Optionally, in the Description field, enter a description of this item.
-
From the Custom Object Family drop-down menu, select one of the following:
-
Batch: Intended for use cases where Custom Object data is imported into the system as a file, such as a daily batch import, for example.
-
Streaming: Intended for use cases where Custom Object records are flowing into the platform as a stream of events via API calls.
-
Synthesized: Intended for use cases where multiple data sources are combined and processed into a more useful view of a Member or their behavior.
-
-
Optionally, if you want this Custom Object to be Business Unit-specific, check BU Specific. If enabled, this option allows you to store Business Unit-specific values in the Custom Object's Attributes. For more information, see Getting Started with Business Units.
Note: Business Units are an optional feature that must be enabled in your Loyalty account. Speak with your Zeta representative for details on enabling this feature.
-
Click Save.
Once you have created the Custom Object, click it to view the Custom Object Details screen. See View a Custom Object for more information.
Additional Information
For additional information on how to configure the new Custom Object, see the following Help Center articles: