Add an Attribute to a Custom Object
The Attributes section of the Definition tab is used to create, view, and manage the Attributes for this Custom Object.
To add an Attribute to a Custom Object:
-
Select Program from the top navigation bar, then select Custom Objects from the side navigation menu. The Custom Objects screen is displayed.
-
Search for and select the desired Custom Object (see Search for a Custom Object for more information on the available search options). The Custom Object Details screen is displayed, with the Definition tab selected.
-
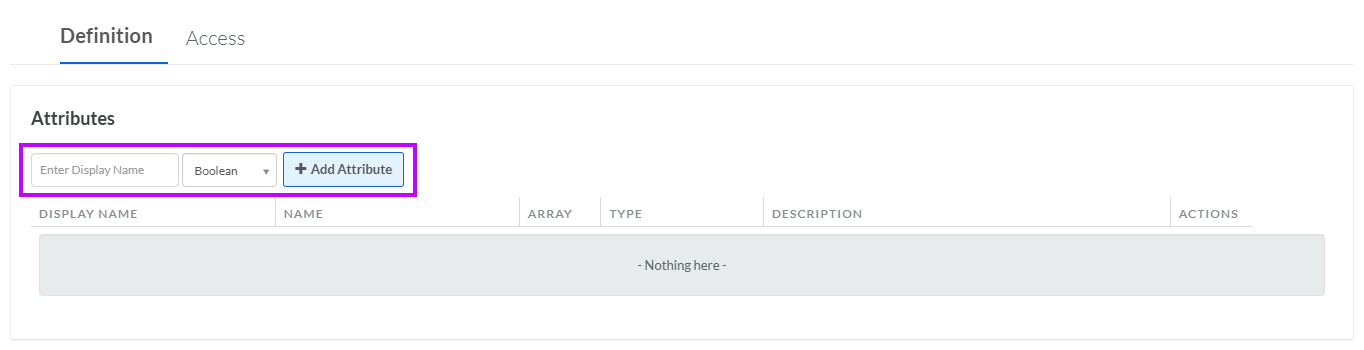
Within the Attributes section, in the Display Name field, enter the name of the new Attribute.
-
From the Data Type drop-down menu, select the Data Type of the new Attribute.
-
Click Add Attribute. The Edit Attribute pop-up window is displayed.
-
The Display Name field is populated with the value you entered above; optionally edit this value.
-
The Internal Name is automatically populated based on the Display Name value. This field is not editable by default. To edit the Internal Name, check Edit Internal Name. A confirmation dialog box is displayed; click Ok. Edit the Internal Name value.
-
Optionally, in the Description field, enter a description of this item.
-
The Type drop-down menu is populated with the Data Type you selected above; optionally edit this value.
-
Optionally, check Array to make an array-type Attribute that can store multiple values in the same field. Attributes with arrays can't be selected as the Primary Key.
Note: The Code value is generated by the system and can't be edited.
-
Click Save. The platform adds the new Attribute to the list of Attributes.