Create a Connection Profile
A Connection Profile contains the information needed to integrate the Loyalty platform with an external system or platform.
Loyalty allows you to create a Connection Profile, either by copying an existing Connection Profile, or by creating a new Connection Profile from scratch.
Copy a Connection Profile
To copy an existing Connection Profile to use as the basis for a new Connection Profile.
-
Select Admin from the top navigation bar, then select Integrations > Connectors from the side navigation menu. The Connectors screen is displayed.
-
Click the tile for the desired Connector type. The Connection Profiles screen is displayed, showing all the existing Connection Profiles of the selected type.
-
For mParticle Connection Profiles only, select the Outbound mParticle tab. You can't copy an Inbound mParticle Connection Profile, as each Loyalty account is limited to having only one of this Connection Profile type.
-
For HTTP API Connection Profiles only, select either the Connection Profiles tab or the Template tab.
-
Click the desired Connection Profile. The Connection Profile Details screen is displayed.
-
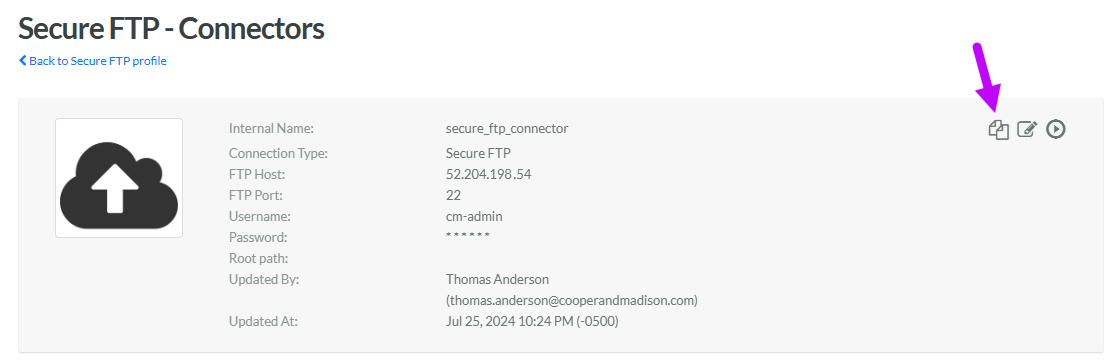
Within the header area of the screen, click the Copy icon.
-
The platform creates a copy of the Connection Profile and displays the Connection Profile Details screen. The default name of the new Connection Profile is the name of the base Connection Profile followed by a counter, such as "(1)."
-
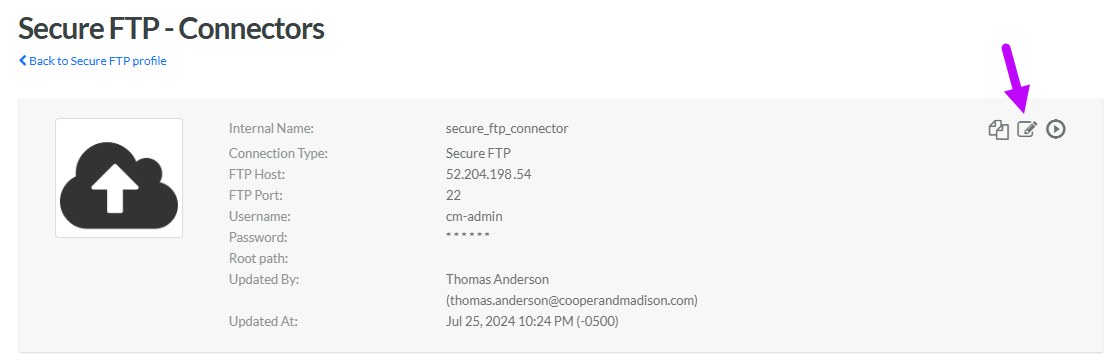
To rename the Connection Profile, within the header area of the Connection Profile Details screen, click the Edit icon. The Edit Connection Profile pop-up window is displayed.
-
In the Label field, enter a new name.
-
When copying objects, the recommended best practice is to change the new object’s internal name. This field is not editable by default. To edit the Internal Name, check Edit Internal Name. A confirmation dialog box is displayed; click Ok. Edit the Internal Name value.
Note: The internal name must be unique and can not include any special characters or spaces; only numbers, letters, and underscores are allowed.
-
Make any necessary changes to the other Connection Profile properties (see Configure Connection Profile Properties for more information).
-
Click Save.
Create a Connection Profile from Scratch
To create a Connection Profile:
-
Select Admin from the top navigation bar, then select Integrations > Connectors from the side navigation menu. The Connectors screen is displayed.
-
Click the tile for the desired Connector type. The Connection Profiles screen is displayed, showing all the existing Connection Profiles of the selected type.
-
For mParticle Connection Profiles only, select either the Outbound mParticle tab or the Inbound mParticle tab. Note that each Loyalty account can have only one Inbound mParticle Connection Profile; if one of these Connection Profiles already exists in your account, you can't create a second one.
-
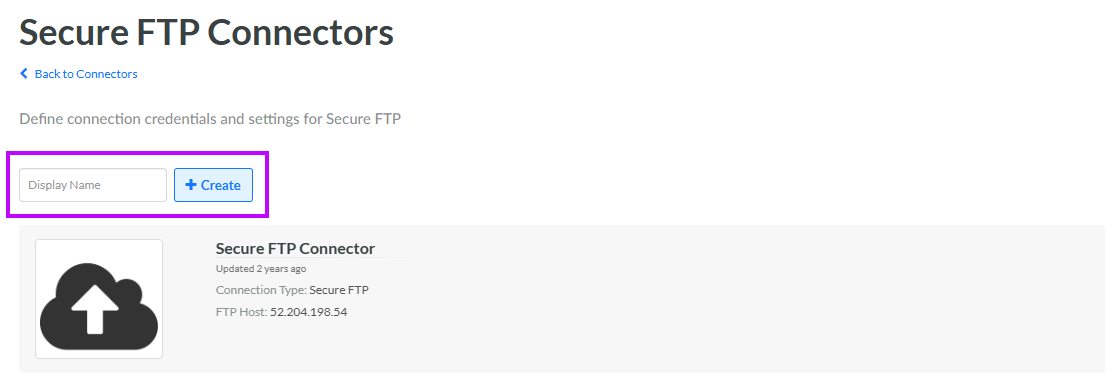
In the Display Name field, enter the name of the new Connection Profile.
-
For HTTP API Connection Profiles only, select an authentication type from the drop-down menu: No Auth, Basic Authentication, Bearer Token, or OAuth 2.0. Note that once the Connection Profile is created, you can't later change this authentication type.
-
For HTTP API Templates only, select a Template type from the drop-down menu. Currently, the only supported Template type is Outbound API.
-
Click Create. The Connection Profile pop-up window is displayed.
The properties for the Connection Profile will vary depending on the Connector type. See below for details on how to configure a specific type of Connection Profile.
| Connector Type |
|---|
 Amazon S3 Amazon S3
|
 Cheetah Digital Cheetah Digital
|
 Google Cloud Storage Google Cloud Storage
|
 HTTP API HTTP API
|
 Secure FTP Secure FTP
|
| Selligent
|
 Salesforce Marketing Cloud Salesforce Marketing Cloud
|
| Sparkfly
|
| Template Type |
 HTTP Template HTTP Template
|