How To Add Display Rules To Lightbox
The Lightbox Display Rules feature allows you to control when, where, and to whom a lightbox is shown.
By combining different targeting rules, you can create intent-driven popups that feel relevant to each user’s journey.
This article will explain how to access the Lightbox display rules, and the basics of how they work.
For more information on specific rules for displaying your Lightbox, see our Lightbox Targeting Conditions guide.
Accessing Lightbox display rules
To be able to set the display rules, you must first publish your Experience as a Lightbox Experience. You can follow the steps on how to do this in our lightbox publishing guide.
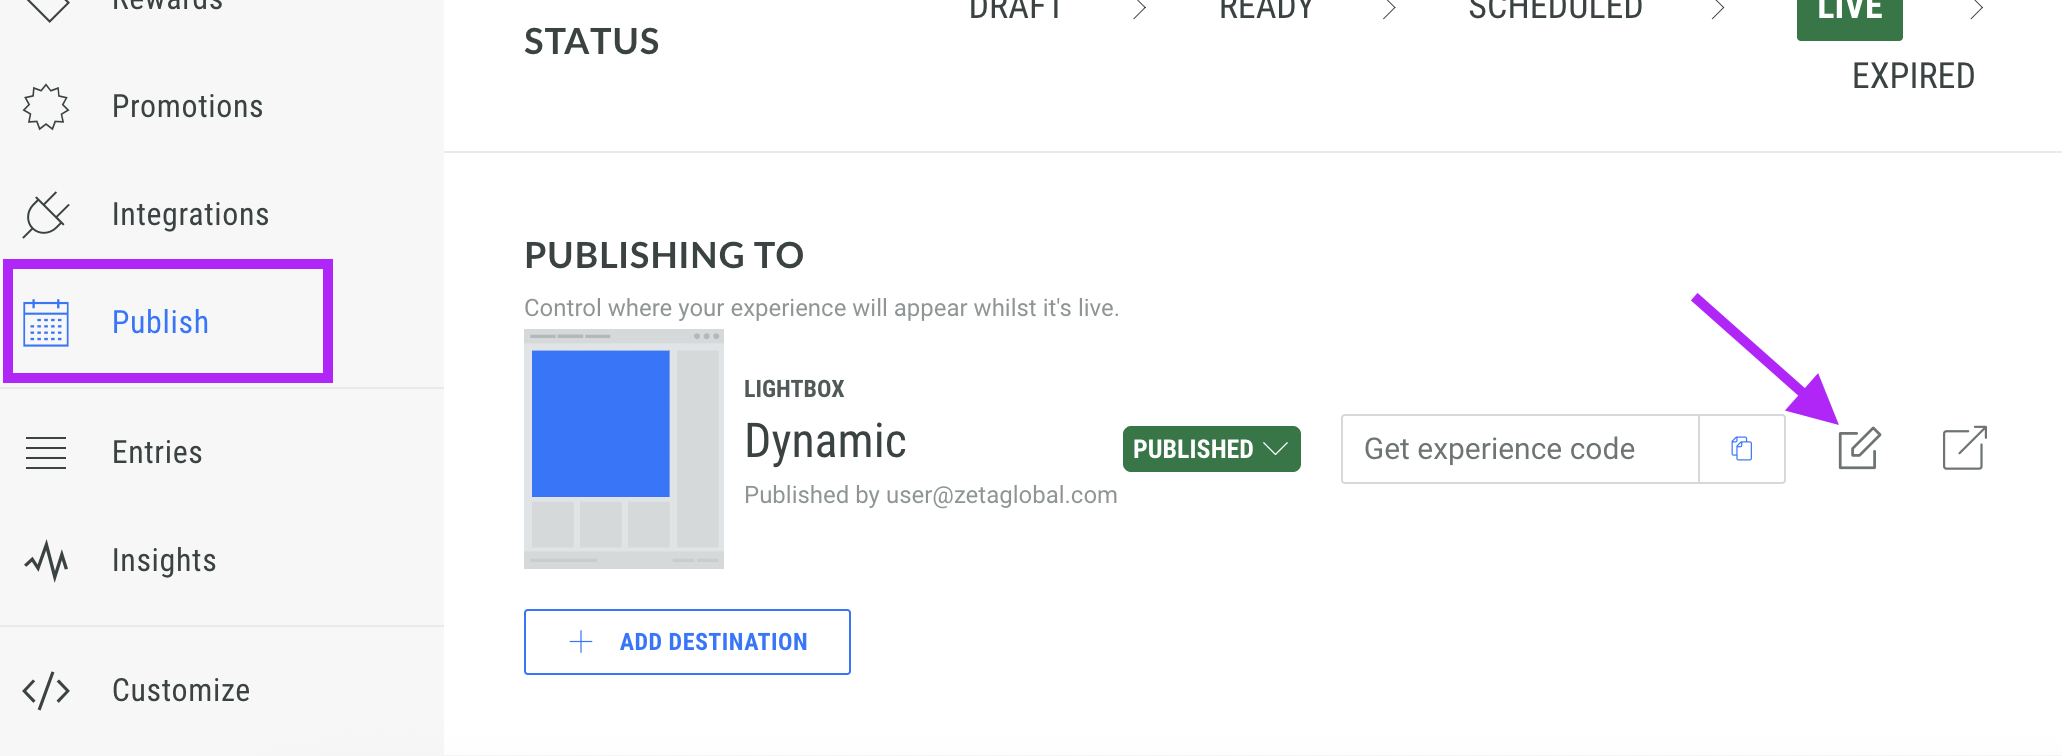
Once published, head to your Publish tab and click the edit button next to the Lightbox you'd like to manage.
Click the Display Rules tab to define the rules for the Lightbox.
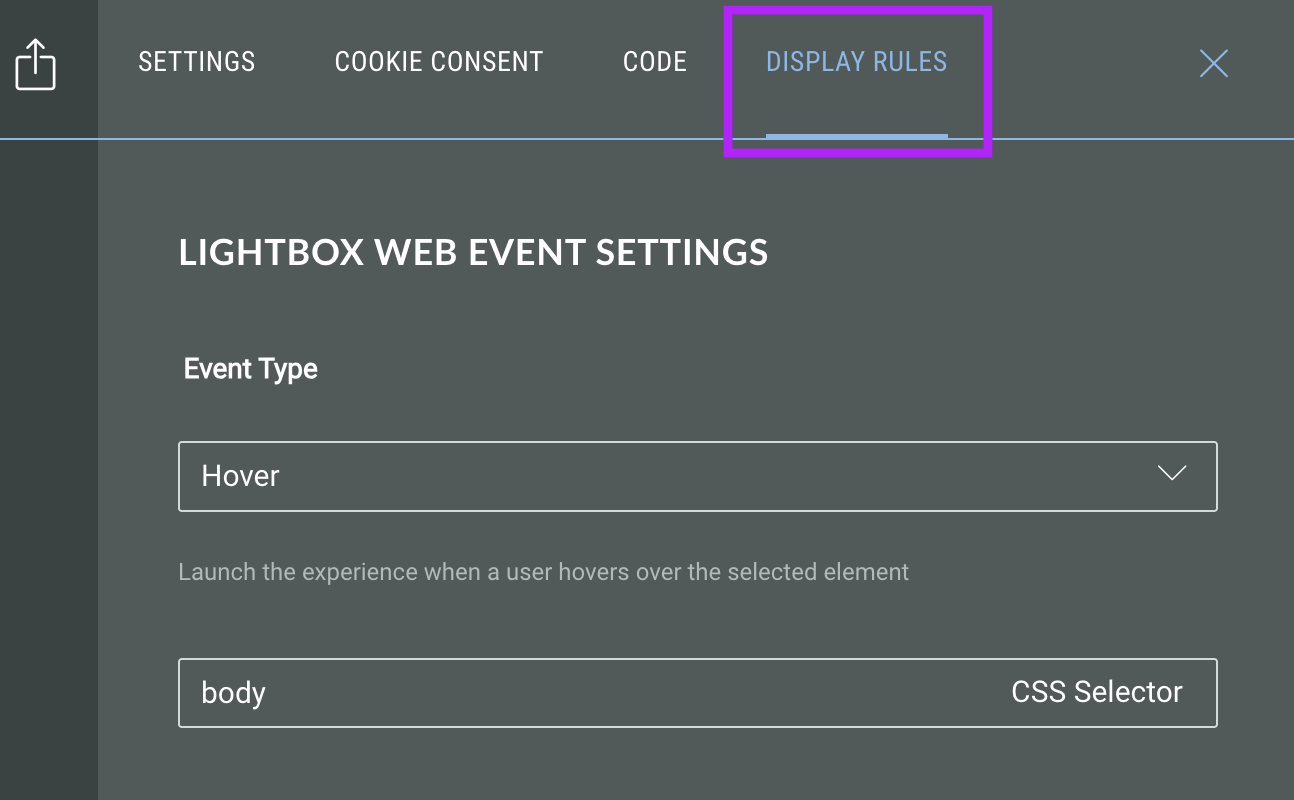
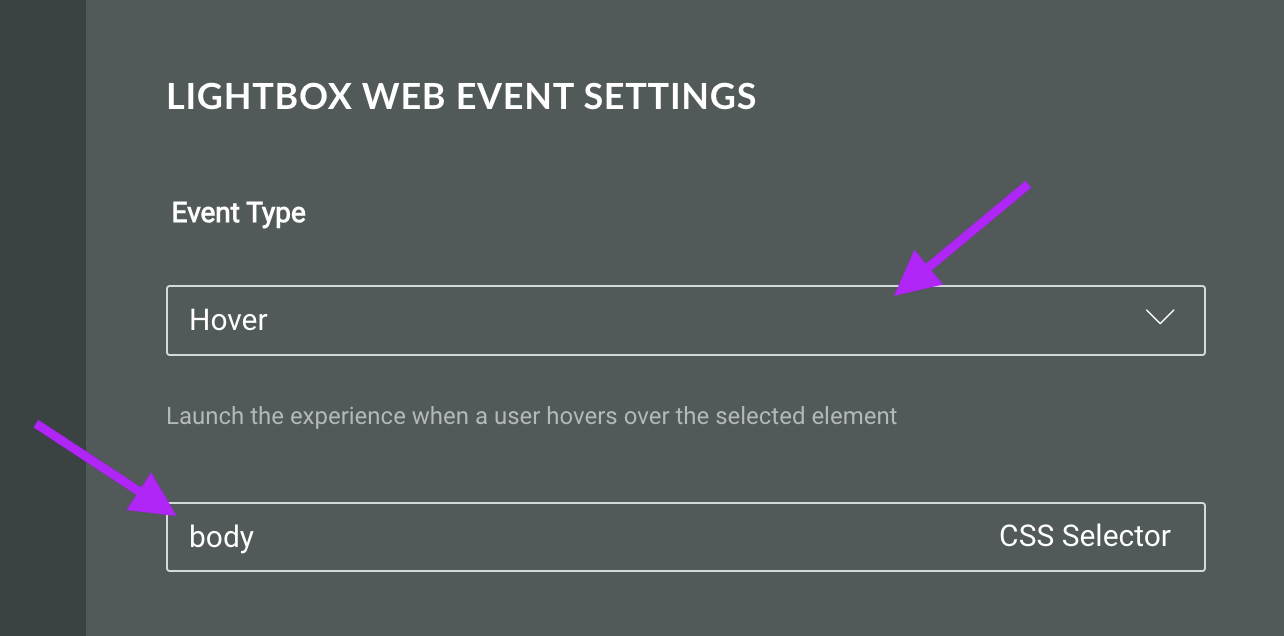
Select Event Type from the drop down list available and configure the associated settings for instance, for the Hover event type you will need to define the CSS selector, and for the Button event type you can configure the color.
Note: You would have selected the event type when publishing your Experience however this can be edited using this method.
In the panel on the left-hand side, click Add Display Rules.
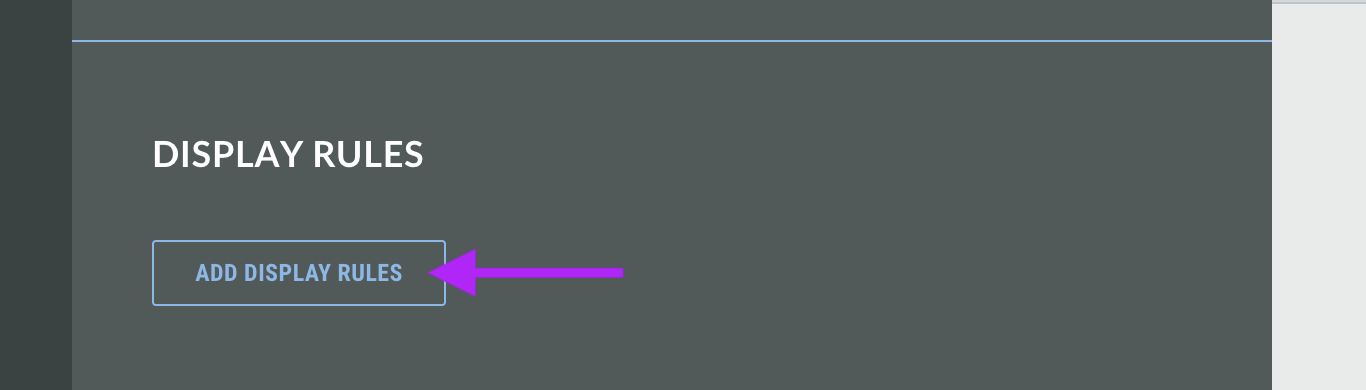
This will open a new pop-up where you can begin defining the Lightbox Display Rules.
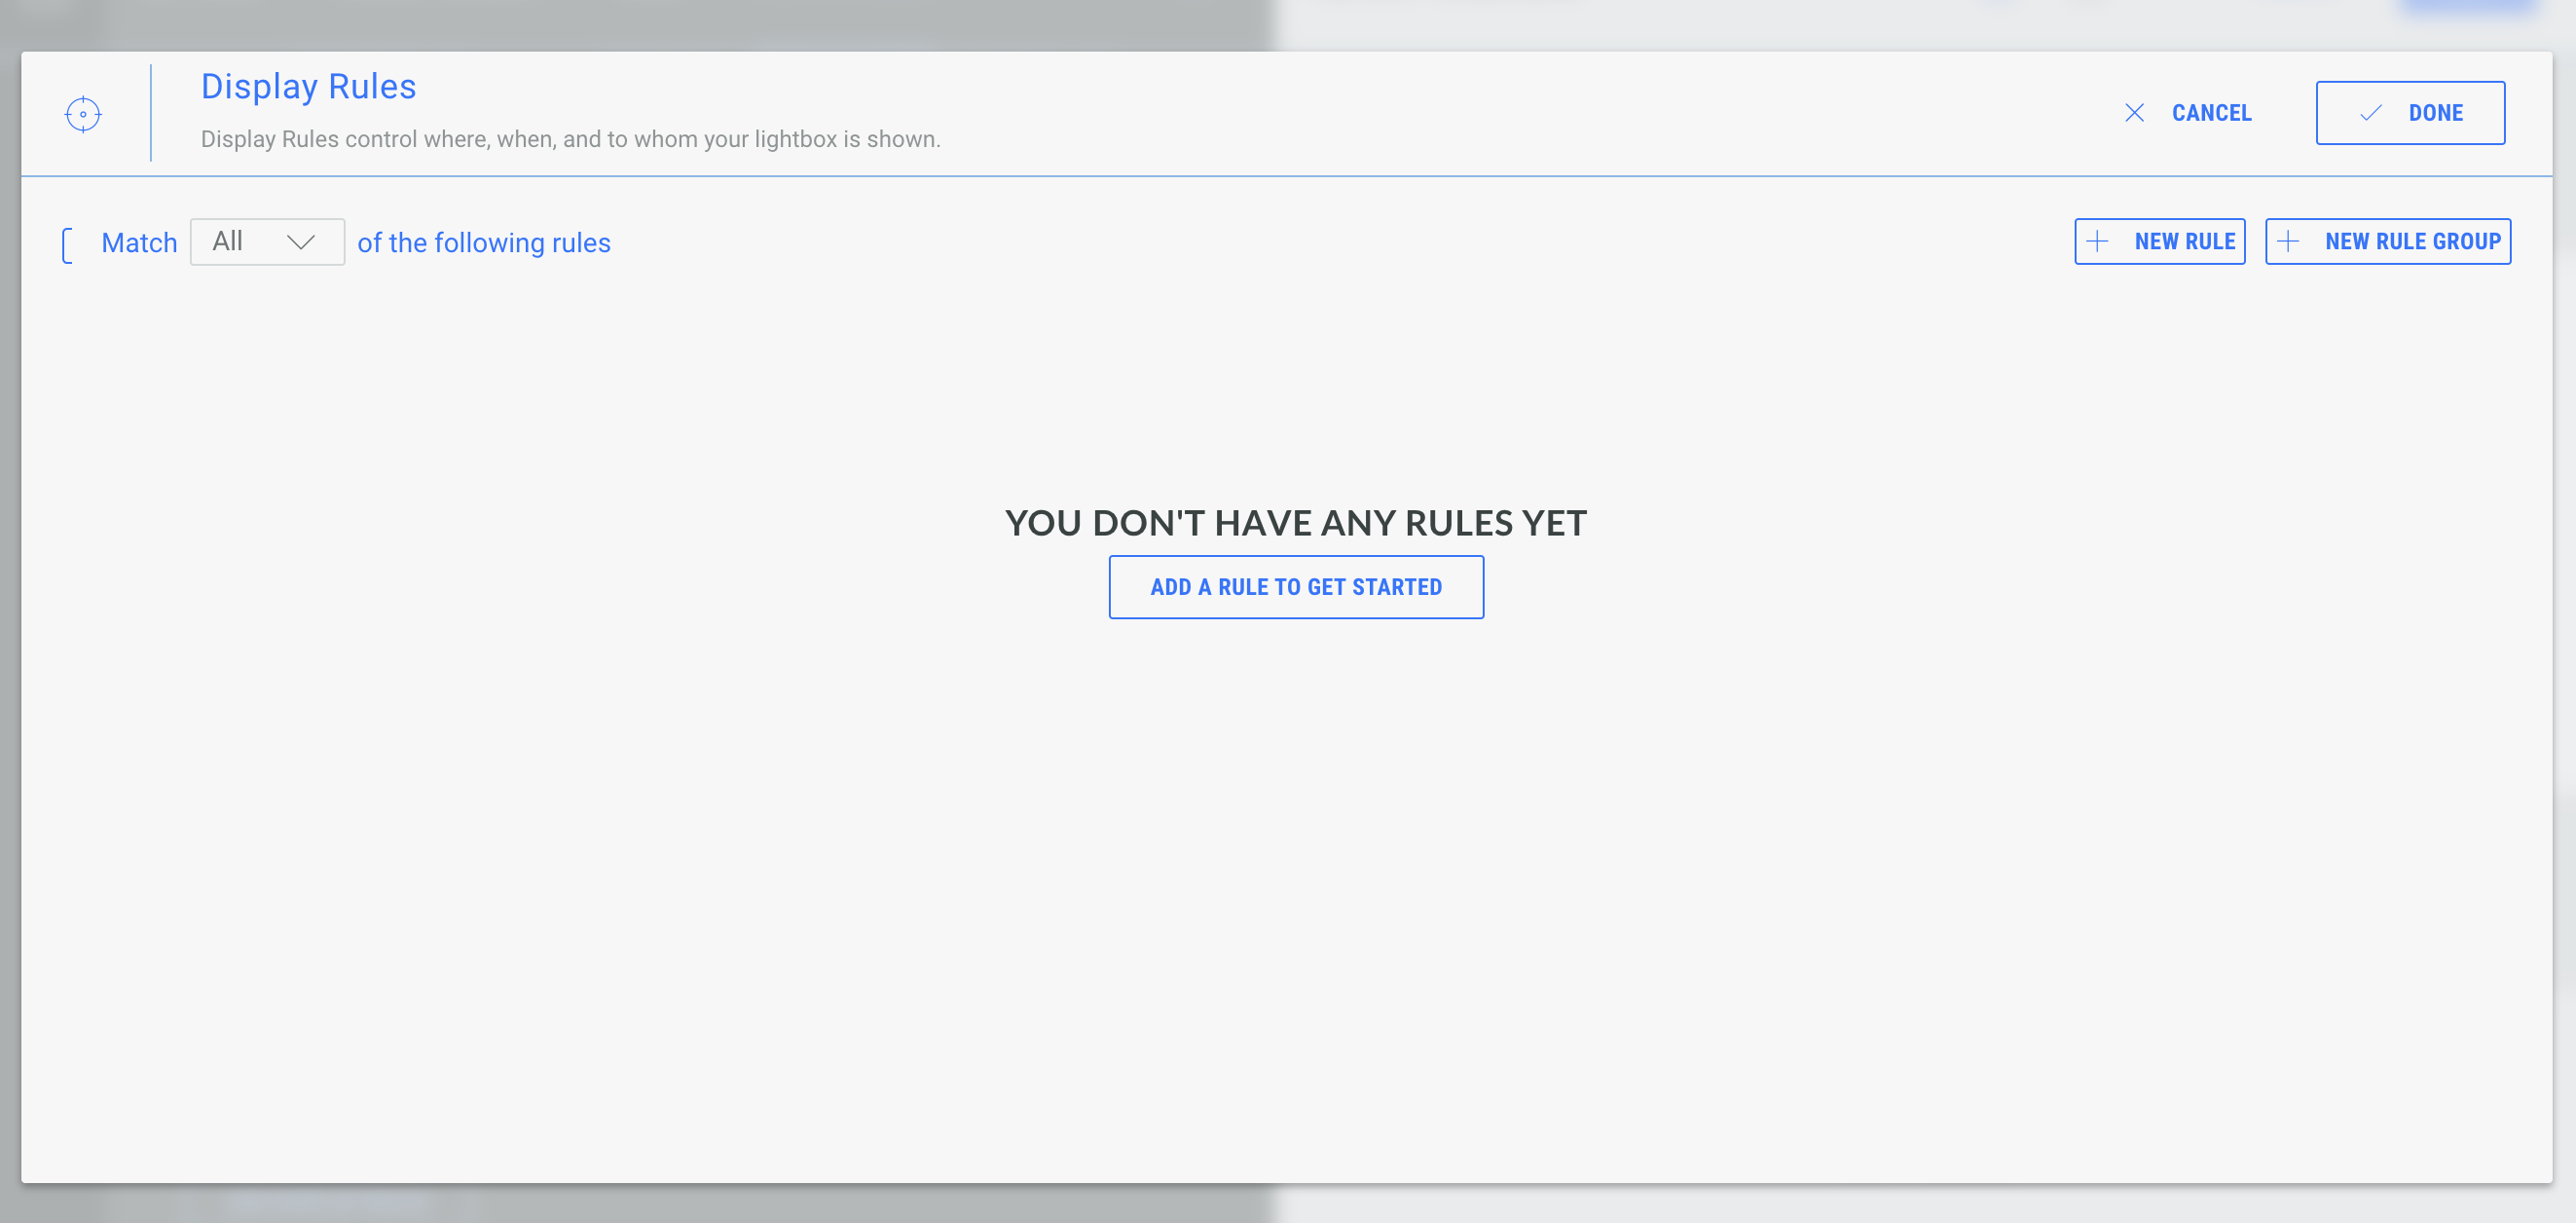
Add a rule
Display rules are individual conditions that determine when a lightbox should appear. For example, you might create rules that target visitors who are on the checkout page and have been idle for a certain amount of time.
When multiple rules are applied, each condition must be true for the lightbox to appear.
To add a new rule, click + New Rule.
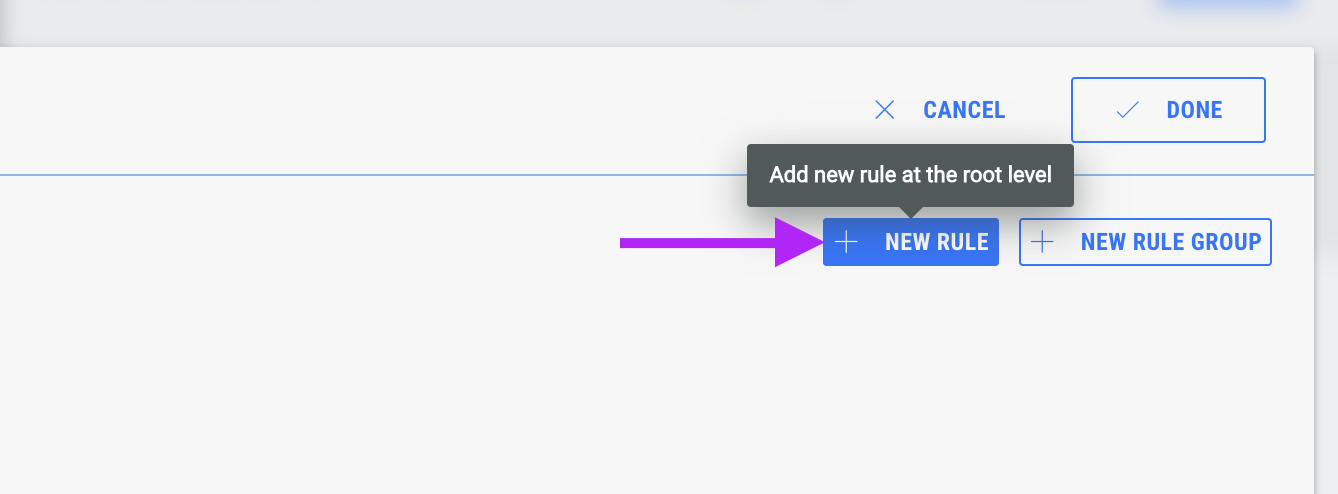
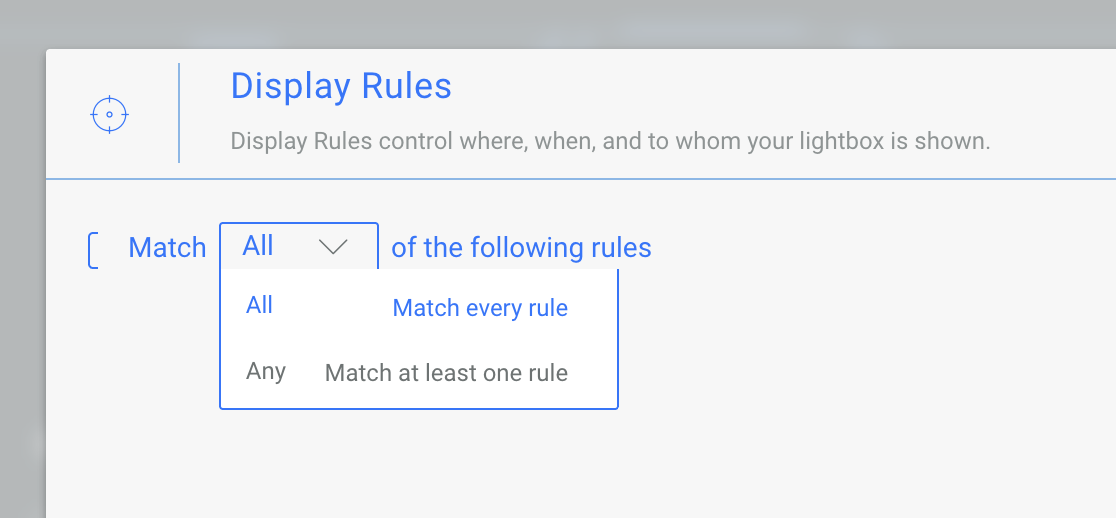
Choose to match All or Any of the rules that you create by selecting from the drop down menu.
Add a rule group
Rule groups are useful when you want the lightbox to appear for more than one type of visitor or more than one scenario. For example, you may want to show a lightbox when a visitor is idle on the checkout page, or when a visitor is on the checkout page and about to exit.
Note: A rule adds another condition to the same audience criteria. A rule group creates another path for someone to qualify.
In this case, you would create two rule groups. If a visitor matches any one rule group, they can qualify to see the lightbox.
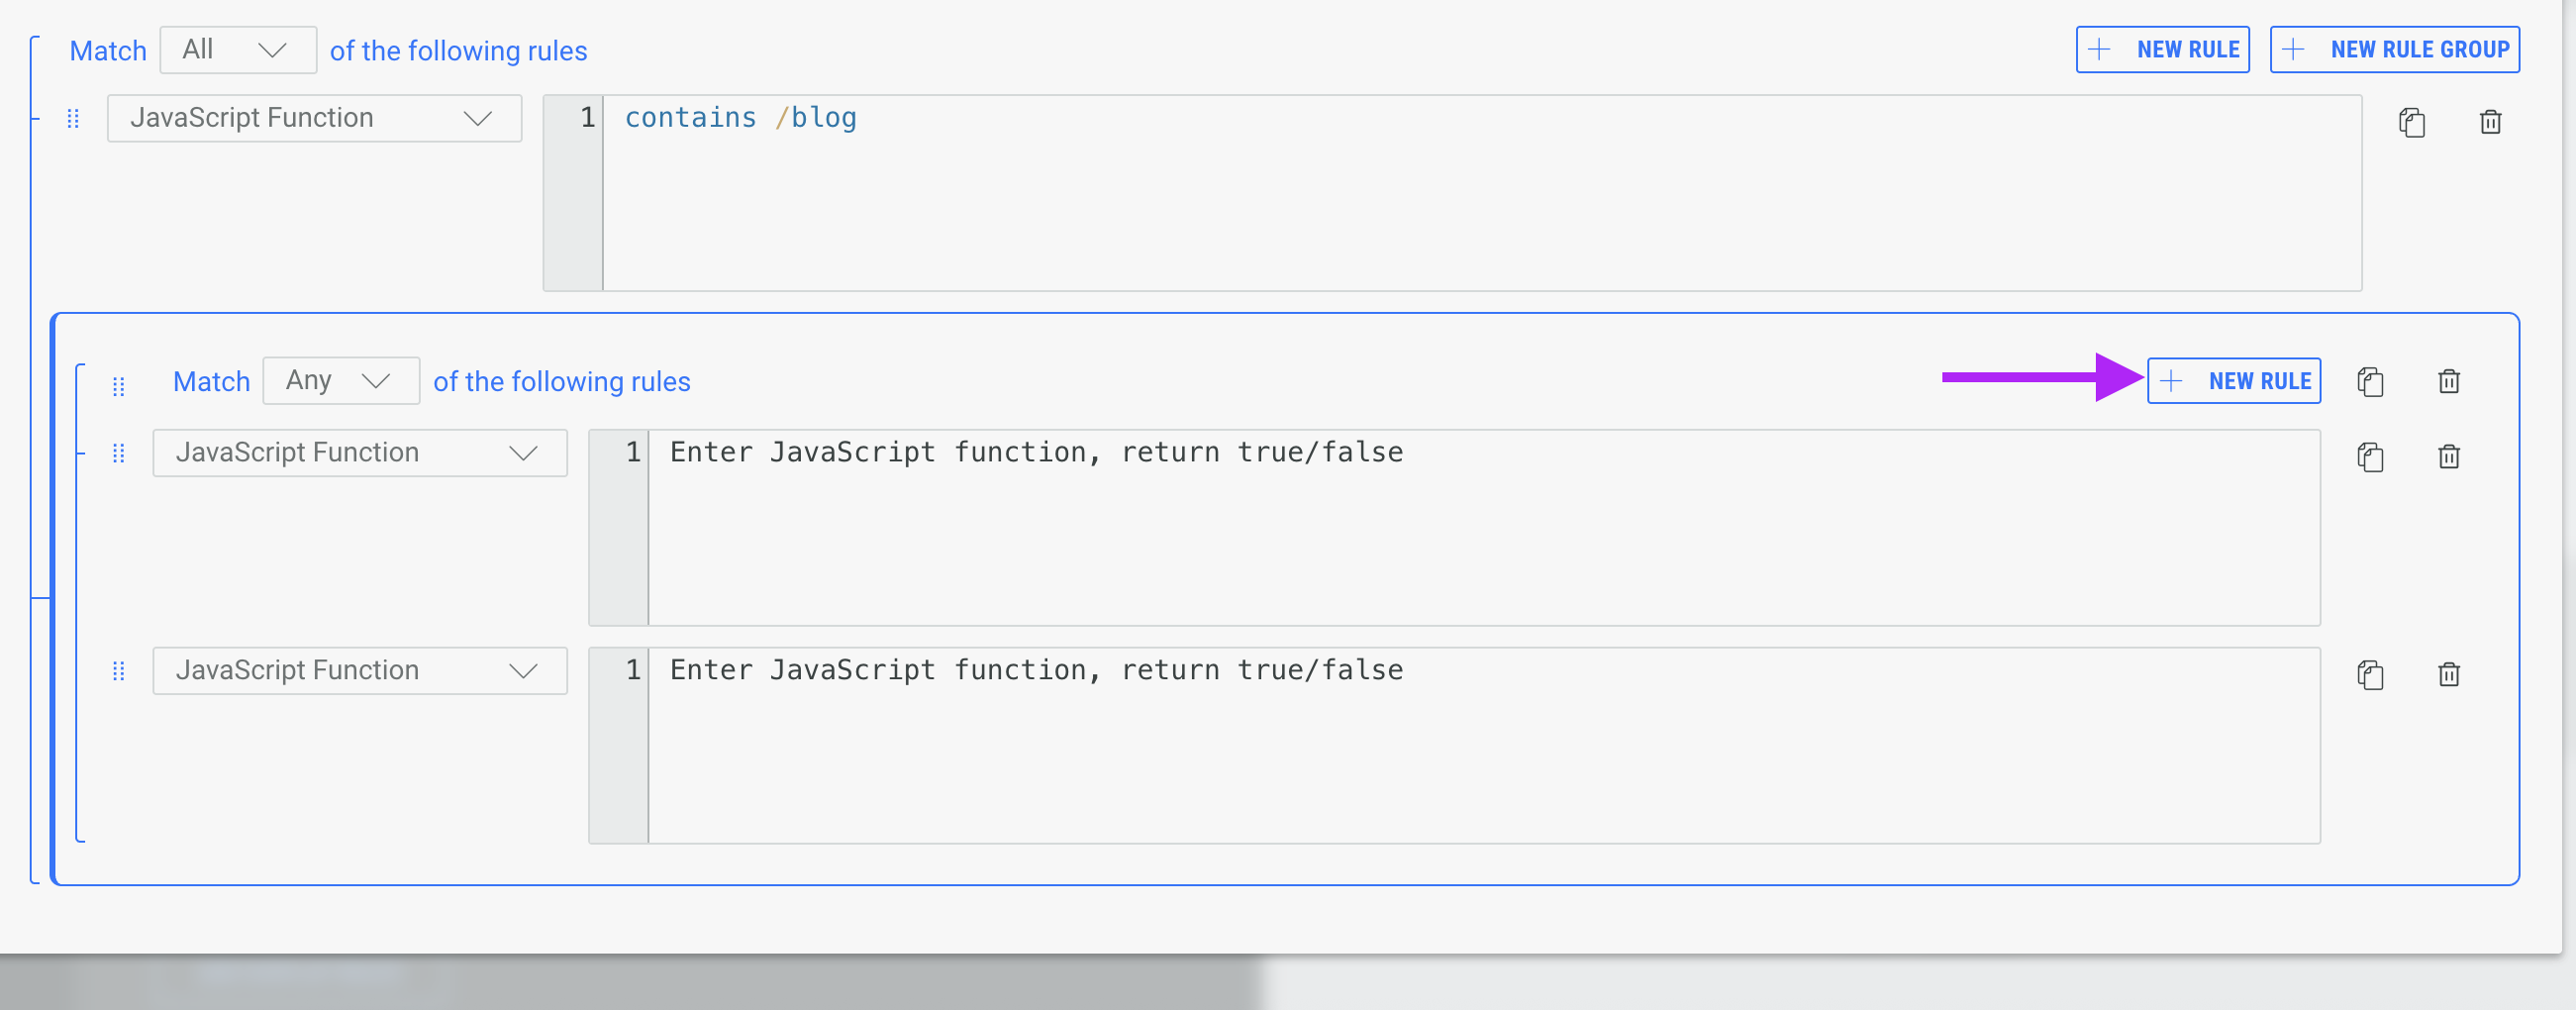
To add a new rule, click + New Rule Group.
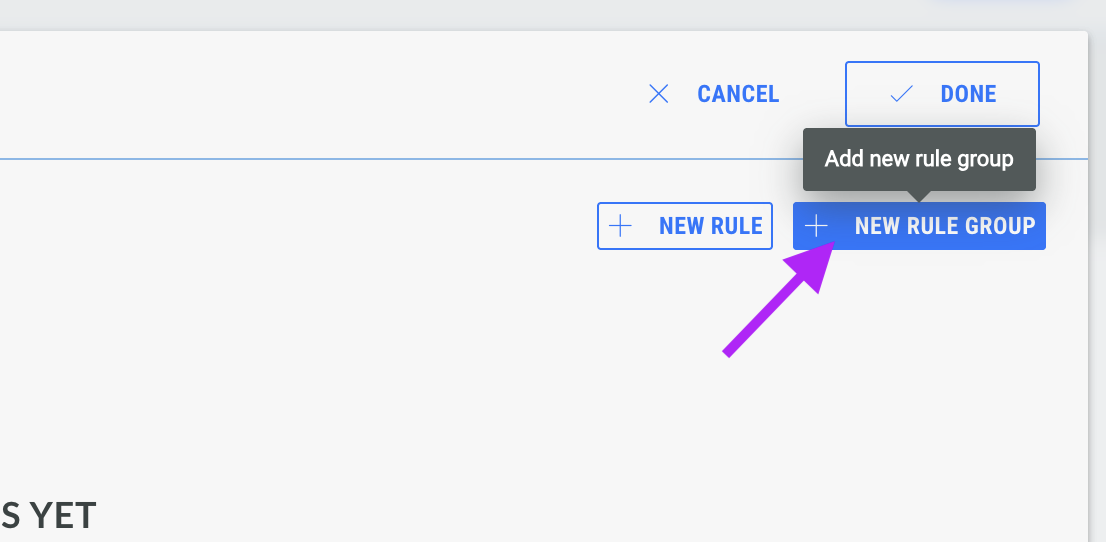
Choose to match All or Any of the rules that are in the group, by using the drop down menu from within the rule group container.
To add a new rule into the group, click the + Add Rule button within the rule group container.
Define a rule
You will need to define the conditions for each rule to ensure that the Lightbox is shown when you require it.
Choose the condition you would like to add from the drop down menu.
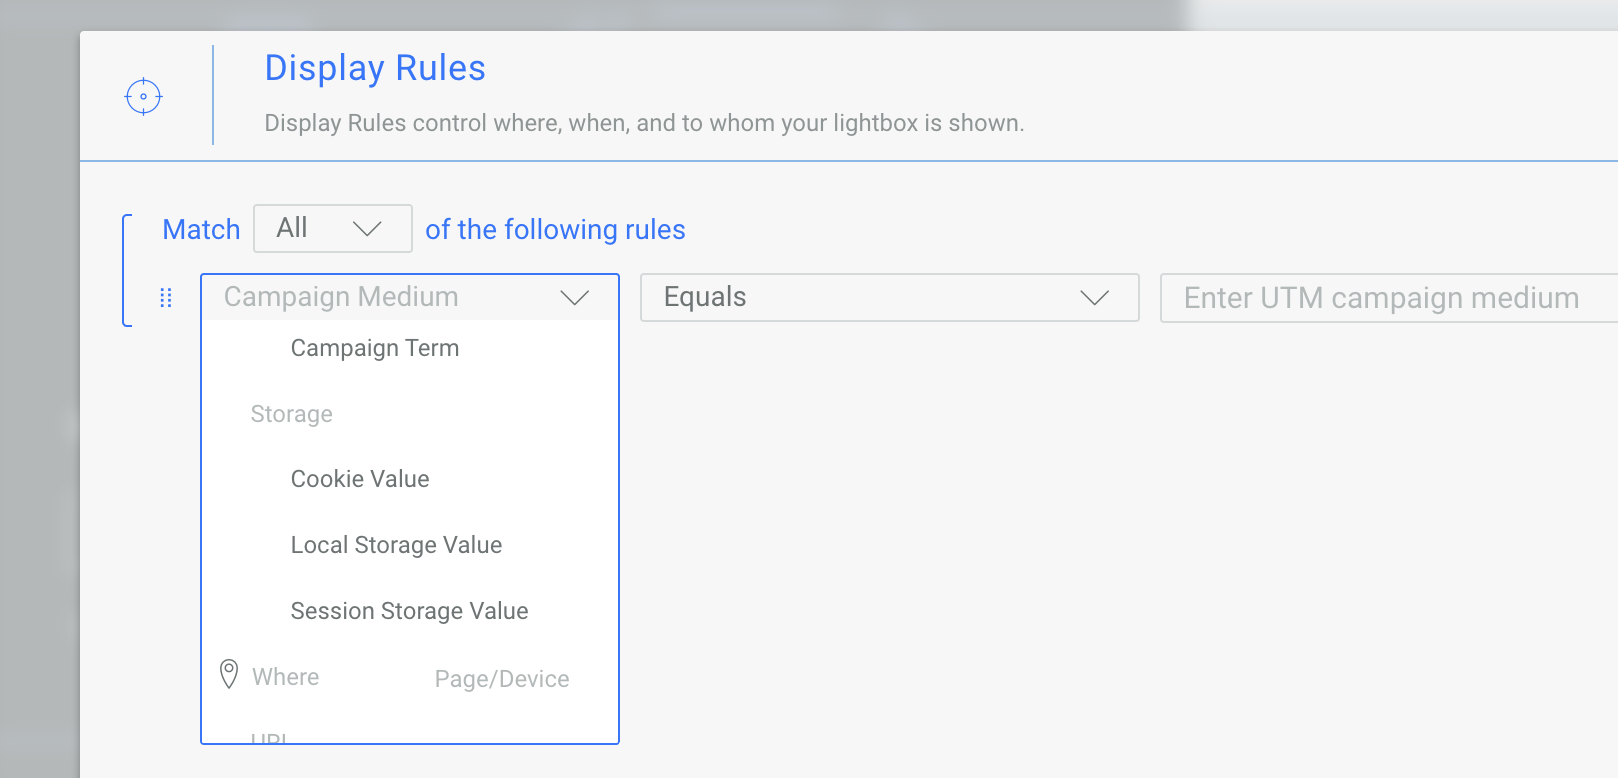
Note: Each condition will display different fields for you to edit; you may be required to enter a value, select from a dropdown, or write JavaScript function (advanced users, only), depending on which you select.
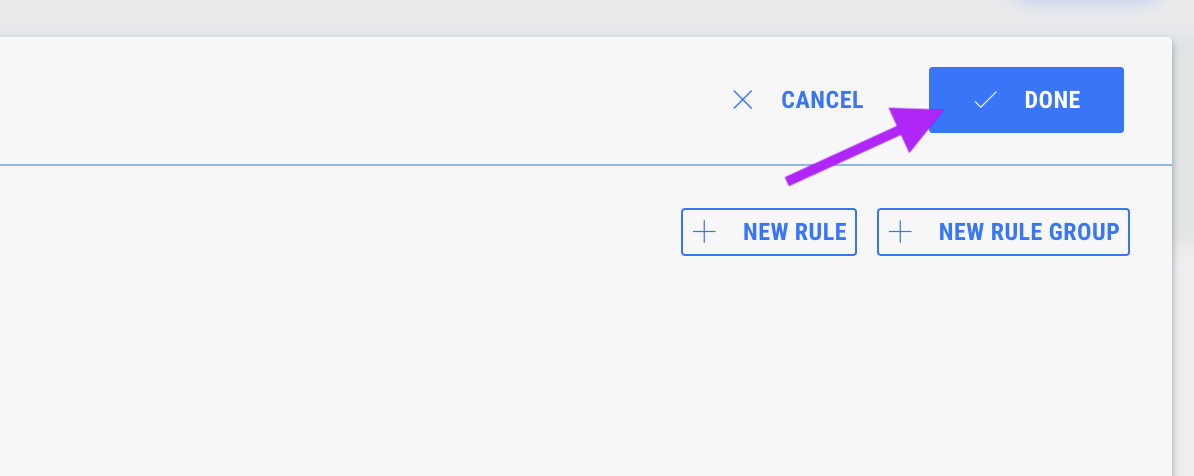
Fill out the required fields and click Done.
Delete a rule
Find the rule you wish to delete and click the Delete icon.
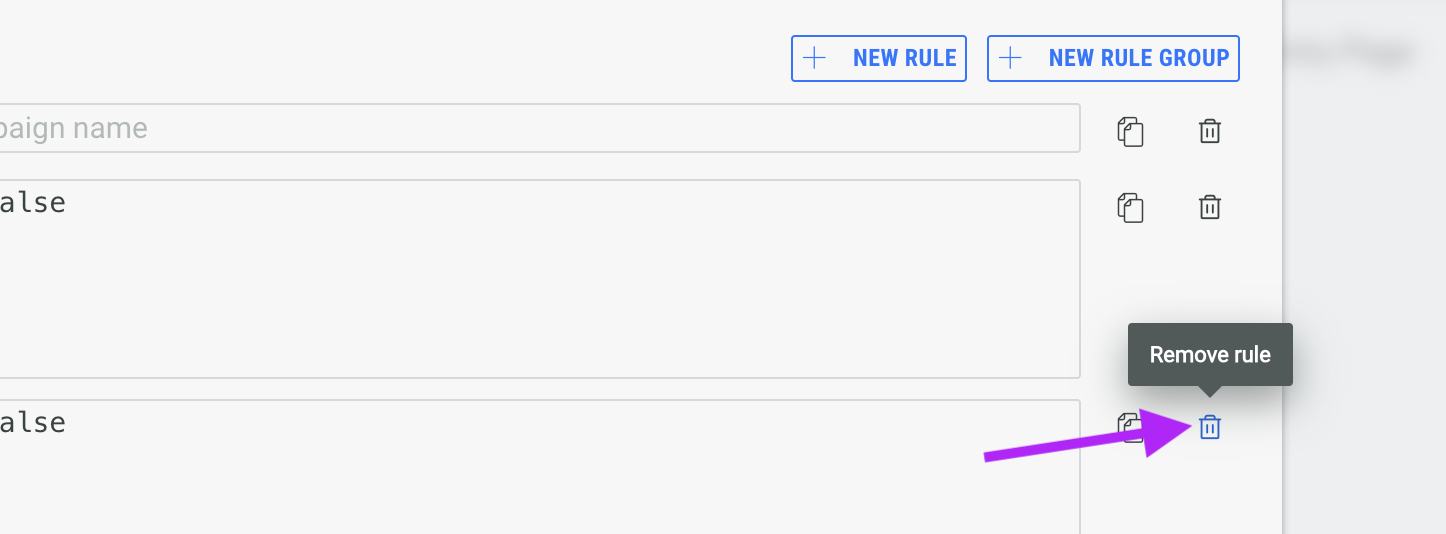
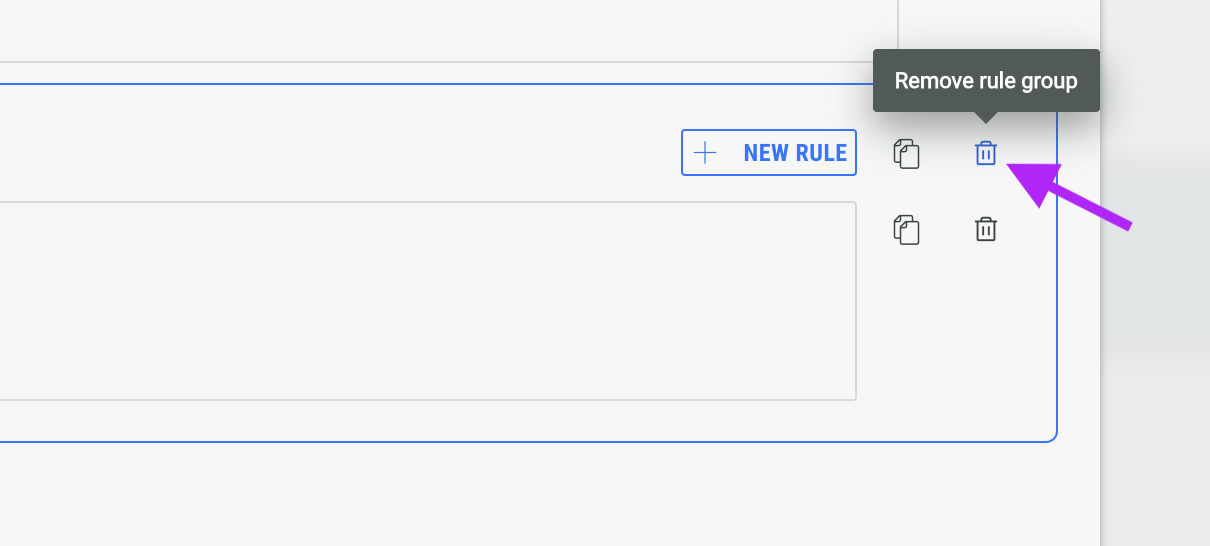
You can delete a rule group in the same way; click the Delete icon from within the rule group container.
Note: If you delete a rule group, this will delete all of the rules within that group.
Clone a rule
Find the rule you wish to clone and click the Copy icon.
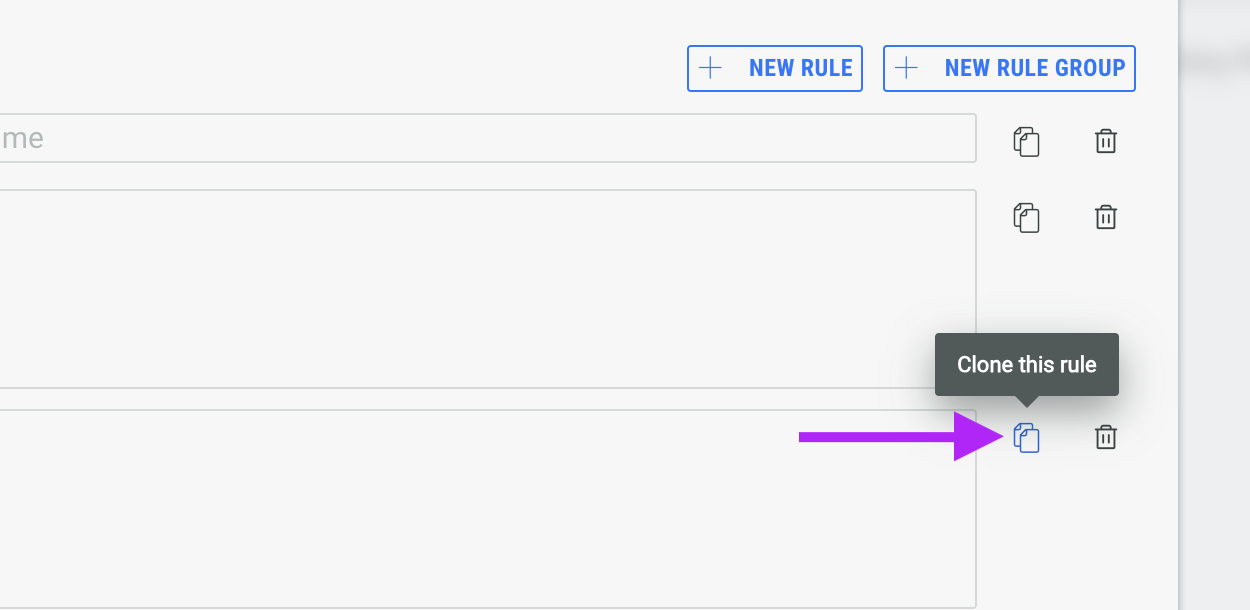
This will clone the rule, as well as any fields that you have filled out within it.