Advent Calendar — Set up Promotions
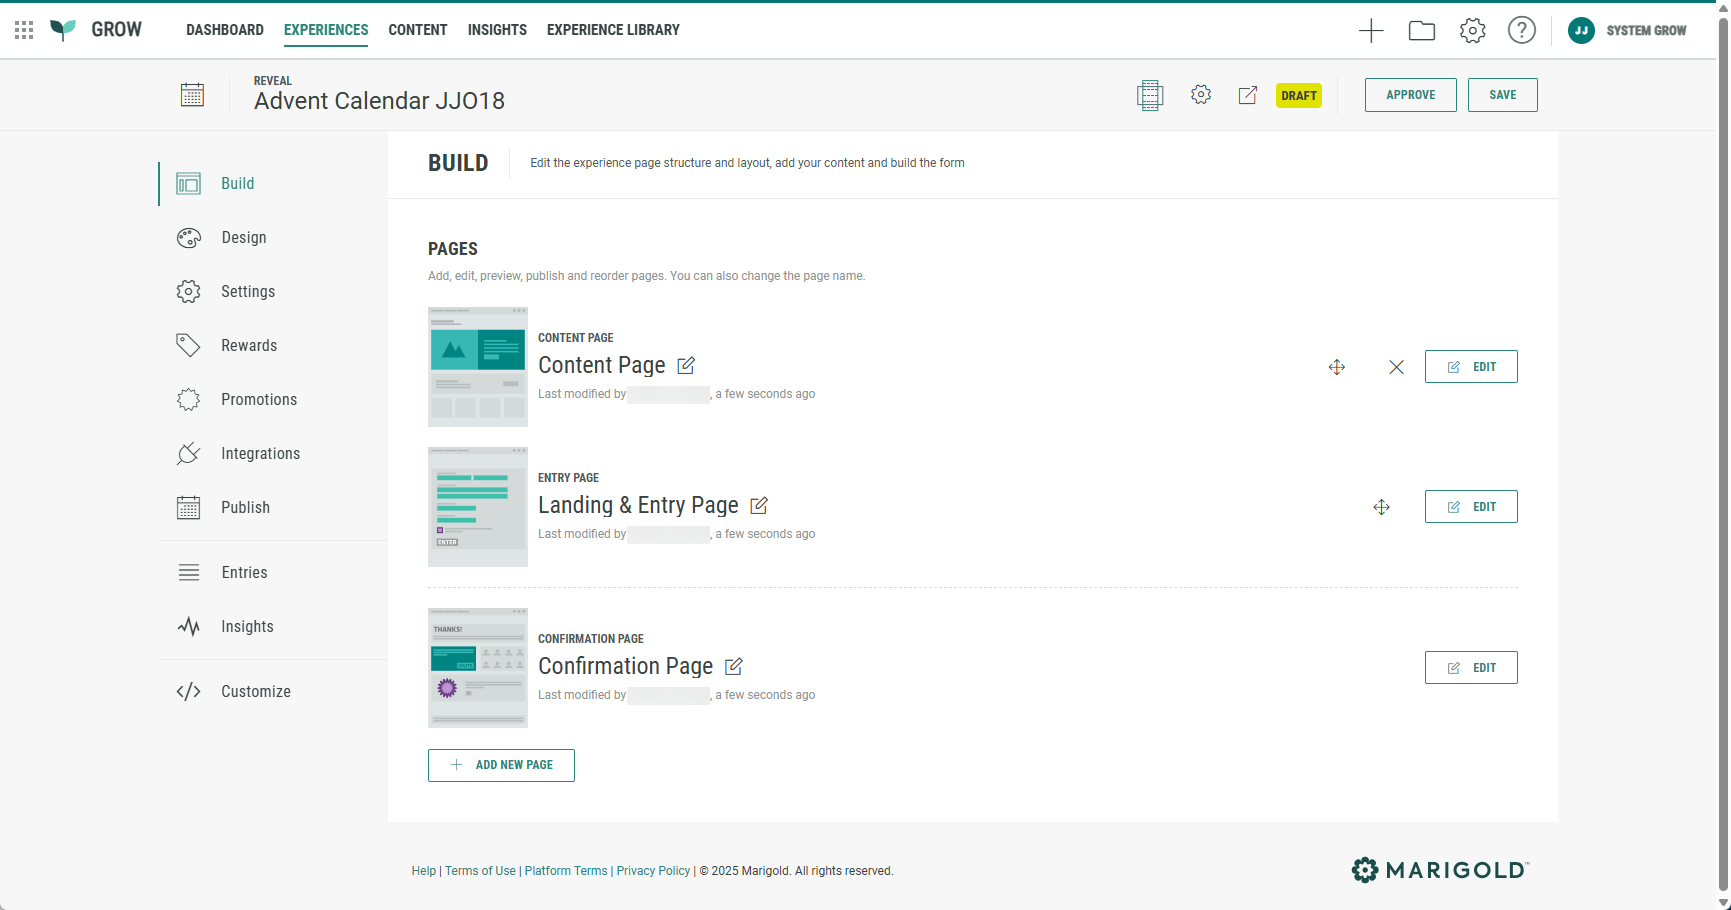
Once you have created an Advent Calendar Experience, you land in the Experience area. Here you find several tabs to work through in order to build, design, and publish your Experience.
Promotions
Promotions are the main factor behind every successful Advent Calendar campaign.
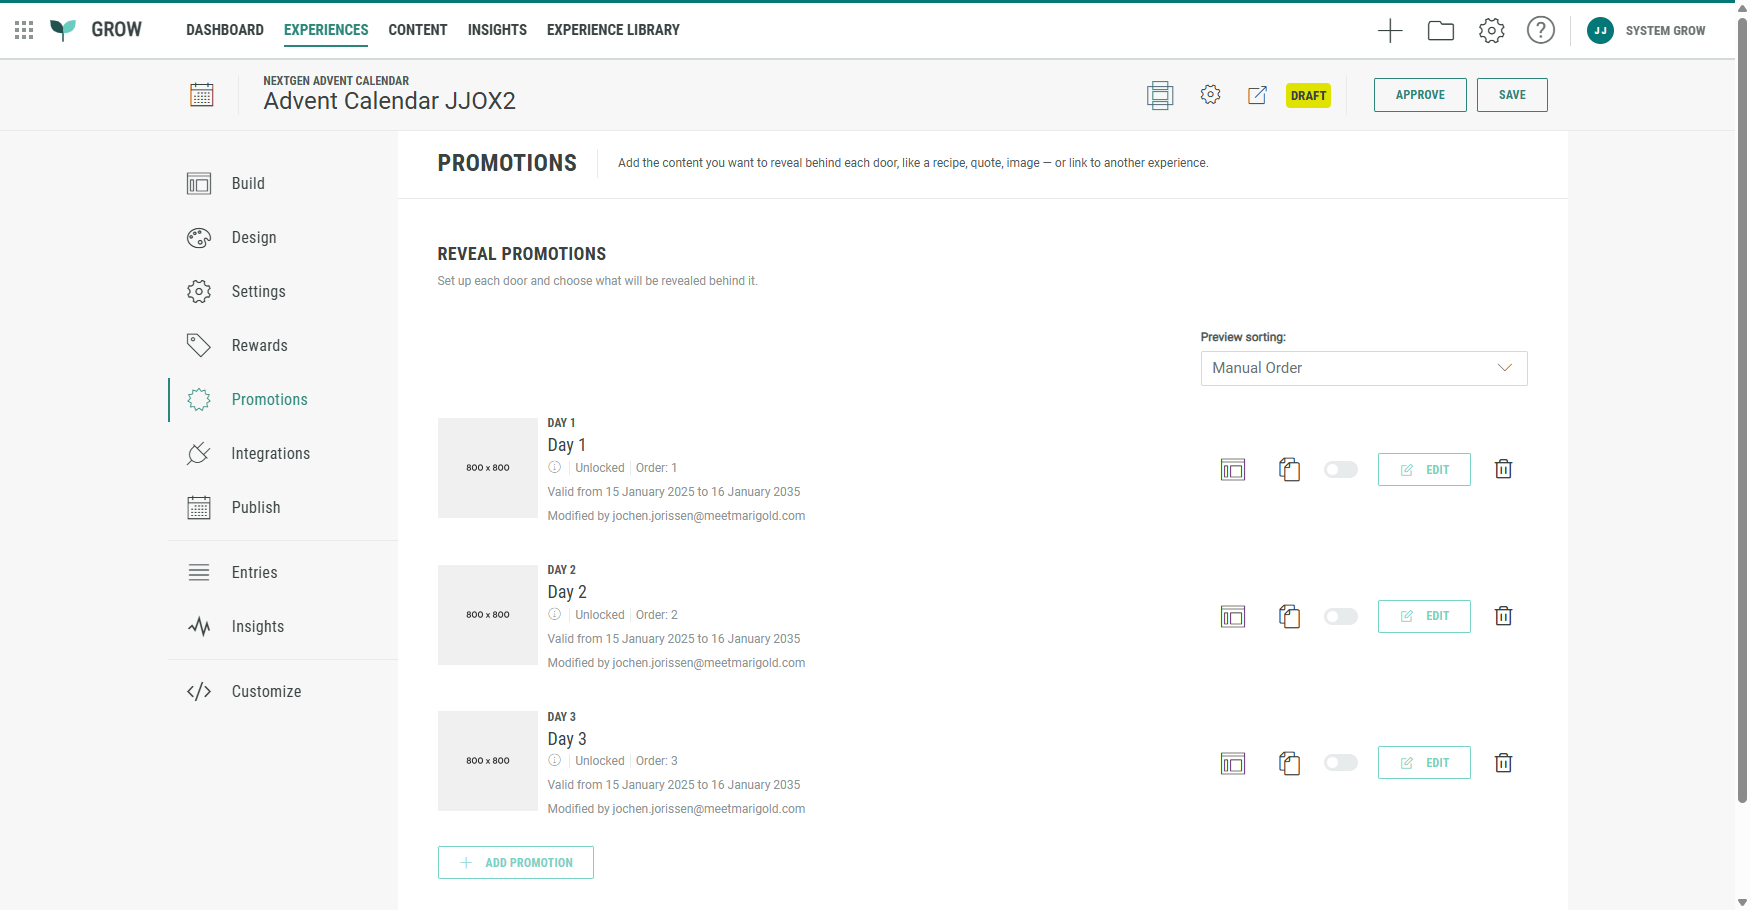
Click Promotions in the left-hand navigation to access this section.
In there you decide what content you want to reveal behind each door, like a recipe, quote, image — or a link to another Experience.
A newly created Advent Calendar Experience contains some preloaded example promotions, which you can tailor to your needs. You can also delete existing ones and add new ones.
Add a new promotion
At the bottom of the page, click on the + Add Promotion button.
The following screen is presented.
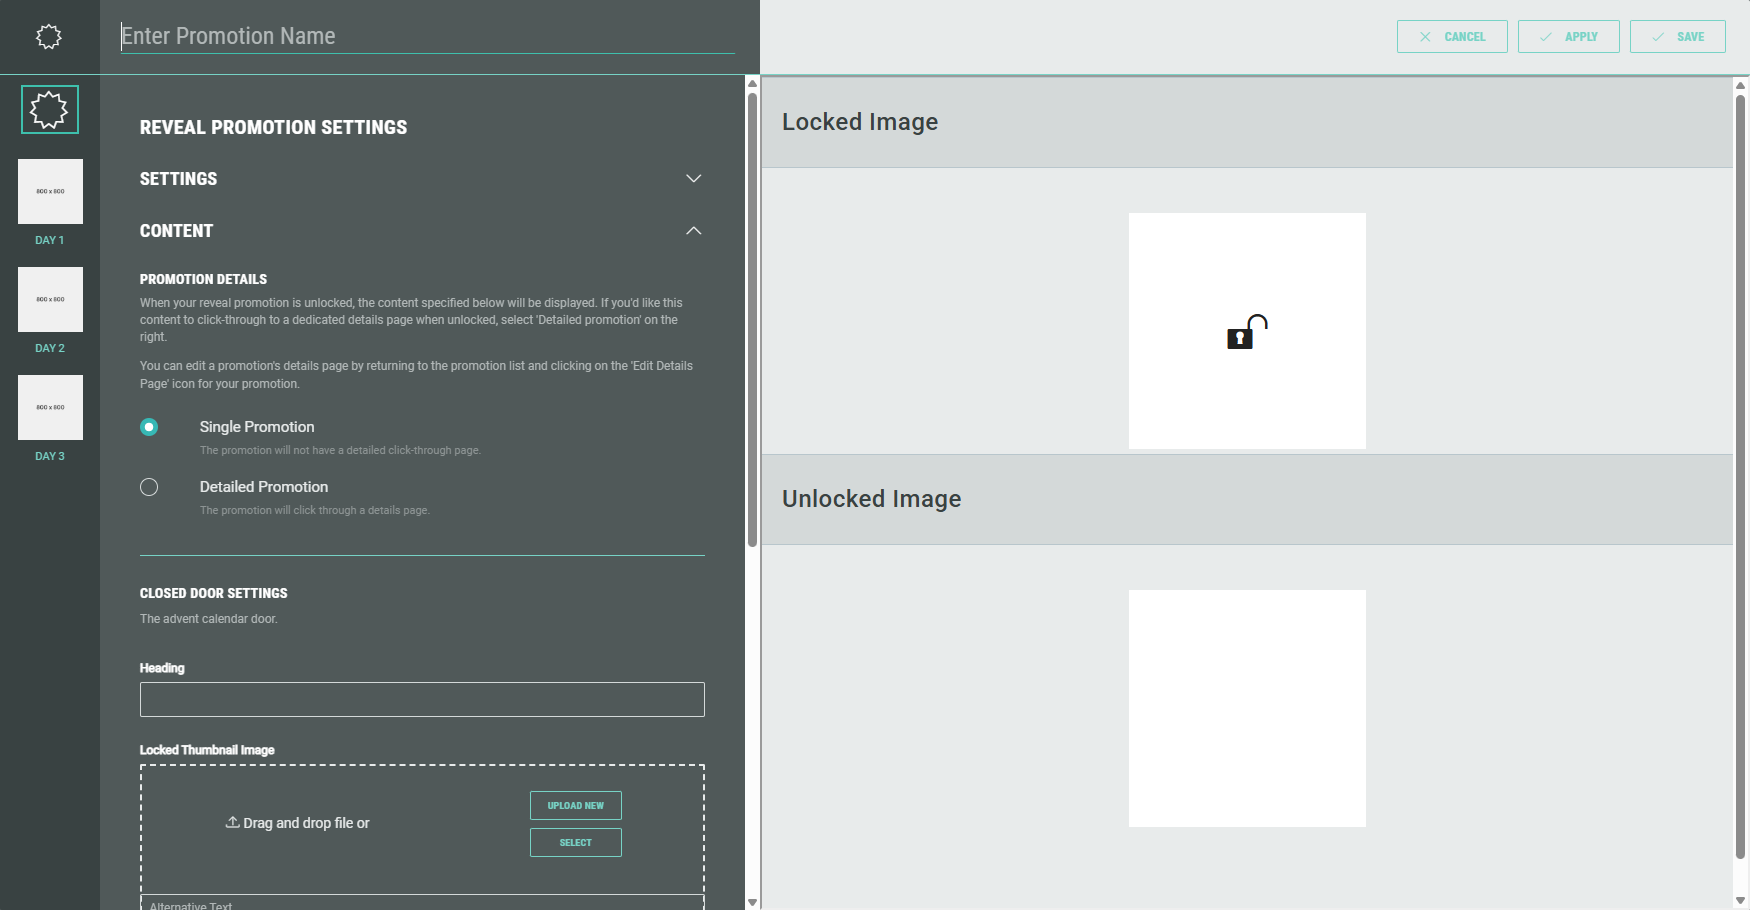
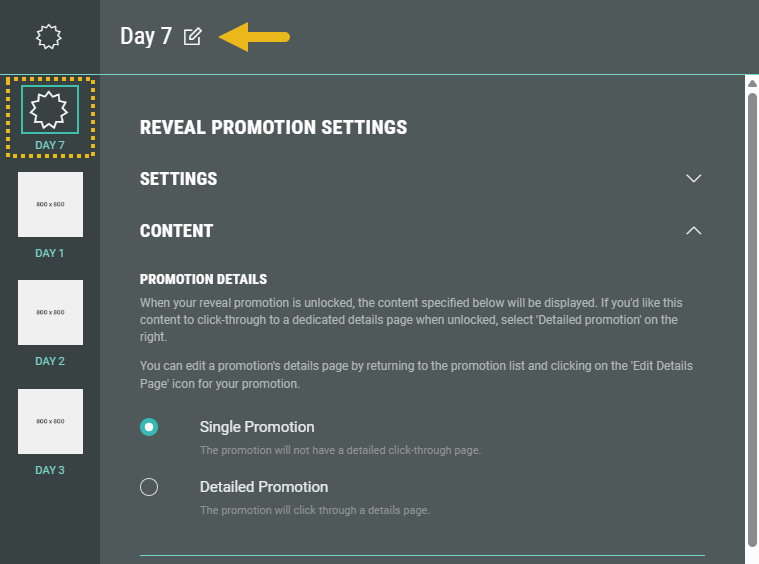
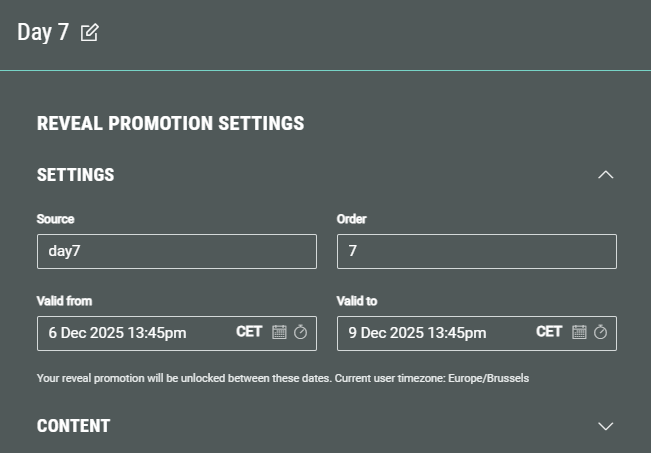
Enter a promotion name at the top-left (for example: Day 7).
The entered name is also visible at the left under the new promotion thumbnail image.
Promotion settings
Complete the promotion settings.
-
Source — The source lets you pick winners who entered one or multiple promotions.
For example, source=day1 allows you to select winners who entered Day 1 only, while source=summercampaign2025, if used across all promotions, allows you to pick winners across all days.
See Winner Management for more info. -
Order — Set the display order of this promotion. (1 means it will show first, 2 will show second, etc.)
Note: You can further customize the order of doors when designing your Experience.
-
Valid from — The promotion will be unlocked starting from this date and time (shown in the current user's timezone).
-
Valid to — The promotion will remain unlocked until this date and time is reached (shown in the current user's timezone).
Promotion content
Enter the promotion content.
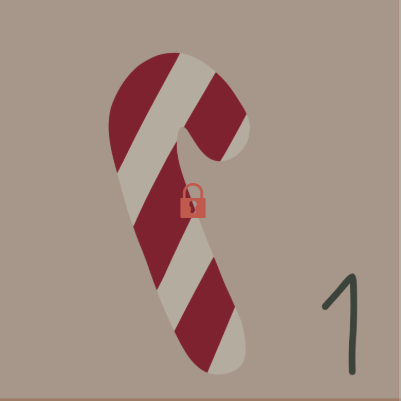
- When a promotion is locked (= not within the valid time frame), it will display the content from the closed door with a closed lock icon.
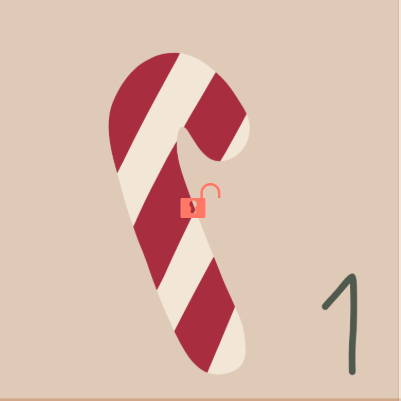
- When the promotion is unlocked (= within the valid time frame), it will display the content from the closed door with an open lock icon.
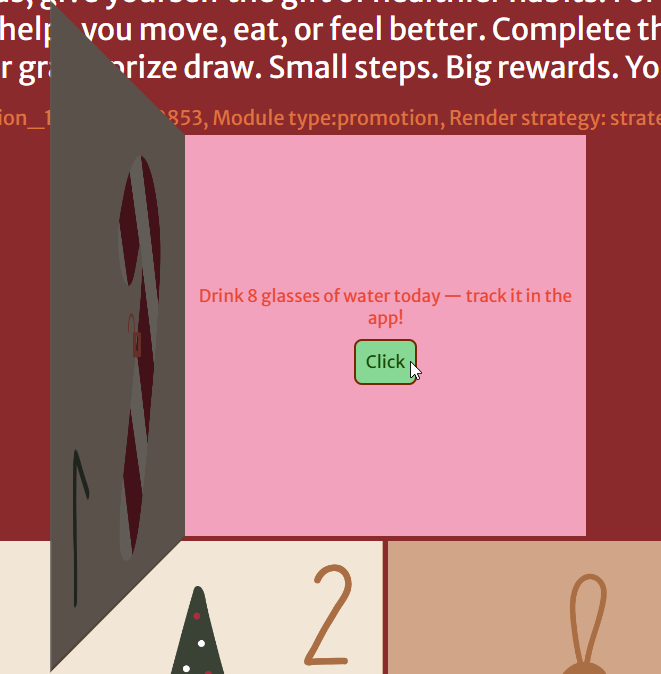
- When the promotion gets clicked (= opened), it will display the content from the opened door.
Promotion details
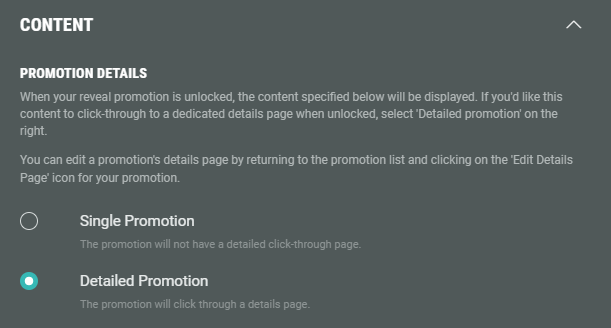
Choose one of these options:
-
Single promotion — A simple promotion without a click-through to a details page.
-
Detailed promotion — The promotion will have a click-through to a dedicated promotions page. This can for example be a form to gather participant data, a quiz you want them to participate in, etc.
Closed door settings
This is the content shown for closed Advent Calendar doors (not yet clicked on).
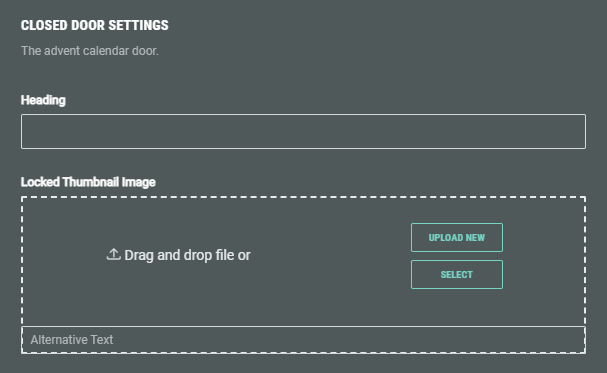
You can enter a heading and select a thumbnail image to be shown (and set an alt text).
An existing image can be selected from your asset library (which contains your uploaded assets) , from the Pexels library or from images uploaded within the Experience.
You can also upload a new image (within the Experience) and use that one.
Example: For our day 7 promotion, we add a heading and image for when door 7 is closed.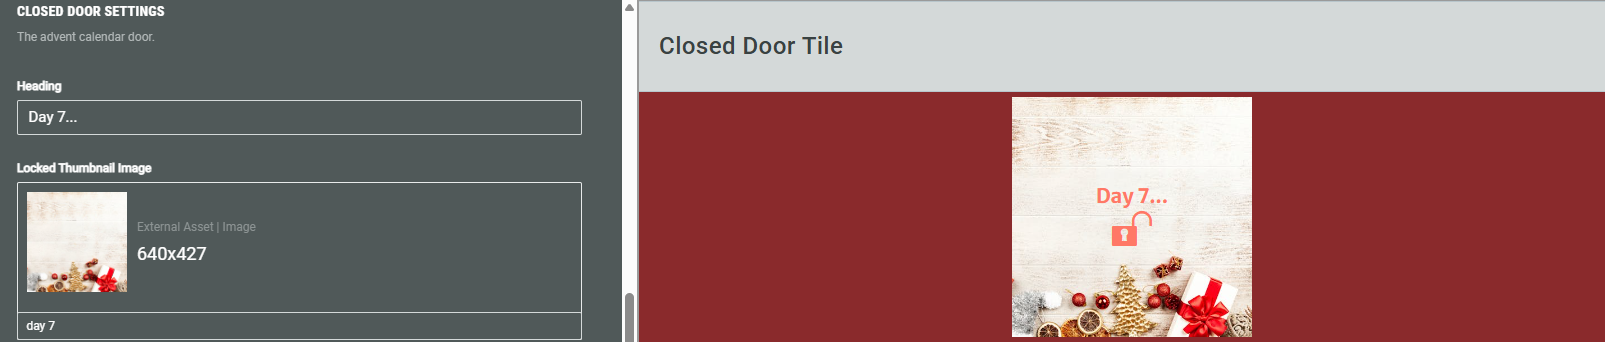
Opened door settings
This is the content shown for opened Advent Calendar doors (= when the promotion gets revealed).
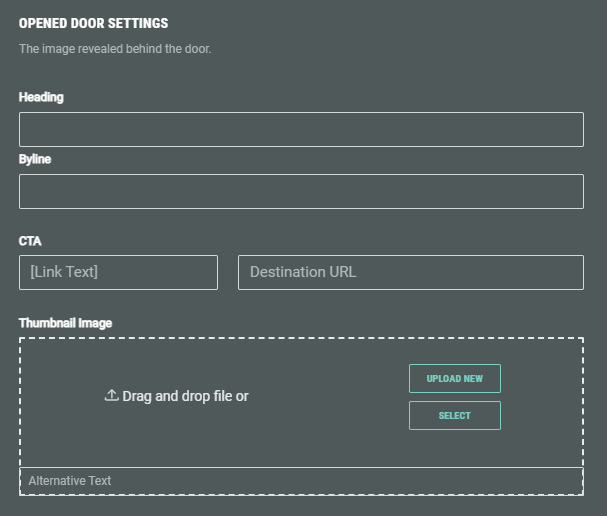
You can enter a heading, byline and a CTA button text and define the destination when clicking the button.
Also, select the thumbnail image to be shown when the promotion door is opened (and set an alt text).
An existing image can be selected from your asset library (which contains your uploaded assets) , from the Pexels library or from images uploaded within the Experience.
You can also upload a new image (within the Experience) and use that one.
Example: For our day 7 promotion, we add a heading, byline, CTA and image for when the promotion behind door 7 gets revealed.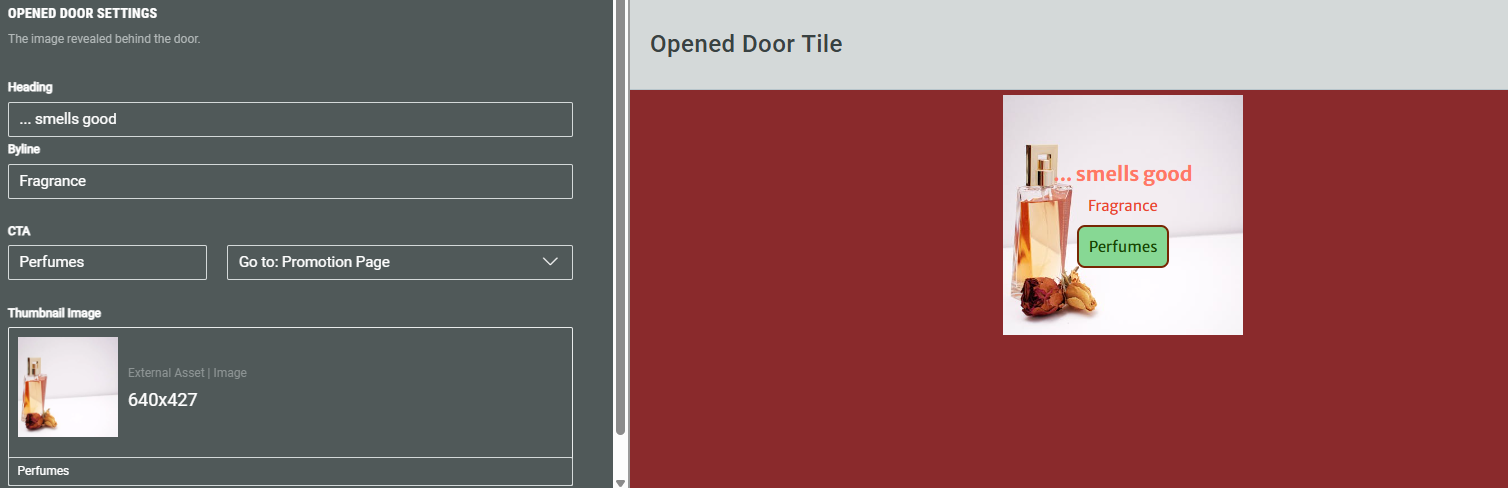
Note:
- For Single promotion (see Promotion details):
With a CTA, participants can click the button or image to open the linked URL.
Without a CTA, clicking only displays the opened door content.
- For Detailed promotion (see Promotion details):
With a CTA, participants can click the button or image to open the Promotion Page.
Without a CTA, clicking the image still opens the Promotion Page.
Click Save at the top-right to save your promotion configuration.
Note: You can always click Apply while configuring the promotion to save your current settings. The setup screen won't close and you can continue working on it.
After saving, you return to the Advent Calendar Experience screen where you see all configured Promotions. Your newly added promotion appears on this screen according to the defined sort order.
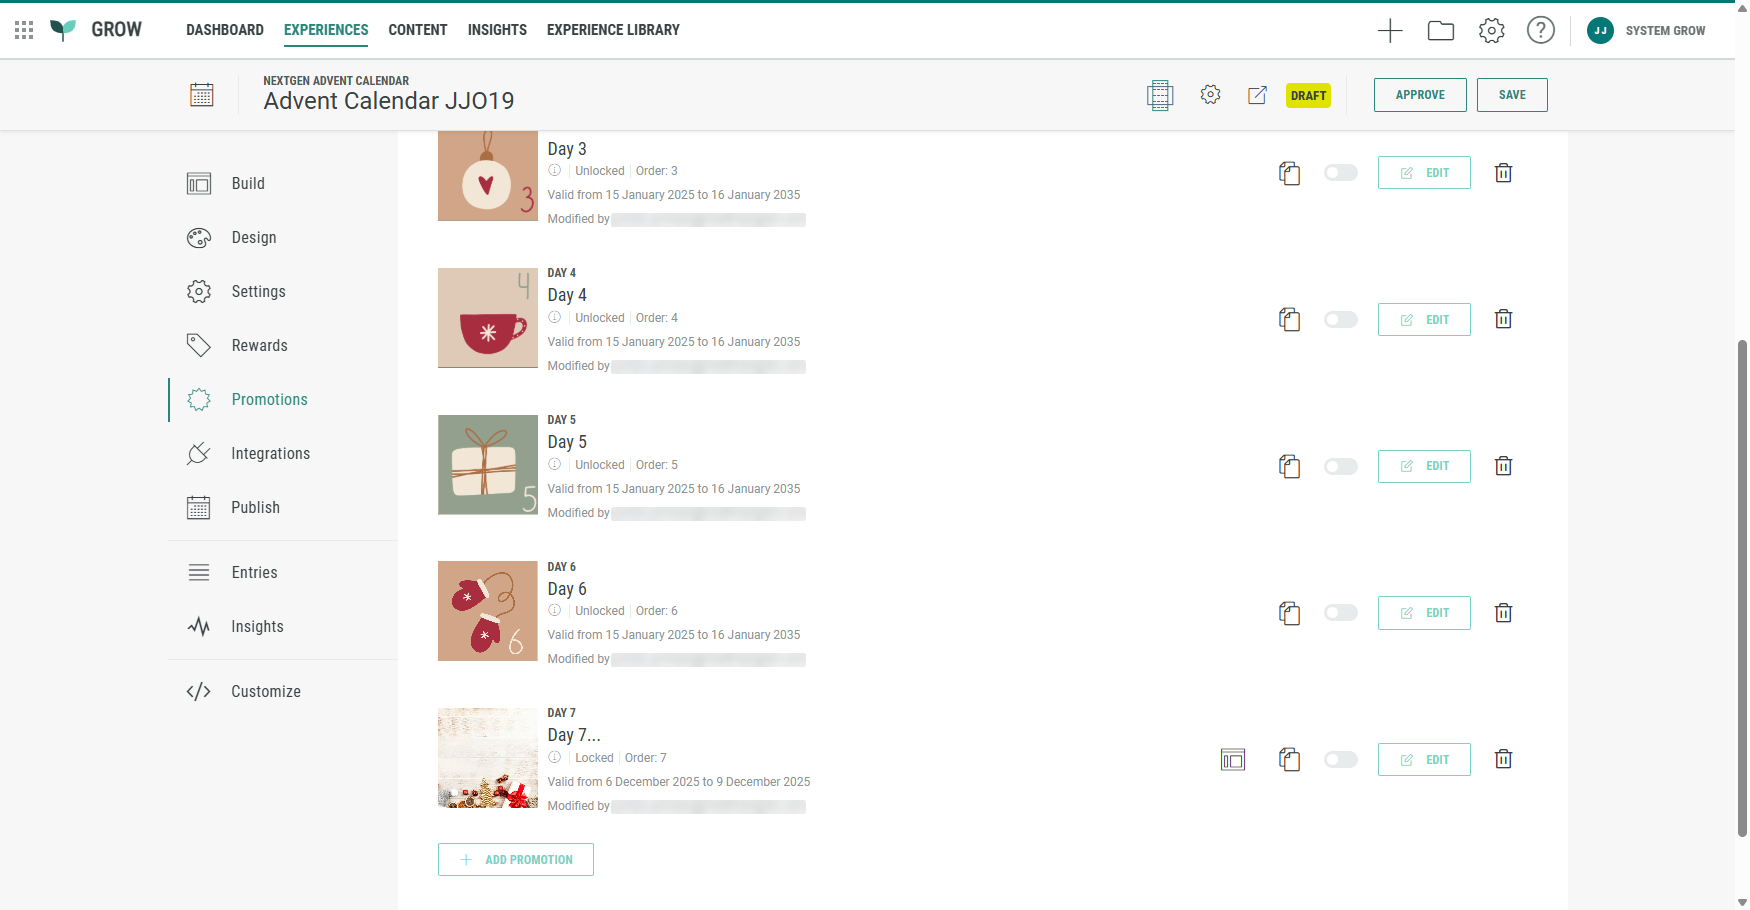
Edit a promotion
You can edit the promotion settings at any time by clicking on the Edit button.

Clone a promotion
Instead of creating new promotions from scratch each time, you can clone a promotion, which duplicates that entire promotion configuration.

This shows a pop-up in which you can enter a name for the cloned promotion.
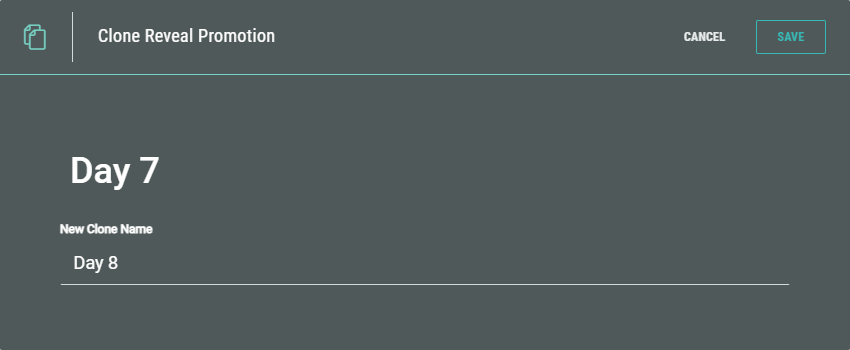
Click Save and the duplicate promotion is added.
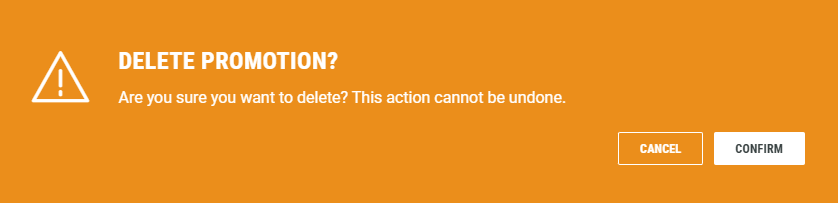
Delete a promotion
You can delete a promotion by clicking on the trash bin icon.

A warning pops up to confirm the deletion. When doing so, the delete action can't be undone.
Edit the Details Page
Detailed promotions offer click-through to a dedicated Details Page on opening the promotion door.
If Detailed Promotion was chosen in the promotion details section, you can edit a promotion's Details Page by clicking on the Edit Details Page icon at the right of a promotion.
Note: If Single Promotion was chosen instead, this icon won't be visible.

The following page builder screen is then shown:
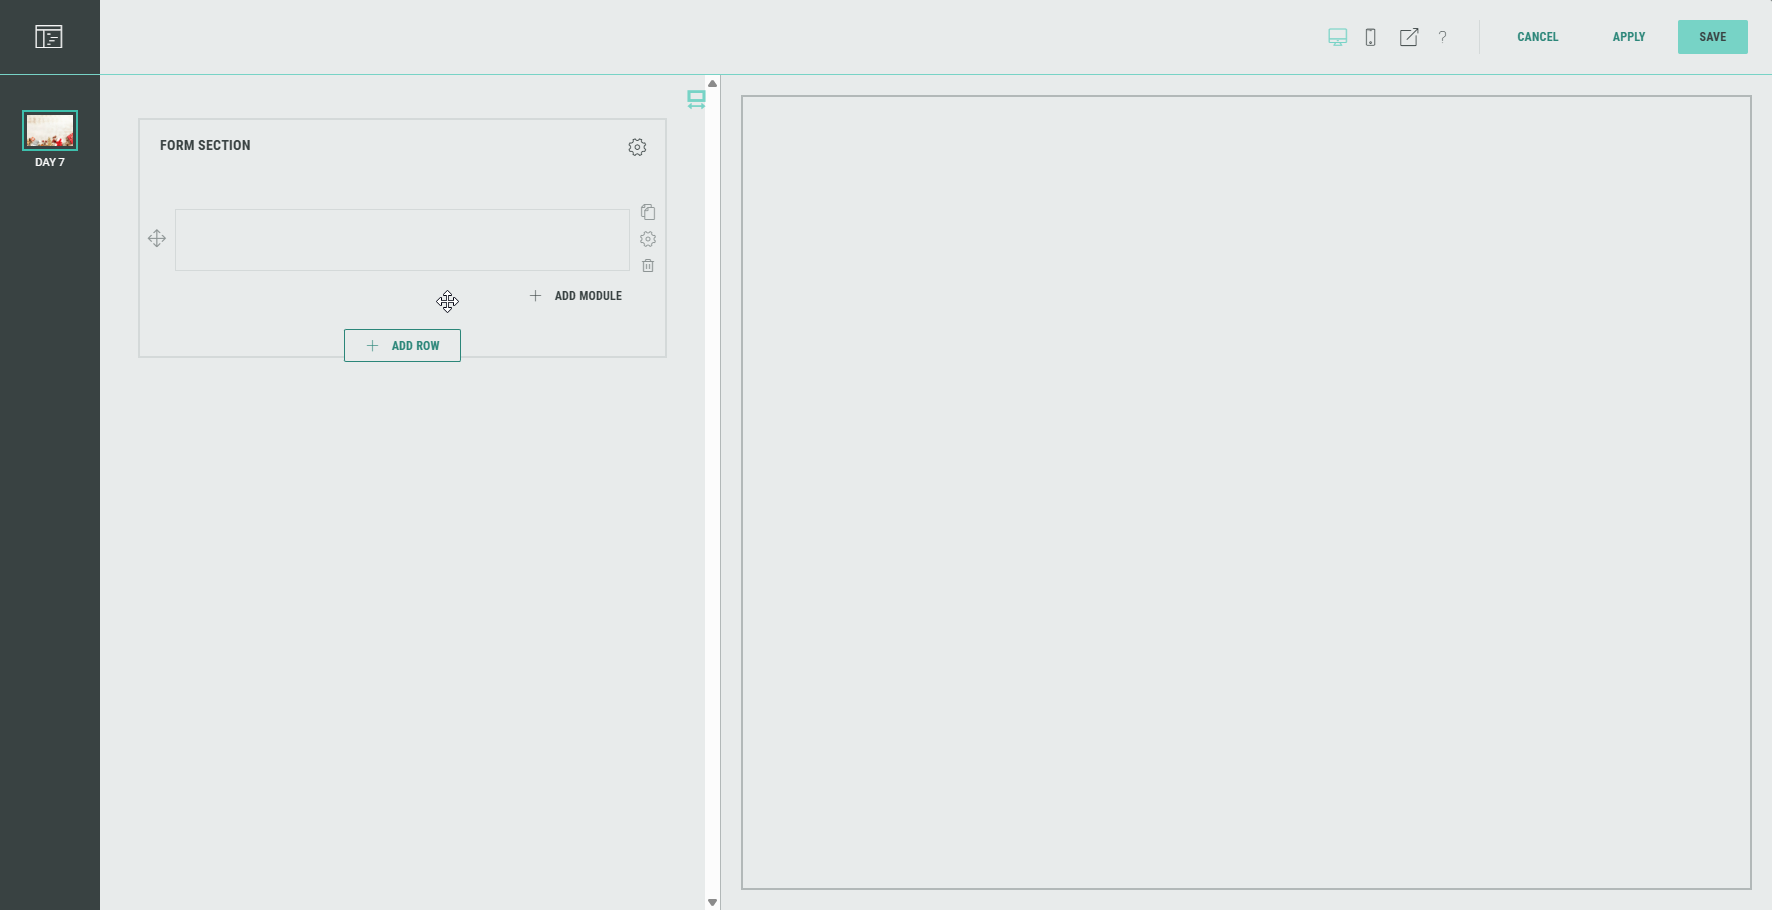
In here, you can add any content, form or score quiz modules that are limited to one per form (e.g. Name module, Opt-in module).
Example: Clicking the Magic of Bali Day 1 promotion leads to a Promotion Page where the participant can give an answer to the question, enter their email address, optionally opt in to daily reminders and then submit their answer.
See this article for more info on working with the Page Builder, and details on rows and modules.
Consult this page to see a list of available Modules.
Publish promotions
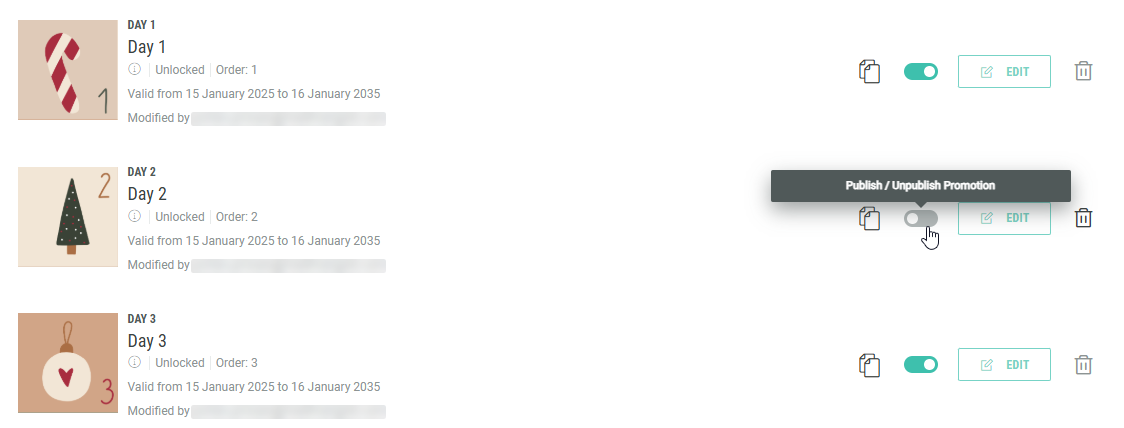
By enabling the toggle at the right of a promotion, you can publish that promotion. Only then will it become available to show to the Experience entrants.
By disabling the toggle, you can unpublish it again (taking it offline, putting it in draft mode).
Important to know:
-
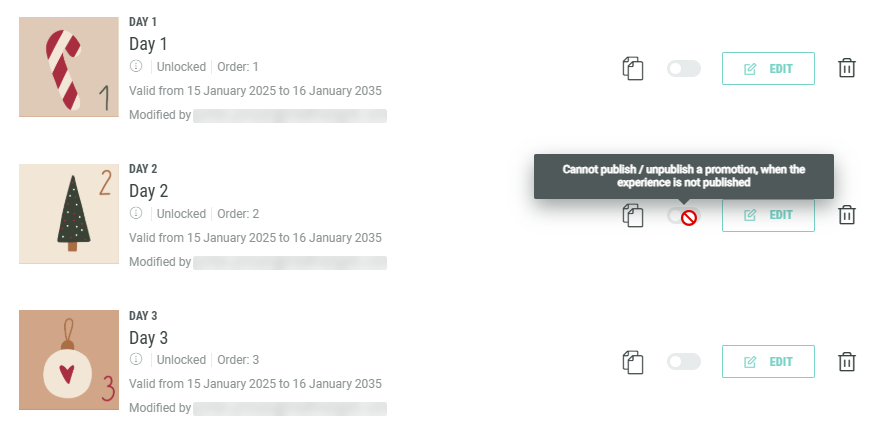
Promotions can't be published / unpublished if the Experience is not published yet. See this article on publishing Experiences.
-
The moment the Experience is published, all promotions automatically get published with it. So you don't need to publish each promotion individually.
-
A published (live) promotion is shown as a green toggle (=on), while an unpublished (offline) promotion appears as a gray toggle (=off).
Sorting promotions
At the top-right of the promotions list, you see a drop-down to determine the order in which the promotions are displayed.
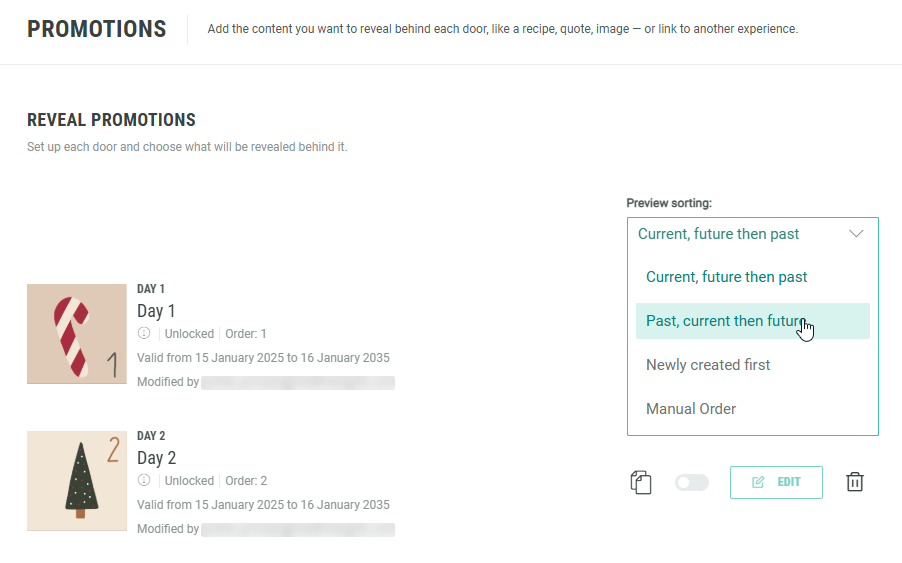
- Current, future then past — Sorting based on the valid from and valid to dates set in the promotion settings. First show the currently active promotions, then the promotions that will be active on a future date, and finally the promotions that have already expired.
- Past, current then future — Sorting based on the valid from and valid to dates set in the promotion settings. First show the promotions that have already expired, then the currently active promotions, and finally the promotions that will be active on a future date.
- Newly created first — Sort the promotions on their creation date, with the most recent one on top.
- Manual order — Sort the promotions on their order number, that you can set in the configuration of each promotion.
Once your Promotions are configured, continue with building and designing the different Experience pages.